How to File Your Nails — the Right Way
October 23, 2023
Giving yourself a DIY manicure at home can be a great way to decompress and pamper yourself — plus, it’s more cost effective and convenient than going to the salon. However, it’s important to go about the process properly to ensure your nails will be healthy and look their best. One area where there’s potential to make a mistake starts before you even open a bottle of nail polish. We’re talking about filing your nails.
If you file your nails in an aggressive back-and-forth motion, this one’s for you. When I think back to my middle school days of sticky, fruit-scented lip gloss and crimped hair, I can’t help but have flashbacks of sawing across my nails with the cheapest nail file I could get my hands on (in my defense, it was leopard print!). Since then, I’ve not only learned how to file my nails correctly, but also invested in some newer, better nail files.
So, if your nail filing technique is more middle school than salon-level, we’re here to help. We chatted with Essie lead global educator Rita Remark, celebrity manicurist Angel Williams and owner of Lunula Salon Tina Wang to give us the scoop on the right way to file your nails to avoid breakage.
How to Choose a Nail Shape
Before you reach for a nail file, you need to decide what shape you want your nails to be. “It's important to remember that a nail file is for shaping nails, not removing length,” says Remark. Luckily, there’s tons of different nail shapes to choose from to flatter nails of all lengths. “Short nails are best with square and round shapes,” says Wang. “Longer nails tend to be better suited for the almond and more pointed styles since there is more length to taper to a point (though they also look great with square and round shapes).” Keep scrolling to find out more about common nail shapes.
Round
If you like to keep it classic, you can’t go wrong with round nails. Round nails are one of the most popular and versatile shapes, as they’re similar to the natural shape of fingernails. Round nails are also probably the easiest shape to file. They’re a great option if you like to keep your nails on the shorter side.
Square
Square is another common shape, consisting of flat tips and sharp, defined corners. You can file your nails into a square shape regardless of their length. It’s a flattering style on short nails, but you can also have long square nails.
Oval
If you like a soft, rounded shape but a little bit (or a lot) of length, you may want to consider oval nails. Oval nails have rounded tips and a long, narrow look. This stunning nail shape can make your fingers look elongated.
Softened Square or Squoval
The softened square nail shape falls somewhere between round and square. Sometimes referred to as squoval, it’s defined by the flat tip of a square with rounded corners instead of sharp ones.
Almond
Almond nails are another great shape option for those with longer nails. Picture an almond — this nail shape is similar to oval, but instead of a round tip, it tapers to a subtle point.
Coffin
Finally, coffin nails are a long nail shape characterized by straight edges and a tapered square-shaped tip.
Nail File Tools You’ll Need
A Simple Nail File
The good news? “Most filing can be done with a simple nail file and doesn't require fancy tools,” says Wang. “Some nail salons offer e-files, but for basic nail shaping, it's best to leave filing to a simpler file.”
That being said, according to Remark, it’s important to choose the right type of file for your nail. “The rule of thumb for files is the higher the grit, the softer the file,” says Williams. Files with a grit of 240 or higher are considered to be more abrasive. “More abrasive files are best for thicker dense nails, nail enhancements and toenails,” says Remark.
“Grits that are 180 or lower are intended for enhancements (acrylics and gels),” says Williams.
A Glass File
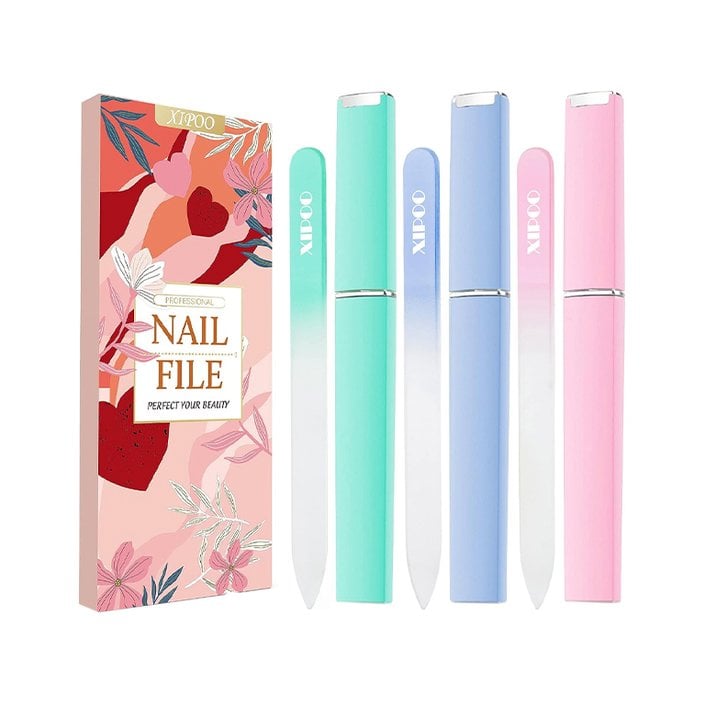
If you have very thin or weak nails, you want a finer file, like a glass file. We like this set of three glass nail files from Amazon.

“Some nail artists swear by glass nail files, and others use e-files for nail extensions and more serious nail shaping,” adds Wang. “At Lunula we always use disposable nail files since single-use files are the most sanitary and safest option. We have yet to find a glass nail file that works well and can be sanitized properly for service, but it is a viable option for at-home care if cleaned properly.”
How to File Your Nails
Step 1: Trim Your Nails With Clippers
If you’re someone who typically relies on a file to shorten your nails, the experts caution you to stop. “You should always trim first with clippers and use the file for detailing and shape,” says Williams. Plus, starting with this step will quicken the filing process. “To minimize the filing time (since we're all trying to save time), I'd recommend cutting to the general shape first (keeping your nails longer than you know you'll want it), and then refining the shape to perfection with a file,” Wang explains.
Step 2: Start Filing at the Corners
To avoid over-filing, Remark suggests starting at the corners and keeping most of the work focused in that area. Be mindful that over-filing, especially on the sides, can weaken the nail and lead to breakage. Also, be sure to hold the file flat up against the nail when filing. If you angle it, you could thin the tip of your nail — another sure-fire way to cause breakage.
Step 3: Work Towards the Centers
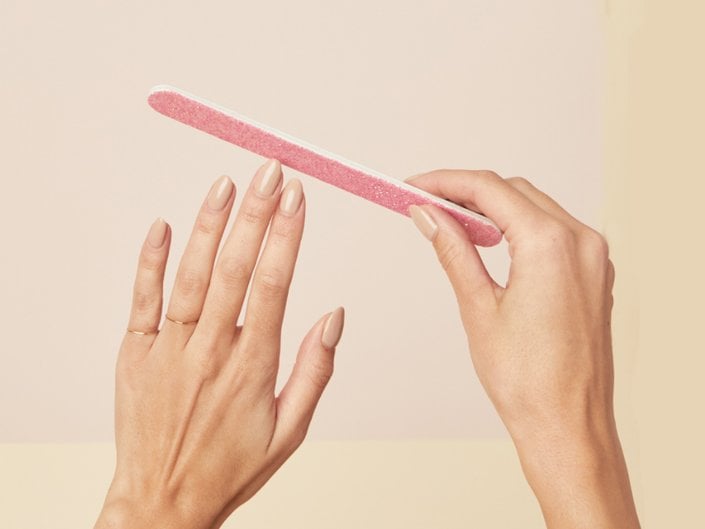
The sawing, back and forth motion is a huge no-no for shaping your nails. “You should file in one direction from the side of the nail to the center of the nail with short strokes,” says Williams. “Then, alternate sides, and swipe fully across one or two times to finish the shape.”
Wang echoes Williams’ recommendation to file in one direction. “Most nail experts recommend filing the nail in one direction, but I've seen skilled technicians work the file in both directions,” she says. “I would recommend filing in one direction at home especially if you have weaker nails. Until you have more experience and control, it's best to keep strokes minimal.”
Step 4: Gently File Your Cuticles
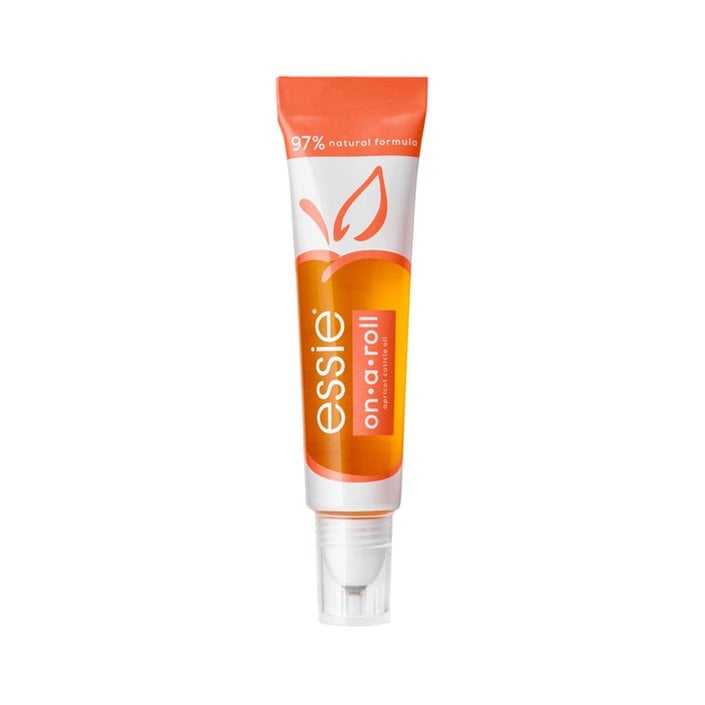
Pro tip: “If you have a very dry or thick cuticle along the sides of your nail, it's very helpful to gently run a file along the calloused area,” says Remark. “This promotes better moisture absorption and softens the skin without trimming.” Finish with cuticle oil to nourish and moisturize the area around your nails. We recommend the Essie On a Roll Apricot Cuticle Oil.
Should You File Nails Wet or Dry?
“Nails are best dry since they are less prone to breakage,” says Wang. “Some nails may have greater flexibility after some water exposure, though, so if you have strong nails and you're planning to do a lot of shaping, it could work to your advantage.” However, this is only advisable in specific situations — nails are weaker when they’re wet and ultimately, it’s safest to stick to filing when dry.


.jpg?cx=0.5&cy=0.5&cw=150&ch=120&blr=False&hash=13DE8EDEE0E1AF98CC5D704B05EC64EE)


