


.jpg?cx=0.5&cy=0.5&cw=150&ch=120&blr=False&hash=13DE8EDEE0E1AF98CC5D704B05EC64EE)


How to DIY Your Own Makeup Tattoo Stamps in Four Easy Steps
November 28, 2017

You’ve definitely seen them grace your Instagram feed — teeny, tiny makeup stamps under the eyes or on the cheekbones of your favorite beauty gurus. Mini makeup tattoo stamps are slowly but surely taking over the adventurous side of the makeup world — but why shell out the cash for a special stamp addition to your collection when you can DIY your own with the products you already have? Ahead, find out how to make your own in four (legit only four!) easy steps. Bonus: This makes one cool giftable kit.
You’ll need:
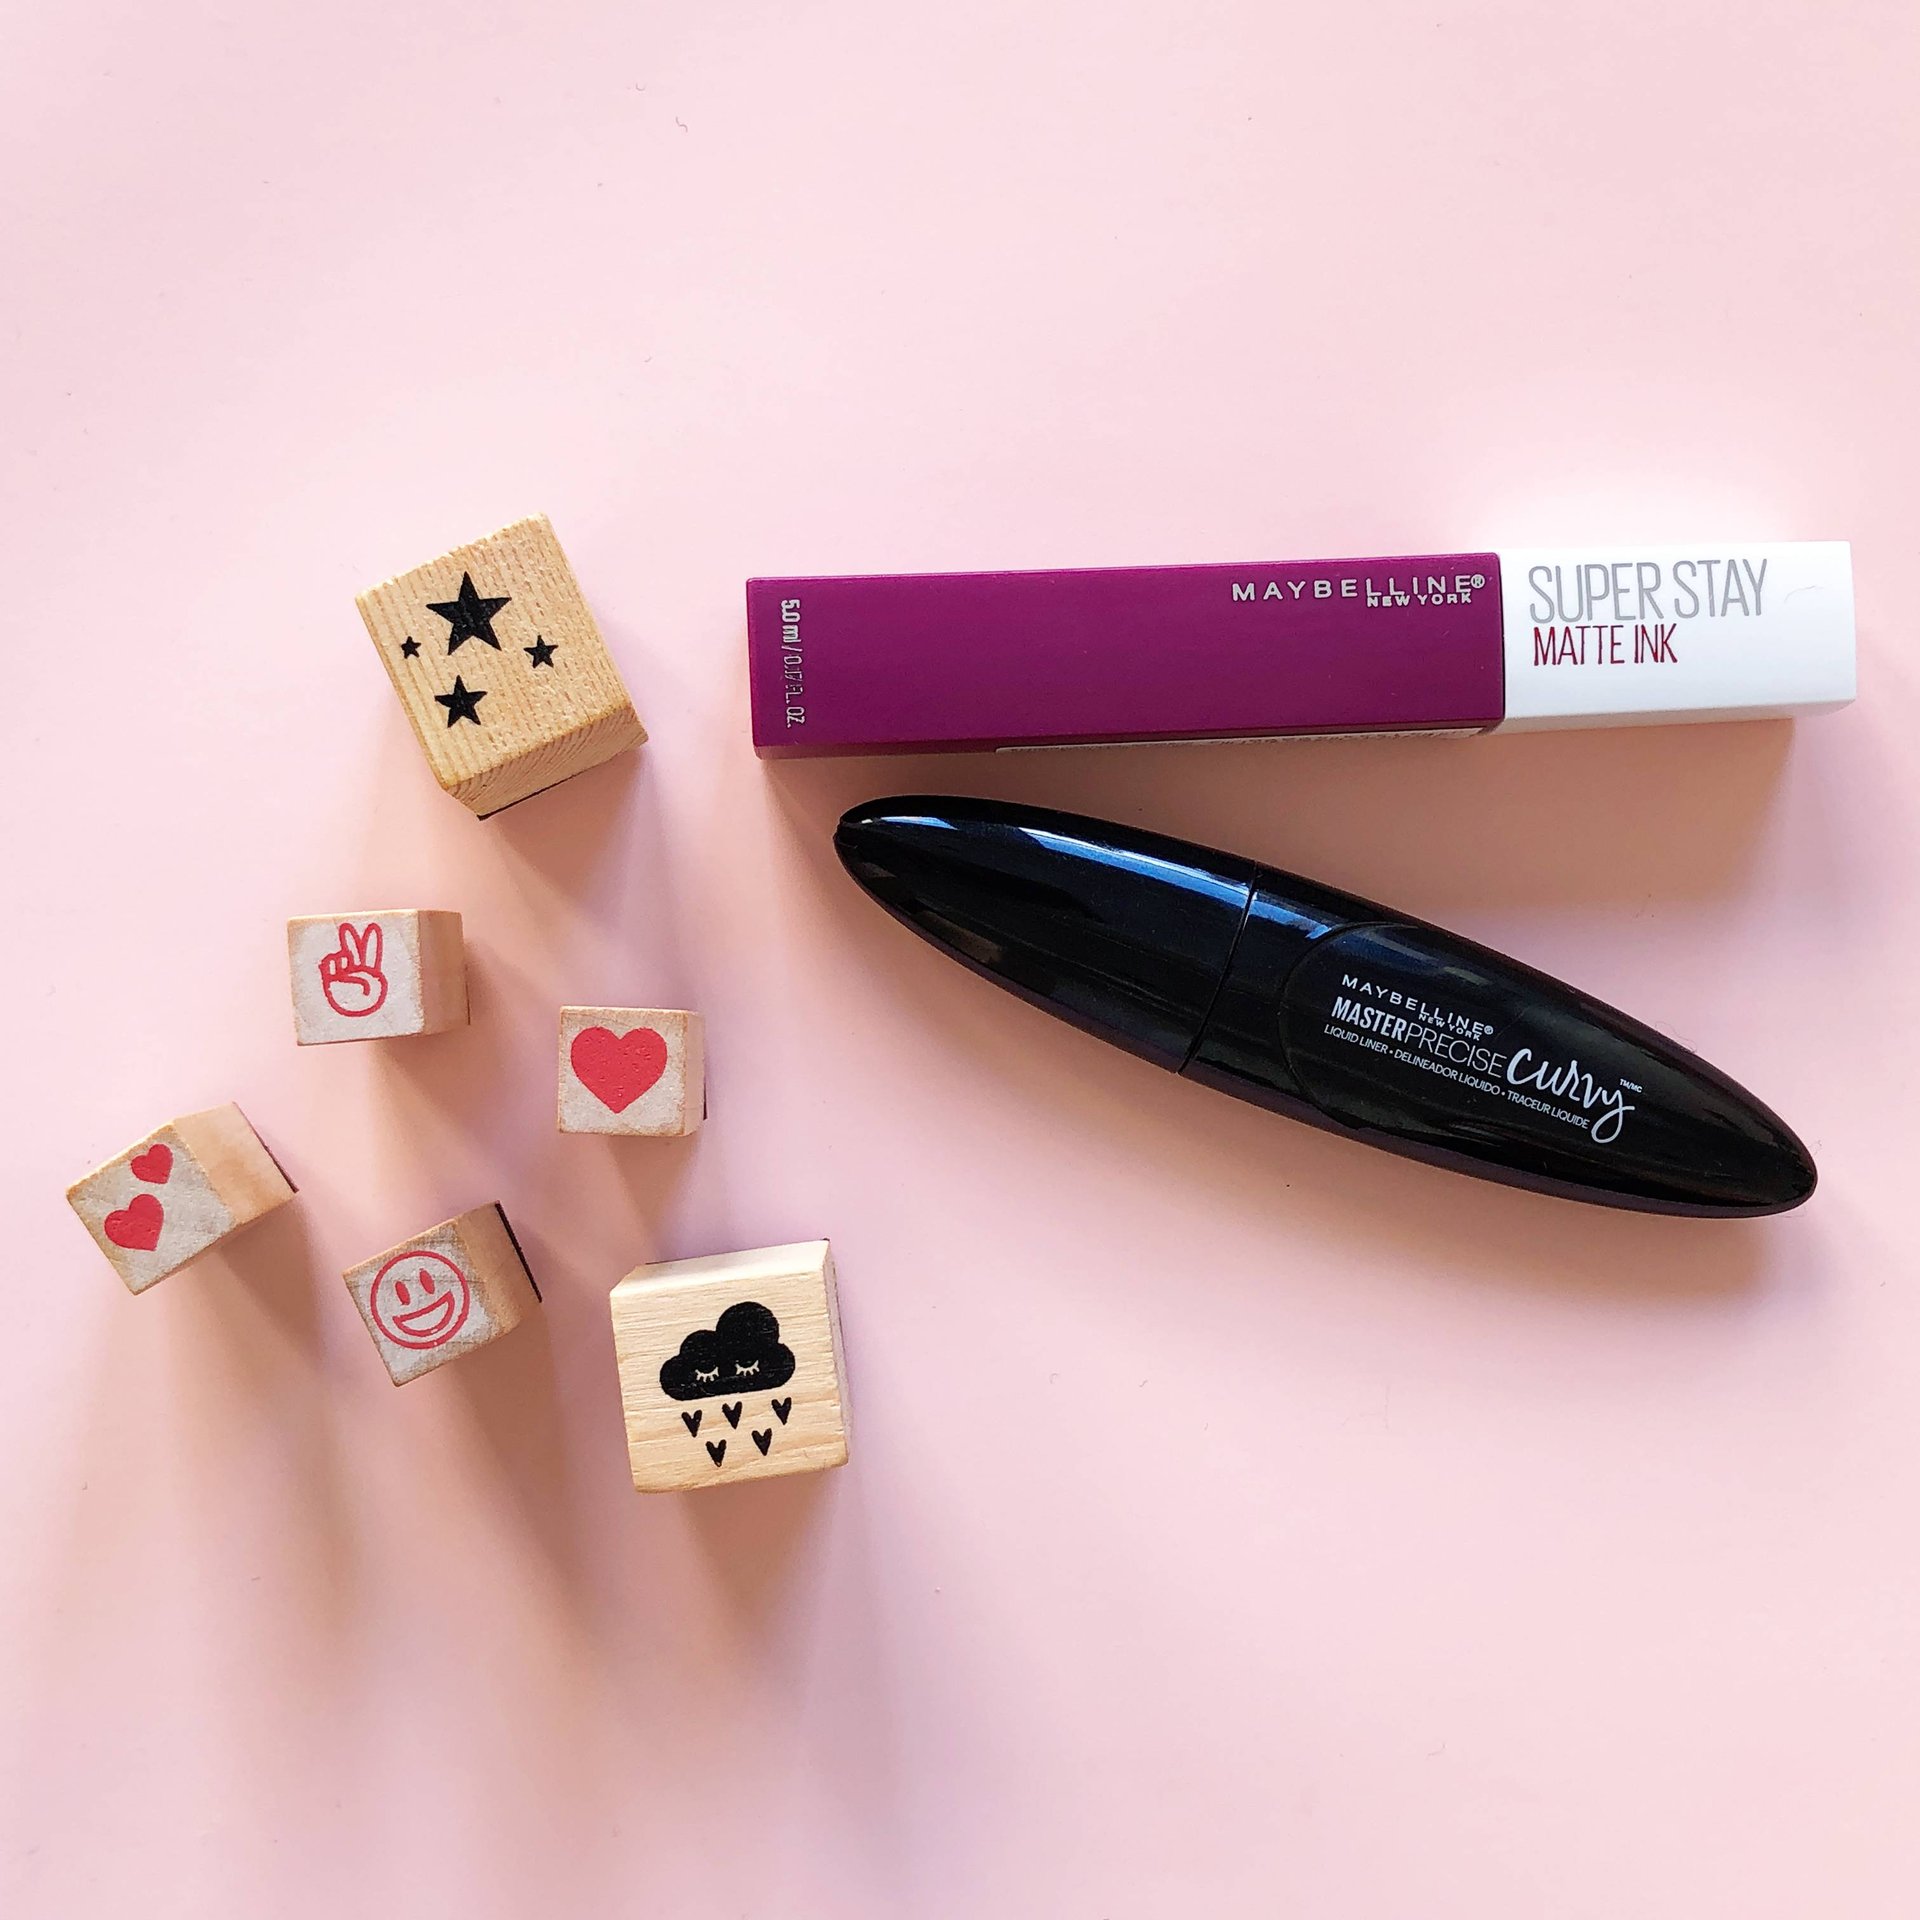
Rubber stamps
Maybelline Superstay Master Ink Matte Liquid Lipstick
Maybelline Master Precise Curvy Liquid Liner
Step 1: Grab Your Rubber Stamps And Makeup
To create your DIY tattoo stamps, you’ll need one vital thing: rubber stamps, of course! Grab some favorites you might have in your desk drawer or pick up a couple with shapes of your choice — hearts, stars and emojis are encouraged. In addition, grab some super-staying makeup products — Maybelline Superstay Maybelline Master Ink and the Master Precise Curvy Liner are perfect for this.
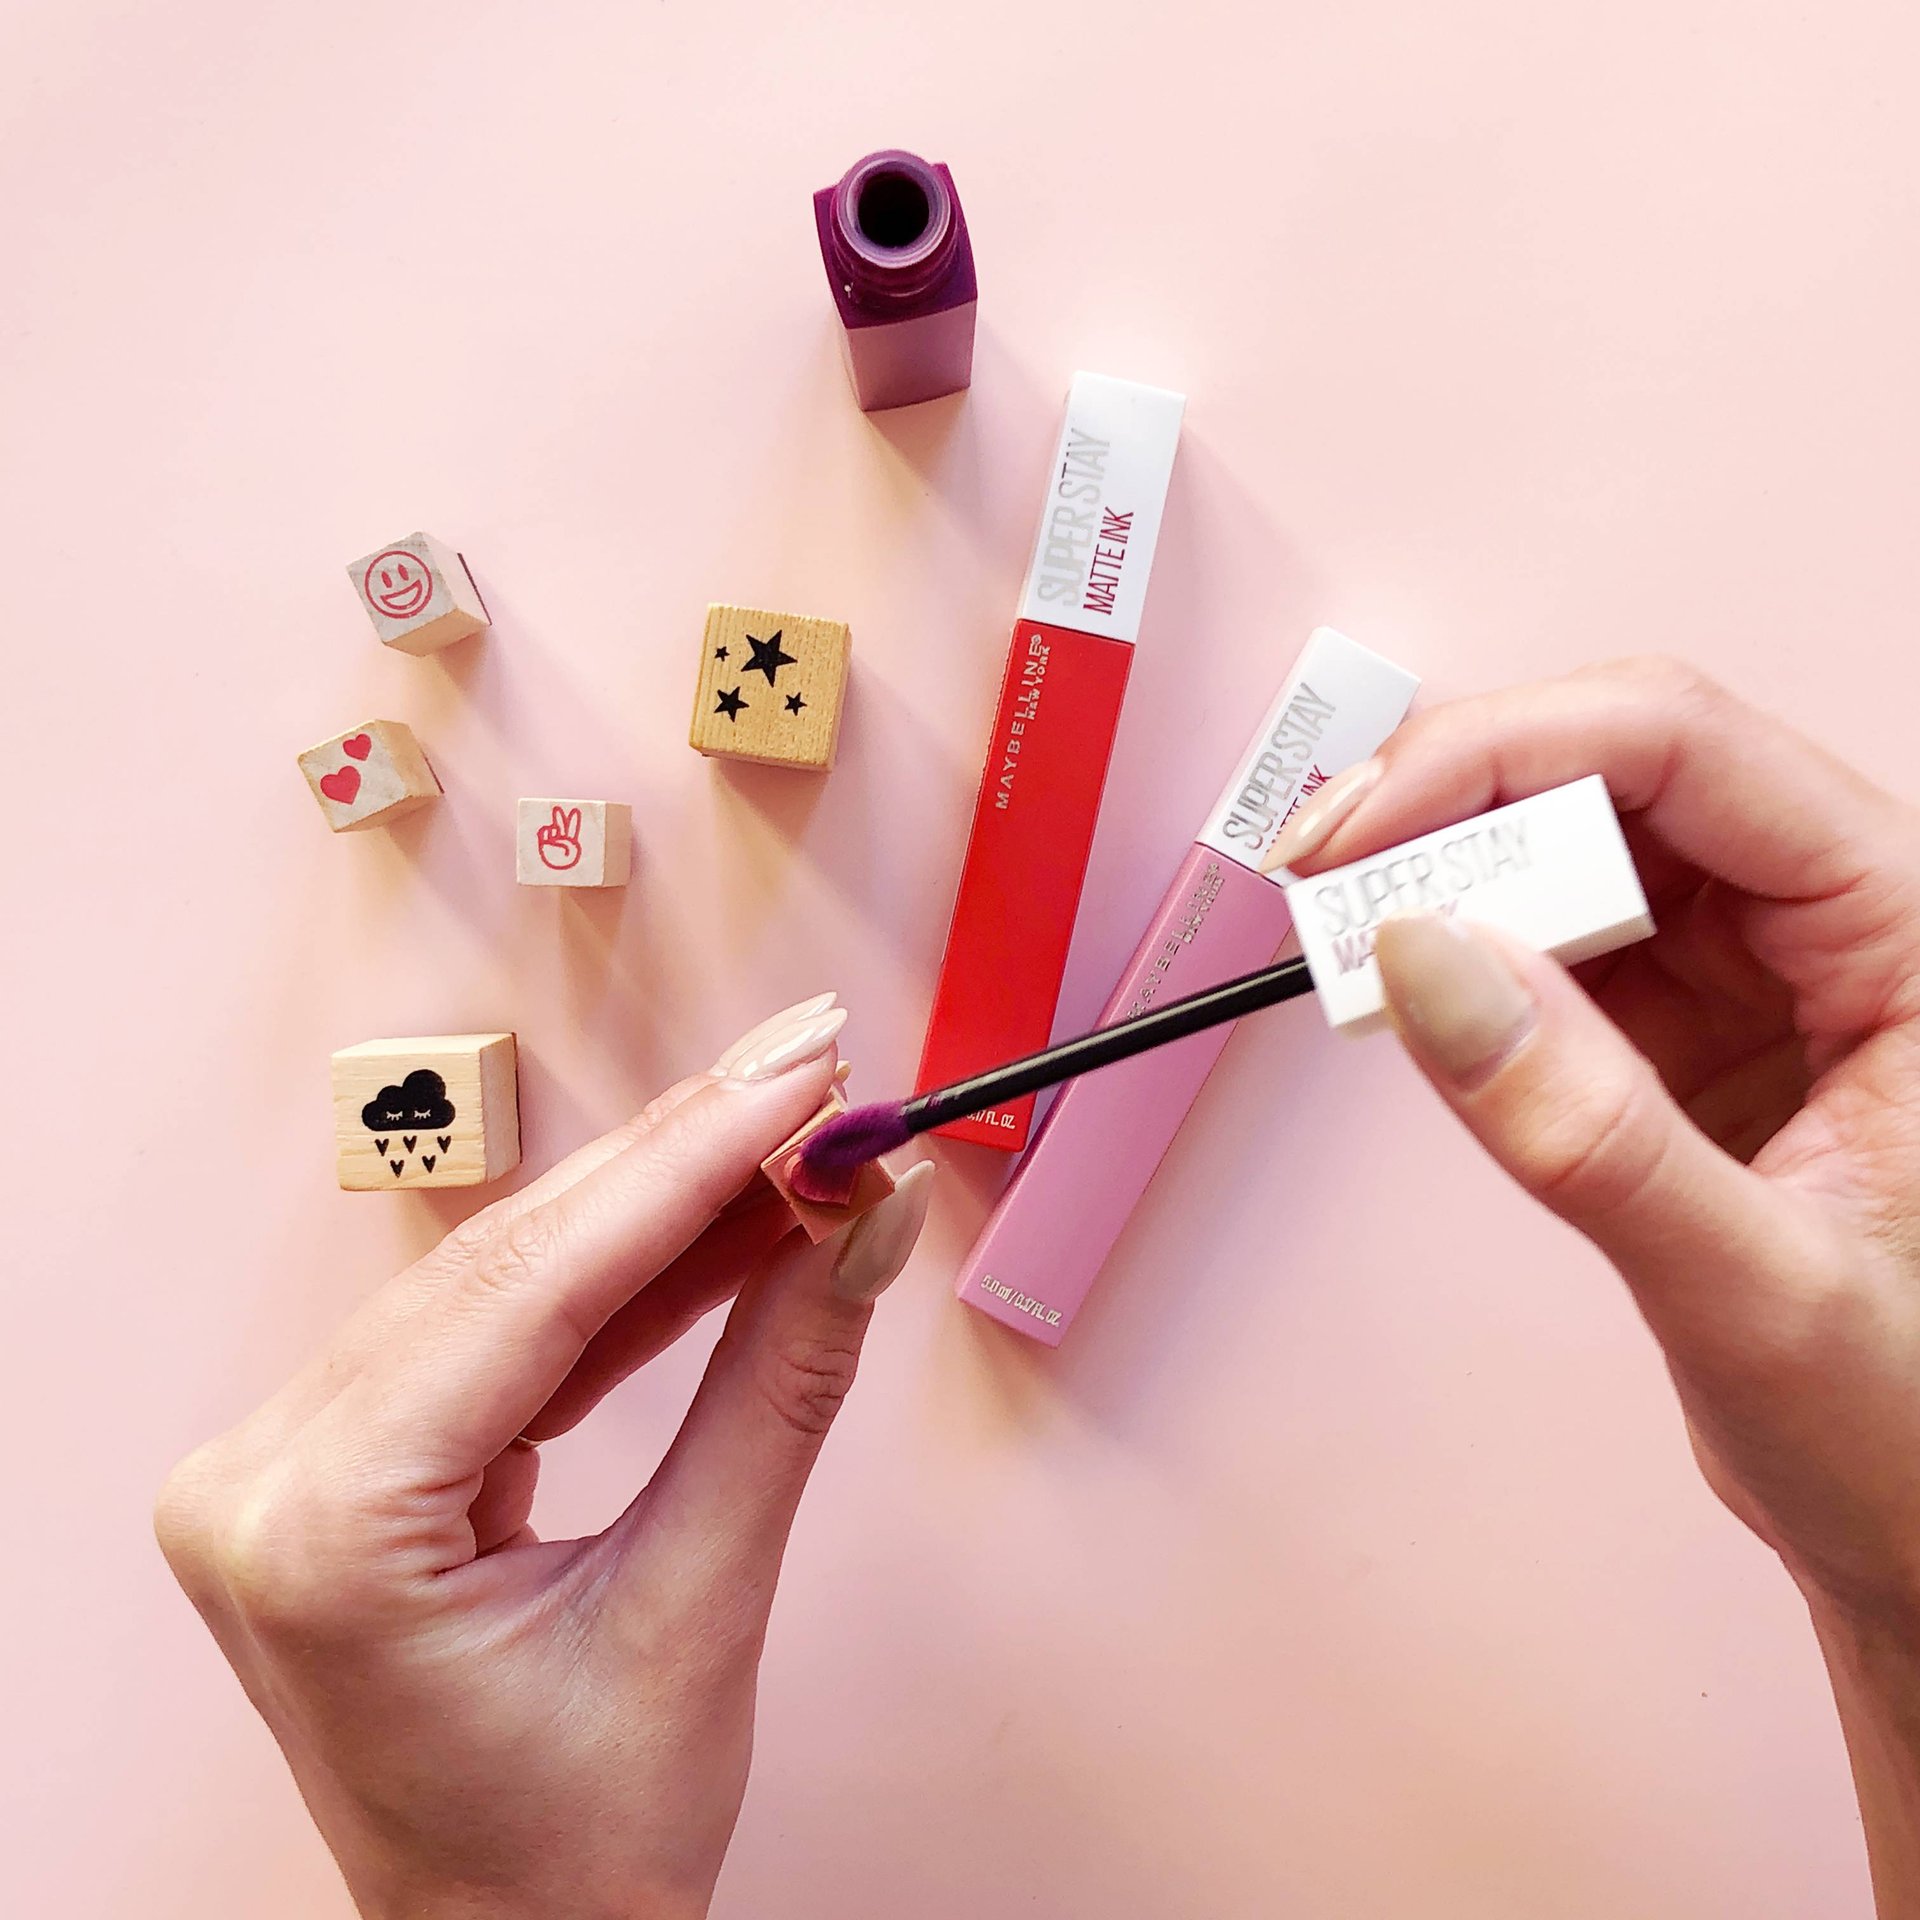
Step 2: Tap the Product on the Back of Your Stamp
After you’ve picked out your stamp and ink, tap the product onto the back of your stamp. Make sure that every crevice is covered evenly, but don’t use too much or too little product
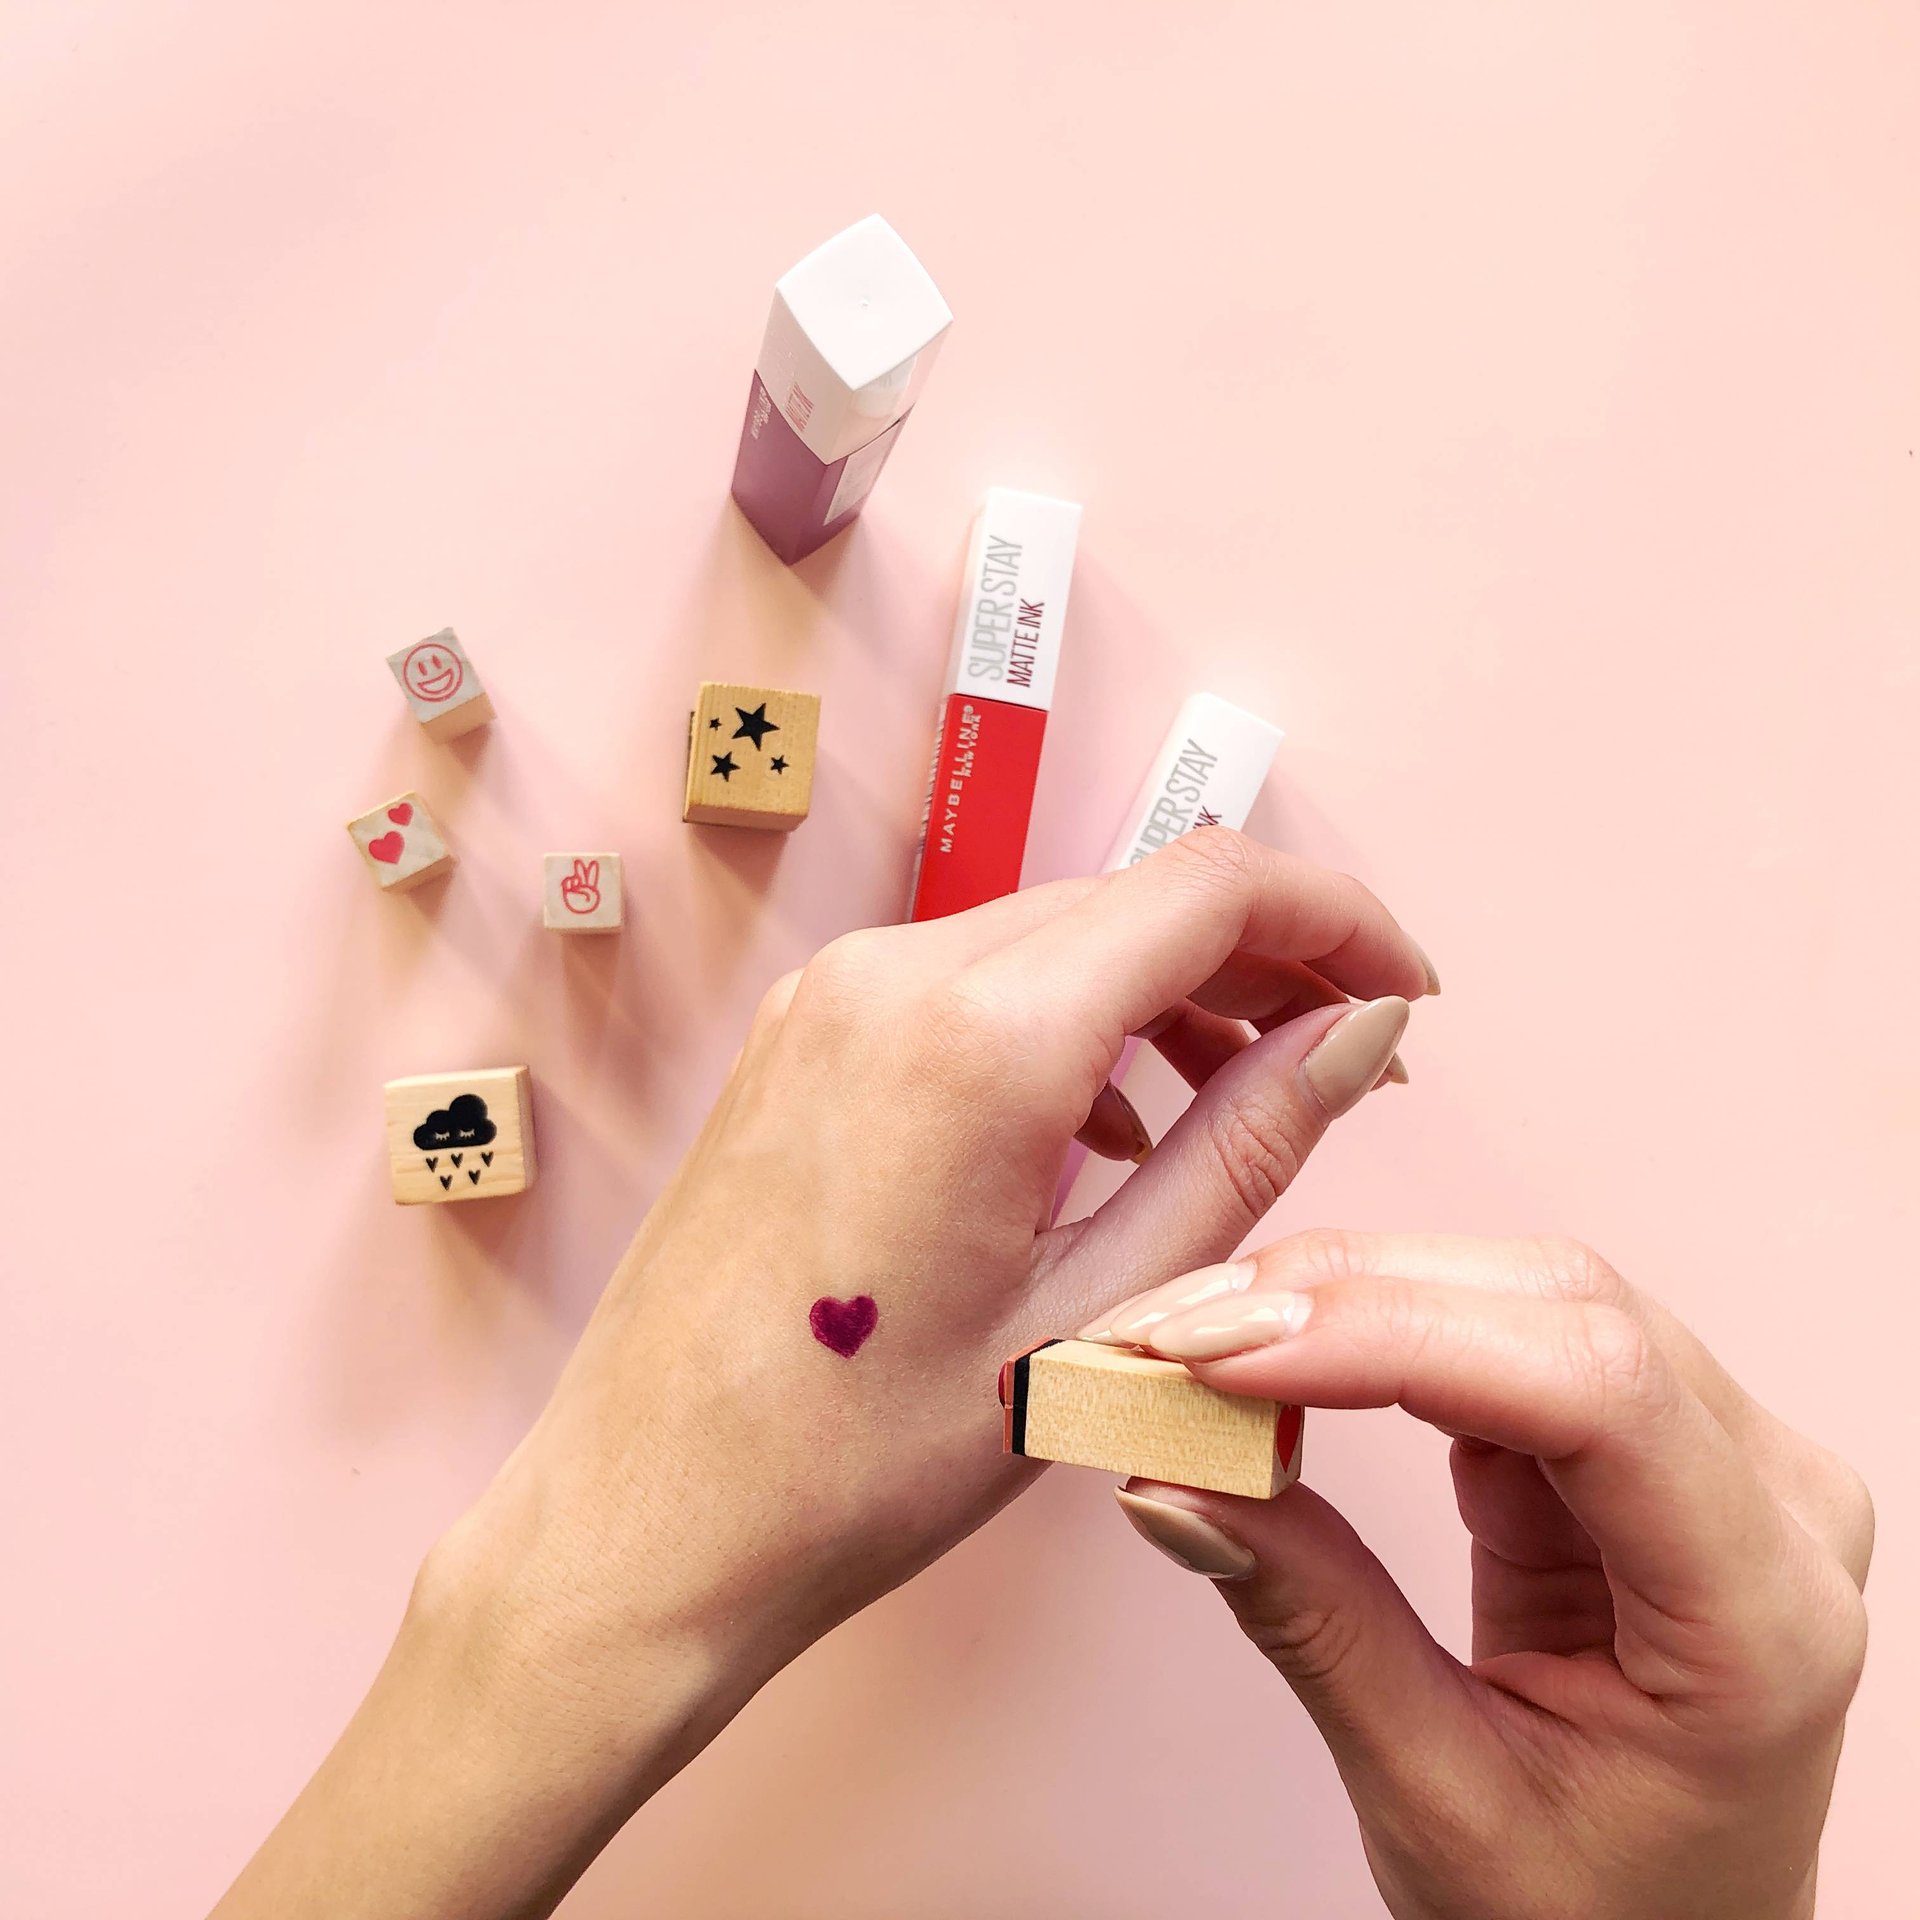
Step 3: Stamp Away!
Go ahead and stamp away onto your face, body, neck or hands. Be as creative or as minimalist as you so choose.
Step 4: Fill in Any Patchy Spots and Set it!
After stamping, fill in any patchy areas with your product, and set the tattoo stamp with a setting spray.