The Coolest Geometric Nail Art Tutorial Ever
August 08, 2019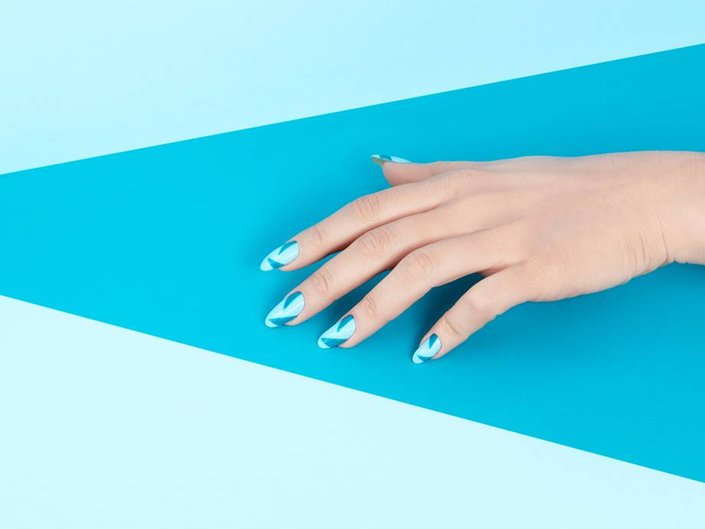
In a world where there seems to be new nail trend flooding our social feeds every week (shout out to one of our favorites, cow print nails), it can be daunting to try to keep up with it all. We think most people would agree that no one wants to spend that much money or time on every new buzzworthy style (no judgment from us if you do, though). Luckily, the internet has graced us with the coolest DIY geometric nail tutorial that will be on trend for maybe ever. Thanks to Gianna Campisi, self-described nail art ninja and owner of Instagram’s Nailstorming account , now we can all sport an Insta-worthy manicure with minimal messy mishaps. So before you book your next nail appointment, check out this quick and easy tutorial below.
Before you begin, you’re going to want to choose two different colors of nail polish. With only one month left of summer, it’s only right to go with a colorful manicure. We recommend trying Essie Take The Lead and Sales On Fire from the Summer 2019 collection. This contrasting duo is bold in all the right ways. Then, Campisi begins by applying a clear base coat. If you choose to go with vibrant hues, the Essie Here To Stay Base Coat helps to hold color to your nail while acting as a barrier to help prevent nail staining. Next, it’s time to create your designs. Using your first color, you’re going to start at the bottom right corner of your cuticle and paint a diagonal line to the top left corner. You should end up with a triangle shape on the upper right side of your nail. Then, you’re going to create another triangle shape that overlaps the initial design, giving it that cool geometric effect. Taking your second nail polish of choice, start at the middle of your nail and paint a diagonal line to the top right corner. This is going to be the first leg of triangle number two. Beginning at the same center point, create a second diagonal line to the bottom right corner. At this point, you’ll have the outline of the second triangle and nearly completed nail art. Finally, paint in your triangle and voila! You’ve officially nailed it (sorry, we had to!).
For a visual reference on this tutorial, check out the Instagram video below.
Read More: 7 Beauty Rituals No One Talks About but Everyone Does 7 Liquid Matte Lipsticks You Need to Try How to Trim Your Eyebrows, According to Brow Stylist Joey Healy


.jpg?cx=0.5&cy=0.5&cw=150&ch=120&blr=False&hash=13DE8EDEE0E1AF98CC5D704B05EC64EE)


