How to DIY the Perfect Manicure at Home

Fact: There’s a stark contrast between a manicure done by a nail professional versus ourselves. It might be that we don’t have the patience and meticulous eye required for a truly professional result. Or it could be that we don’t have all the tools to shape our nails to their best potential. However, both of these issues can be remedied. And we actually can do our nails like a pro — just by following these steps.
Ahead, discover the must-have products and steps to DIY salon-quality nails in the comfort of your own home — for a lot less money.
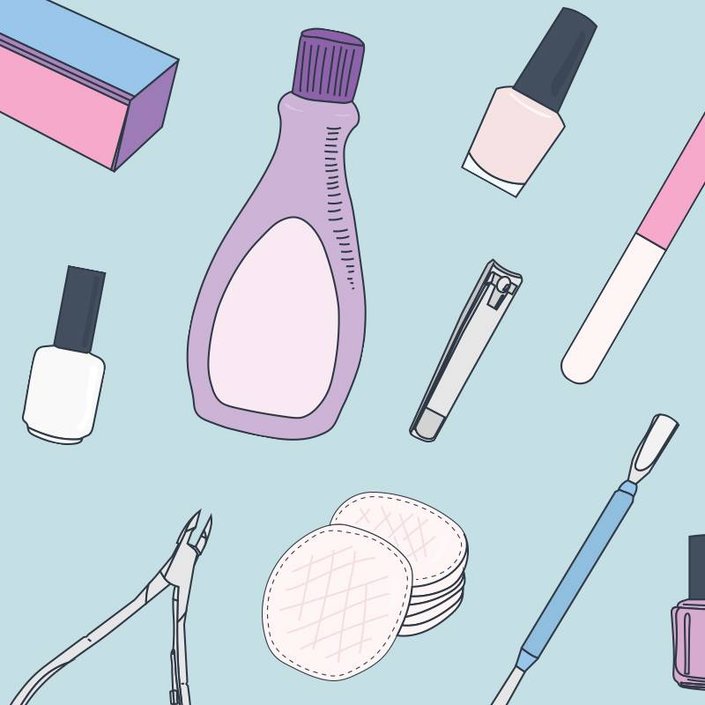
You will need: nail polish remover, cotton pads, nail clippers, nail file, nail buffer block, cuticle pusher, cuticle nipper, base coat, nail polish and top coat.
1. Completely remove any nail polish that’s on your nails. Apply nail polish remover to a cotton pad to rid your nails of any remaining polish. If you don’t have any leftover polish on your nails, use the nail polish remover to take off any excess oils.
2. Shape your nails. Use your nail clippers to trim down your nails so that they are all even, being careful not to make them too short. Use the nail file to shape your nails. When filing, don’t aggressively move the file back and forth. Instead, file from the side of your nail to the center, being sure to lift the file away from your nail when you start on the other side of the nail. After filing, buff the top of your nails to make them look extra smooth, shiny and ready to be painted. Just don’t over-buff because it could weaken your nails.
3. Soak your nails in warm water. Prep your hands before you work on your cuticles by soaking in warm water containing a drop or two of soap for five minutes. Dry your hands and moisturize them after soaking.
4. Push back your cuticles. Now that the warm water has softened your cuticles, gently bush them back with a cuticle pusher. Do not trim or tear at your cuticles, as this could cause infection.
5. Apply your basecoat. Think of your basecoat as a primer for your polish. It’s necessary to apply a base coat to give your polish something to hold onto and to keep your nails strong and healthy.
6. Put on two coats of color. Paint your nails in three thin strokes: one down the center and then one on each side. Wait five minutes for nails to dry, and then apply your second coat.
7. Apply your top coat. Sweep your top coat over your polished nails to prevent them from chipping, give them shine, and — depending on what product you use — make them dry extra fast.
8. Let your nails dry. Patience is key. Don’t let your hard work go to waste by touching something and completely messing up your manicure. Sit still and wait at least 15 minutes for your nails to dry.


.png?cx=0.490000009536743&cy=0.540000021457672&cw=150&ch=120&blr=False&hash=D43FAB504FB280471AA49712C0861D78)


