


.jpg?cx=0.5&cy=0.5&cw=150&ch=120&blr=False&hash=13DE8EDEE0E1AF98CC5D704B05EC64EE)


Give Yourself The Perfect Air-Dry, No-Blowout Style
May 19, 2017

The blow dry has blown up! With style-only salons popping up every five minutes, a girl could spend her whole paycheck getting her hair done every few days. Besides, who wants to spend the blazing hot summer subjecting themselves to the stifling heat of a blowdryer? It’s time to take matters—and manes—into your own hands. Thankfully, this is the season for air-drying, and the results are better than ever thanks to the new, ingenious crop of styling products designed for hair that need never see a burst of hot air. With the right potions, tools, and expert tricks, not only are summer’s sexiest styles possible, but your strands will thank you too. “Most people have dry hair to begin with, so when you add a very hot tool like a dryer into the mix, it sucks even more moisture out of the hair strand,” explains stylist Amber Mayo. Take a break and hair will be healthier, softer and shinier. Here, she gives us step-by-step how-to’s on three classic ‘do’s that all have one thing in common: No blowdryers allowed.
The look: The Super Sleek No-Blowout
If your hair is straight:
- Start with freshly shampooed and conditioned hair. Give your hair a thorough rinse to ensure there isn’t shampoo/conditioner residue remaining - which could weigh hair down.
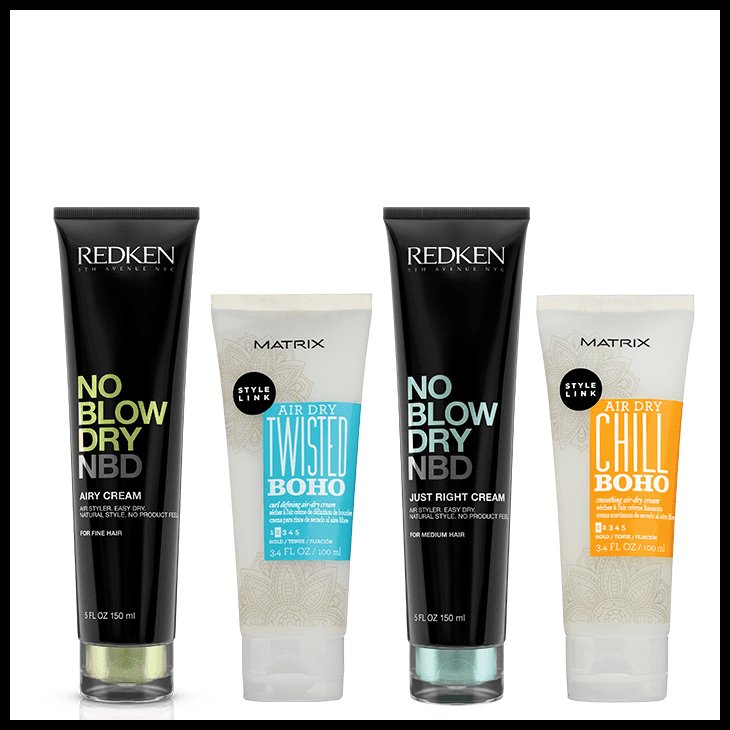
- For thin hair, apply a dime-size amount of an ultra-light smoothing cream designed to tame flyaways without any extra weight, like Redken No Blowdry Airy Cream.
- Once dry, lightly spray a heat protectant from root to ends. But don’t overdue it - too much will make the hair appear oily. Try Matrix Style Link Prep Heat Buffer Thermal Styling Spray.
- Heat your flat iron to the appropriate temperature for your hair texture. Generally for fine hair, 350-375 degrees is sufficient, while thick, coarse hair needs 400-410.
- The key to a good flat iron job is working in small sections. Rule of thumb: Thin fine hair divide into 1”-1 ½ sections, thick coarse hair should use ½-inch sections.
- Comb your section out and quickly glide the flat iron from root to end. Repeat this process twice. Always ensure you are swiping using a fluid movement.
- Repeat until all hair is ironed.
If your hair is naturally curly:
- Start by shampooing and conditioning hair with a frizz-fighting, smoothing shampoo. Try L’Oréal Hair Expert Smooth Intense Ultimate Straight Shampoo and Conditioner.
- Apply a straightening cream and a light-weight straightening serum while wet. Try L’Oréal Smooth Intense Ultimate Straight Perfecting Balm, and L’Oréal Eversleek Frizz Finish Oil-In-Serum.
- Depending on your curl pattern, after you brush the product through you’ll either let it air dry, or braid into a low pony first. The key to this step is stretching out your natural curl pattern. If you have more of a wave, air drying after brushing is sufficient. However, if your curls are tighter then you’ll want to braid the hair.
- Once dry, spray a heat protectant from root to ends.
- Heat your flat iron to the appropriate temperature for your hair texture. Generally for fine curly hair heat to 375-400 degrees, for thick coarse hair heat to 410-420 degrees.
- The key to a good flat iron job is working in small sections. Rule of thumb: Thin fine hair divide into 1”-1 ½ sections, thick coarse hair should use ½-inch sections.
- Comb your section out and quickly glide the flat iron from root to end. Repeat this process twice. Always ensure you are swiping using a fluid movement.
- When creating a sleek straight look with curly hair, you want the appearance of “naturally straight hair” starting with your roots. This is where your small sections will be important. If your roots don’t look straight enough, try doing multiple swipes at the roots only and then bring the iron down to the ends. If your roots are still too frizzy make your sections smaller.
- Apply a little hair oil on your ends only to boost shine, and smooth frizz. Try Redken Diamond Oil Shatterproof Shine.

The Look: The Beach Wave No Blow Out
If your hair is straight:
- After shampooing and conditioning, apply a light curling and texturizing cream to damp hair. Try Matrix, Style Link Twisted Boho Curl Defining Air-Dry Cream.
- Braid hair into a low, tight ponytail and tie at the very bottom. Do not tie hair in a pony first, and then braid it. Doing so will leave an indentation in your hair.
- Let air dry until the hair on the outside of your braid is dry to the touch.
- Unravel braid and loosely tousle.
- Lightly spray with a sea salt styling spray like Redken Beach Envy Volume Wave Aid, and gently scrunch to coax the wave.
If your hair is naturally curly:
- Being aware of your natural curl pattern is an essential part to achieve the beach wave with naturally curly hair. Since you are already starting with waves, the steps are minimal.
- Start by shampooing and conditioning hair with a formula that’s designed to defrizz and moisturize curls. Try Garnier Fructis Curl Nourish Shampoo and Conditioner.
- Apply a cream designed to help loosen your curl, like Garnier Fructis Curl Stretch Loosening Pudding, which lets you pull and brush curls into a softer pattern.
- Depending on your curl pattern you will either brush the product or use your fingers to comb through:
- Naturally loose curl/wave: Finger comb your hair to spread the product evenly, scrunching the ends. Let air dry.
- Naturally tight curl: Brush the product through your hair, then scrunch the ends and let air dry. Your goal is stretching out your natural curl pattern to loosen it.
- Once your hair is completely dry, scrunch the ends with a paper towel. Why not just fingers? Natural oils from your fingertips make the hair frizzy. This process will loosen the curls from the product air drying on the hair, giving you a smooth frizz-free curl.
- Beach curls are meant to look effortless. Since you are starting with natural curls, all you want to do now is enhance them. If some of your curls didn’t dry exactly as you wanted them to, reach for your curling iron. Section the hair into two or three sections (sections will be determined by hair density)
- Make sure to curl sporadically so you don’t look perfectly styled. And always curl away from your face.
- Once you’re finished with each curl, tug on the the curls until the hair is completely straight, then release and repeat several times. It is essential you do this step immediately after you release the hair from the rod.
- Put a dime-size amount of hair oil in the palm of your hands and rub them together. Then, starting at mid-shaft, glide your hand down your hair, slightly pulling on it. Repeat several times. Try Matrix Oil Wonders Indian Amla Strengthening Oil.
- Hair will fall slightly over time, giving you the perfect beach wave appearance.

The Look: Smooth Retro Waves
If your hair is straight:
- Start with freshly shampooed and conditioned hair.
- Apply a smoothing texturizing cream that tames hair and gives it some grip to hold a curl. Try Redken No Blowdry Just Right Cream.
- Let hair air dry.
- Once dry, spray a heat protectant from root to ends.
- If your hair is fine, create two sections of hair. For thick hair, go for three sections. Then those sections will be sub-divided into smaller chunks.
- Smooth retro curls are meant to look like a seamless S from mid-shaft to ends. Starting at the mid-shaft of your sub-section, loosely wrap around a curling wand, making sure to include your ends.
- Leave wrapped for 10-12 seconds, release, and don’t touch it (playing with heated hair will alter the finished product).
- Repeat until all hair is curled
- Finger comb your curls loose, but be careful to not over comb. Usually two or three passes is plenty.
- Spritz a paddle brush with hair spray.
- Brush hair from root to end, in the direction of your part
- Put a dime-size amount of hair oil in the palm of your hands and rub them together. Then, starting at mid-shaft, glide your hand down your hair, slightly pulling on it. Repeat several times to define the “s” curl
- Mist allover with holding spray. Try Redken Wind Blown 05.
If your hair is naturally curly:
- Start by shampooing and conditioning with products designed for smoothing curly hair.
- Apply a lightweight smoothing cream to defrizz and loosen curl. Try: Matrix Style Link Chill Boho Smoothing Air-Dry Cream.
- Since you’ll need to stretch out your natural curl to make it looser, your next step depends on your texture:
- Loose curl/wave: Brush the product through your hair and let it air dry.
- Tighter curl: Brush the product through your hair and then make a low ponytail braid to air dry.
- Once the hair is completely dry, spray with heat protectant and brush through.
- In large sections, flat iron your hair with one or two passes. This process should take five minutes max. You are only trying to eliminate frizz and overly kinky pieces - not get it perfectly straight. Be sure not to over-straighten strands.
- Divide hair into two sections (for thin hair), three sections (for thick hair).
- Starting at the mid-shaft of your section, loosely wrap hair around a curling wand, including your ends.
- Repeat steps 7-13 from above section.
How To Make Your Style Last
You did it! You beat your need to blowdry. But now what? Here’s how to get your style to look fabulous all day long, and the next day, and even possibly the day after that.
DON’T Play with your hair. Touching too much will deposit oils that can make hair frizzy or make it look greasy quicker than it should.
DON’T pull your hair back in a hair tie after it’s been curled. It’ll break up the curl pattern. Instead, try to use bobby pins to pull into a low or high bun
DO know your hair. If your roots at your part are looking too heavy (read: greasy), flip your part. If your hair is starting to look weighed down at the root and into the mid-shaft, that’s the day you pull it up into a ponytail or bun.
DO use dry shampoo to help stretch your washes. Make sure to choose a lightweight, non-sticky formula. But go easy. Too much will make hair look dirtier!
DO sleep with a silk pillowcase. The silk material helps strands (especially those that are styled or curly) look smooth longer and helps with breakage.
DO use correct shampoo and conditioner for your hair texture. Doing so will help prolong your in-between wash days. If your hair is on the finer side, using something light weight will help you feel like your hair is weighed down.