Here’s How to Fix a Broken Nail and Save Your Manicure
June 26, 2023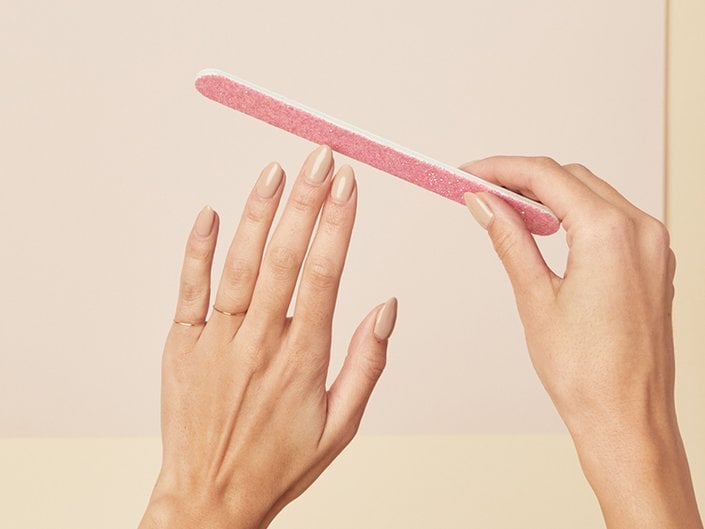
There’s no other way to put it — breaking a nail sucks. Not only has your perfectly filed and polished manicure taken a serious hit aesthetically speaking, but chipping a nail down to the nail bed can be majorly painful (like, ouch). While you may think that all hope is lost and your flawless new mani is doomed for good (or at least until you can make it back to the salon), we’re happy to report that you can, in fact, repair a broken nail at home with a few simple steps. How? Keep scrolling, because we’re sharing tips for fixing your broken nail, STAT, as well as advice on how to prevent it from happening again in the future.
What Makes a Nail Susceptible to Breaking?
There are tons of different factors that can cause your nails to break, but the bottom line is, “every nail has its breaking point,” says Julie Ventura, nail education consultant at ORLY and founder of NailKnowHow. “That means every nail can only withstand a certain amount of pressure based on the length. Having nails too long for the amount of daily pressures you put on them is definitely going to lead to breakage!” In other words, the longer your nails are, the more likely you are to suffer from a broken nail.
However, you can still rock lengthy claws as long as you’re careful and you take precautions to strengthen your nails. Besides, length isn’t the only cause of nail breakage. Weak nails are also more susceptible to splintering. “Improper removals and overfiling of the nail plate will weaken your natural nail and make them more susceptible to breaking,” notes Ventura. That’s why it’s important to make sure you make an appointment with a licensed professional for the application and removal of more involved manicures such as Gel-x or acrylics.
How to Fix and Repair Broken Nails
Whether you have a minor chip or a straight-down-the-center break, mending your broken nail is actually pretty easy to do at home. For Ventura’s repair method, you’ll need nail glue, an empty tea bag or coffee filter and a file. It also may be helpful to have rubbing alcohol and a top coat handy.
Step 1: Clean the Area
“To repair a broken nail, always start with cleansing away any oil and debris with isopropyl alcohol and a lint-free wipe,” advises Ventura. Starting with a clean canvas will help minimize mess when you go in with your nail glue, and ensure that your DIY nail repair stays in place.
Step 2: Adhere a Tea Bag or Coffee Filter to the Broken Nail
It may seem unconventional, but trust us: This DIY repair works like a charm. Start by cutting off a small piece of a tea bag or coffee filter paper that’s a smidge larger than the damaged part of the nail, then apply a small dot of nail glue to the broken nail. “Place [the tea bag] over the glue and press it down,” says Ventura. “Once it's locked in place, apply another coat of nail glue and wait for it to dry before gently smoothing out the surface with a buffer or high-grit file.”
Step 3: Smooth the Nail With a File
As Ventura mentioned, the next step is to smooth the newly repaired nail with a file or buffer. If you’re following up the repair with polish, this step will guarantee a more flawless-looking finish.
Step 4: Apply Top Coat or Polish
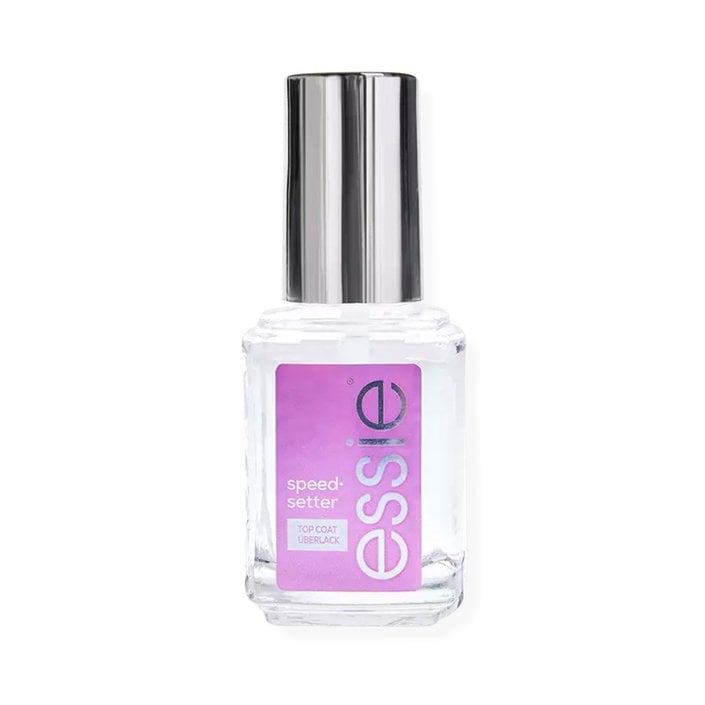
If your nail is painted and the polish chips when you break it, you can reapply the polish after the glue has dried and you’ve smoothed out the surface. If your nails are bare, consider going in with a top coat like the Essie Speed Setter Ultra Fast Dry Top Coat over the glue to make sure your repair will last and voila, good as new. If you get manicures frequently or notice your nails breaking often, you may want to invest in a kit with all of the tools you need to fix a break or a chip, such as the ORLY Nail Rescue Kit.
More Tips for Fixing a Broken Nail
Cut It Down
If your chip seems like it's beyond repair, your best bet is probably filing or cutting the nail down so it’s even (or as even as it can be) across the top. This will keep your broken nail from snagging on clothes or breaking even further. While it may look a little stubby, you can always get a full-coverage tip glued onto the top of your nail until the damage grows out.
Use Nail Powder
In a pinch and need a quick solution? Grab a nail powder, like the IBD 5 Second Nail Filler Powder, for a last-minute mend. Just apply a thin layer of glue over your nail and dip the damaged nail into the powder. Let it dry, buff the surface and apply a top coat. The powder will help your nail look and feel strong until it can grow out.
How to Prevent Nails From Breaking
While we’ve listed a handful of tips and tricks for fixing a nail that’s already broken, it’s better (and easier) to prevent a break from happening in the first place. The key? Keeping your nails strong and healthy. “Be mindful of what pressure you're putting on your nails and really try to avoid pushing them to their limits,” says Ventura. Make sure you’re not placing extra stress on them by doing things like typing with your nails rather than your finger beds or are overdoing it with gel polish. You can also make sure you’re practicing good nail care habits, like applying cuticle oil at least daily (Ventura recommends using it twice a day). “This keeps your nails moisturized so they stay flexible and can bend without breaking,” she explains. Above all, though, strong nails will be your best defense against breakage.
If you feel like your nails are weak and breaking despite taking proper care of them, it’s a good idea to reach out to a board-certified dermatologist for their expert opinion and advice.
How to Strengthen Your Nails
“The real secret is to reinforce your nails, that way they can withstand daily pressures at the length you love,” says Ventura. “I always recommend keeping a clear builder gel overlay under your polish colors to add strength.” If you’re rocking bare nails, you can add a coat of a strengthening treatment — Ventura likes the ORLY Breathable Protein Boost. One of our favorites is the Essie Hard to Resist Nail Strengthener Treatment.
Finally, the key to maintaining strong nails is avoiding common blunders that weaken your nails. “The biggest thing to avoid to keep your nails healthy and strong is again, improperly removing your gels and polishes,” says Ventura. “Chipping off polish or peeling/forcing off gels takes layers of your natural nail plate along with it.” Not only does this significantly weaken your nails, but it may even take as long as six months for your nails to regrow with their previous strength. This guide will help you learn how to properly remove gel nail polish at home if you can’t get to a salon.
The Best Nail-Care Products for Stronger Nails
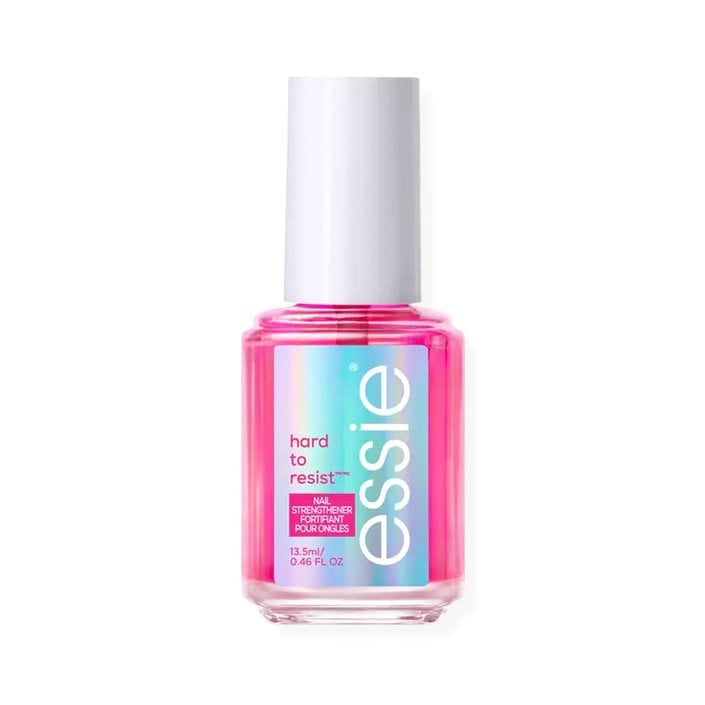
Essie Hard to Resist Nail Strengthener Treatment in Glow & Shine
The Essie Hard to Resist Nail Strengthener Treatment uses bonding technology to bond weakened nail surfaces and strengthen fragile nails. It instantly boosts the strength and resistance of your nails so they can better stand up to whatever your day may throw at you. Glow & Shine is a clear polish that adds beautiful shine to highlight your natural nails.
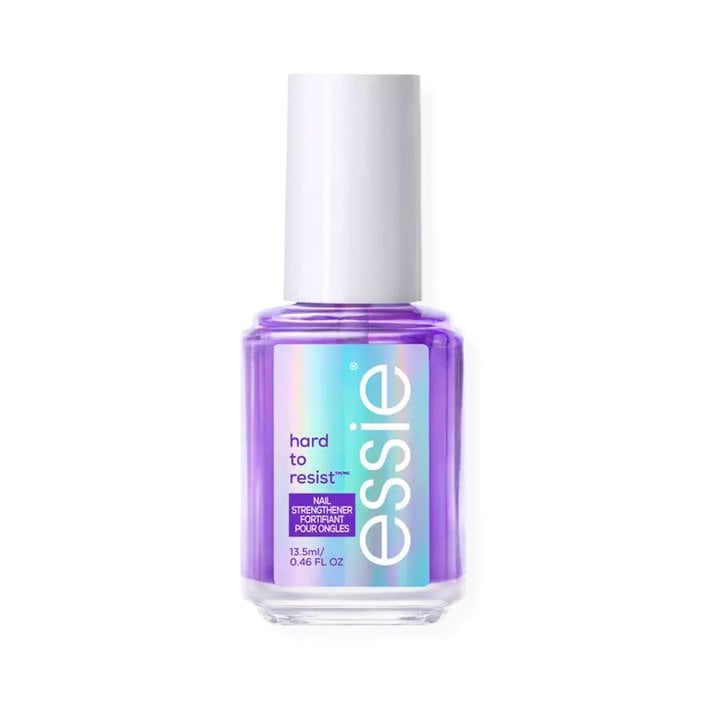
Essie Hard to Resist Nail Strengthener Treatment in Neutralize & Brighten
Do your nails have a yellow tint? Try the Neutralize & Brighten version of the Essie Hard to Resist Nail Strengthener Treatment, a sheer violet tint that neutralizes yellow nails and adds a touch of radiant shine. It has the same nail bonding technology as the Glow & Shine formula, guaranteeing stronger, less brittle nails.
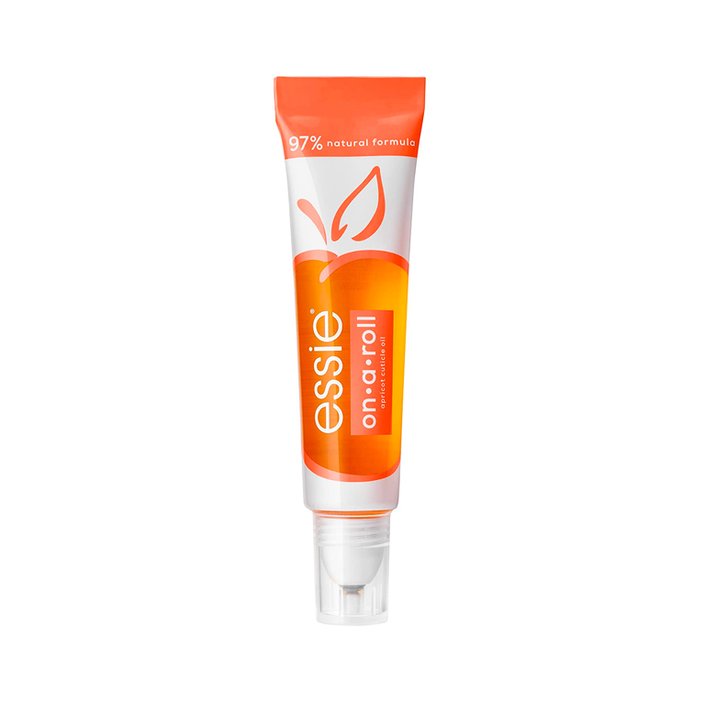
Essie On a Roll Apricot Cuticle Oil
As Ventura explained, making cuticle oil a part of your everyday self-care routine is a simple way to help prevent nail breakage. We’re obsessed with the Essie On a Roll Apricot Cuticle Oil, a nourishing, hydrating cuticle oil with a yummy fruity scent that’s perfect for summer. The mess-proof packaging consists of a tube with a roller-ball applicator, making on-the-go use easier than ever. Plus, the roller ball helps you massage the oil into your cuticles and nail beds and helps ensure you don’t waste any product.
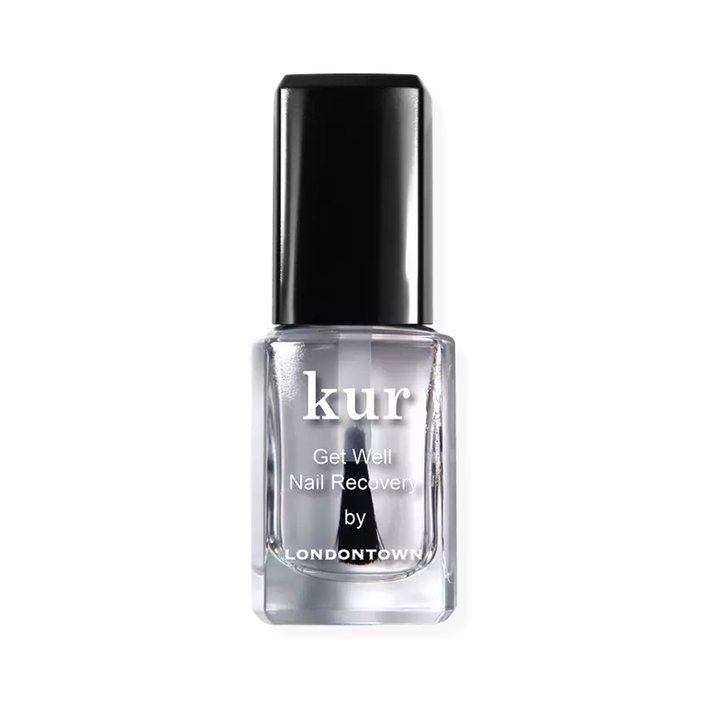
Londontown Get Well Nail Recovery
In addition to breaking, dry, weakened nails can also start to peel. The Londontown Get Well Nail Recovery is a treatment formulated to transform thin, peeling nails that have been damaged by frequent gel or acrylic manicures. It rejuvenates, hydrates and helps to repair the nail’s protective barrier. For the best results, take a break from colored nail polish and apply a new coat of the treatment every day for three days, then start over by removing it with nail polish remover and beginning the process again for a week. During week two, you can apply the treatment every other day. Finally, you can resume wearing nail polish during week three with the Get Well Nail Recovery as your base coat.


.jpg?cx=0.5&cy=0.5&cw=150&ch=120&blr=False&hash=13DE8EDEE0E1AF98CC5D704B05EC64EE)


