


.jpg?cx=0.5&cy=0.5&cw=150&ch=120&blr=False&hash=13DE8EDEE0E1AF98CC5D704B05EC64EE)


How to Remove Acrylics at Home Without Damaging Your Nails
November 02, 2022

It’s a sad day when your once beautiful acrylic nail set begins to chip, crack, or grow out and lose its initial allure. Instead of falling victim to an undone manicure, take matters into your own hands and try removing your acrylics at home. Before you look at us sideways, we’re here to reassure you that, yes, this is possible and it’s surprisingly not hard. Ahead, we tapped celebrity manicurist Julie Kandalec and Gina Alcedo, celebrity manicurist and founder of Nailvana L.A, to tell us the safest way to remove acrylics at home without damaging your nails.
How to Avoid Causing Damage When Removing Acrylic Nails
There’s a common misconception that acrylic nails will inevitably damage your natural nails, but Kandalec assures us that is not the case. “Always important to note that it’s not the product that causes damage,” she says, “it is the improper application (curing too long, using the wrong base coat or lamp wattage) and removal (not soaking long enough, or peeling them off).”
To learn more about improper acrylic application and removal, check out this article, where Kandalec breaks down common mistakes nail technicians can make when working with acrylic nails. (Hint: If your nail tech ever tries to remove your acrylics with a credit card or a piece of dental floss, run, she says).
What You Need to Remove Acrylic Nails
First things first, you’re going to need 100% pure acetone to help you get the job done. Pure acetone is a very harsh chemical that can ruin many surfaces, so once you’ve gathered your tools, be sure to properly cover the area where you’re going to be removing your acrylics.
Next, Kandalec recommends gathering two to three coarse nail files (she suggests files labeled with 100 or 180 grit), one padded nail buffer, one to two orangewood sticks, one medium grit nail file (look for one with 220 or 230 grit), one fine grit nail file (400 or 600 grit), cuticle oil, a hand towel and a ceramic or glass bowl. Never use a plastic bowl, cautions Kandalec. Alcedo recommends putting down a plastic bag with a thick towel over your workstation to be safe from any mishaps.
How to Remove Acrylics at Home in 10 Easy Steps
“The safest way to remove an acrylic or dip manicure at home is by using what I call the ‘the soak and roll’ method,” says Kandalec. Follow her steps below.
Step 1: Prep Your Nail Files
“First, soften the edge of your coarse files by rubbing them on the side of another coarse nail file so that you don’t cut your cuticles.” Cuticles are the skin surrounding your nail that help keep bacteria out and prevent infection — they’re more important than you think, so you definitely don’t want to cut them!
Step 2: File Your Nails
Using your coarse nail file, file off as much of the acrylic as you can — aim for about 80%. This is key because it will help cut down on the time you need to soak your nails, Kandalec says. “Expert tip: Leaving the surface extra rough will allow the acetone to penetrate easier,” she adds. “Also, never clip your enhancements because they will crack and cause damage to your nail!” We recommend this pack of nail files from Amazon, which comes with a set of 25 100 and 180 grit nail files.
Step 3: Apply Cuticle Oil
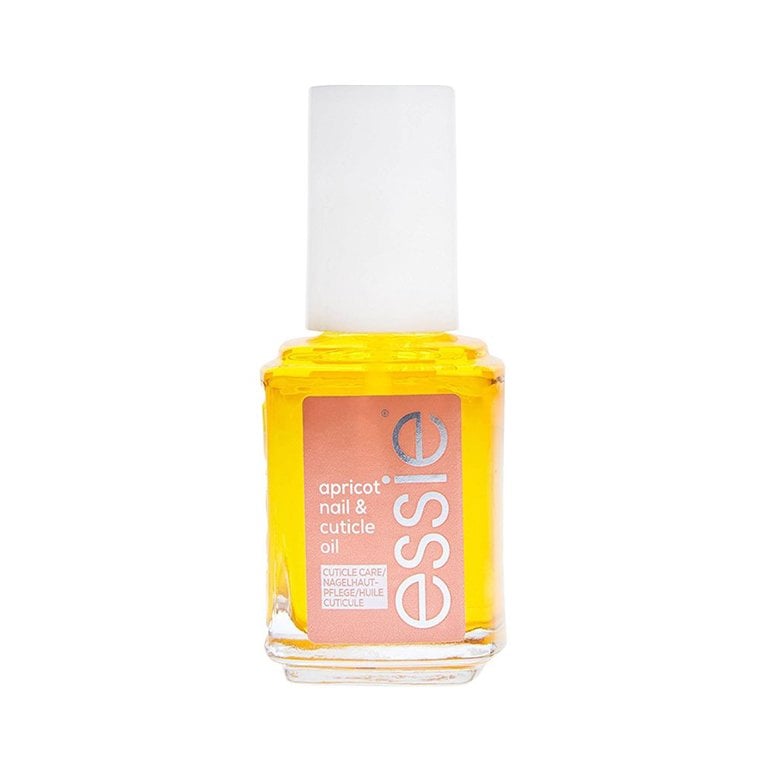
Next, apply cuticle oil to the cuticles and underneath the free edge of the nail, aka the part of the nail bed that extends past your finger. Kandalec recommends using a dropper or a Q-tip to apply your cuticle oil instead of the brush it comes with to minimize the spread of germs — especially if you’re doing your own acrylic removal and a friend’s. Need a cuticle oil rec? Our go-to is the Essie Apricot Cuticle Oil.
Step 4: Soak in Acetone
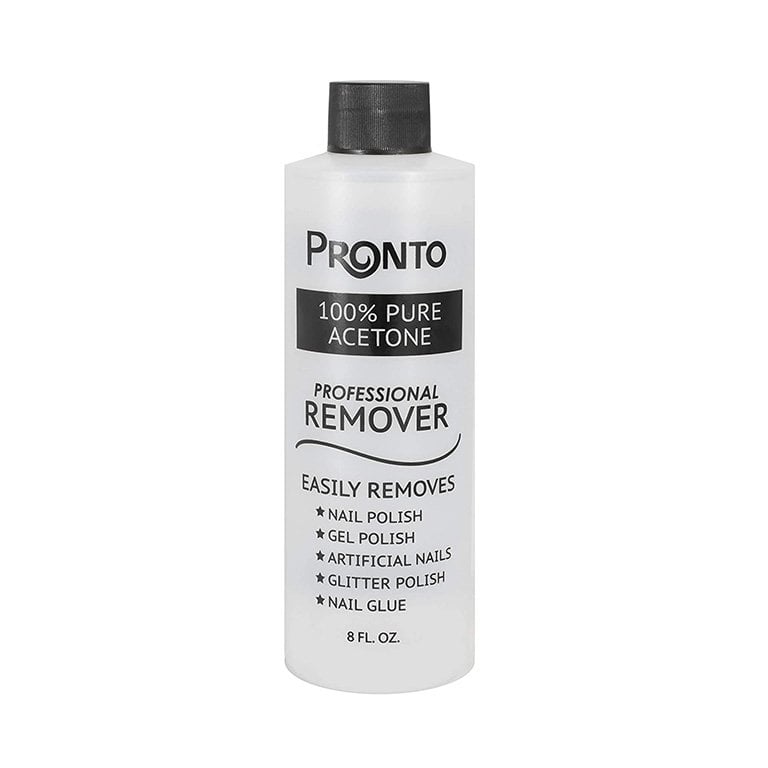
“Pour about three inches of acetone into your bowl and place your hand in it,” says Kandalec. Work on one hand at a time — that way you can still text and snack with the other, she adds. You can pick up this eight-ounce bottle of acetone for just under $10 on Amazon.
Step 5: Place a Towel on Top of Your Soaking Hand
“Cover your soaking hand with a towel to prevent evaporation and allow the acetone to work faster,” says Kandalec. “Another important tip: Never use actual heat — acetone is very flammable!”
Step 6: Use a Wooden Orange Stick
After 10 to 15 minutes of soaking, your acrylics should be getting softer. At this point, start gently nudging the acrylic towards the tip of your nail (not towards the cuticle) using a wooden orange stick. As Kandalec cautions, you should not use a metal stick. You can get a pack of 144 wooden orange sticks for just over $6, here.
Step 7: Roll Away the Acrylic
“Use your medium grit file to roll the softened acrylic off the nail until it doesn’t roll anymore,” says Kandalec. Again, push towards the tip of the nail. “Never push towards the cuticle (or against the grain) just after they’ve been soaking in acetone.” For this step, try this 220/230 nail file from Amazon.
Step 8: Re-Apply Cuticle Oil and Re-Soak
Repeat the cuticle oil application and soak in acetone again, and continue repeating until all of the acrylic is gone.
Step 9: Use a Fine Grit Nail File
Finally, gently smooth the surface of your nails using a fine grit nail file, such as this option from Amazon.
Step 10: Finish With More Cuticle Oil
“Apply cuticle oil to rehydrate your nails and skin, and you’re done!” says Kandalec. Now you’re ready to give yourself a DIY manicure, or apply press-on nails to fake the look of acrylics without going to the salon.
If you need some visual help with the acrylic removal process, check out Kandalec’s video below.
How to Remove Acrylic Nails Without Acetone
According to Kandalec, you can use just a regular nail file to remove acrylic nails, but this would take an extremely long time. It’s also possible to remove them using an electric file, or an e-file, but these are best left to the professionals. “I do not recommend these for your own removal if you have not been trained to use them correctly,” says Kandalec. “Using e-files requires specialty training and without knowing the proper bits to use, the direction it should rotate, the correct angle and pressure, or the RPMs, you can cause serious damage to your nail plate — just like using anything else without proper training.” The step-by-step “soak and roll” method is your safest bet for at-home acrylic or dip removal.
Can I Remove Acrylic Nails With Nail Polish Remover?
“Regular polish remover will not totally work, as it will not break the acrylic down — it will make it sticky and gummy,” says Kandalec. You’ll end up with a bigger mess that’s harder to remove, which is why 100% acetone is key.
Can I Remove Acrylic Nails With Hot Water?
While it’s possible to remove your acrylic nails with hot water, Kandalec recommends skipping this method entirely. It will take significantly longer than using acetone and if the water is too hot, you could end up burning yourself. Plus, if the acrylics don’t soften enough in the hot water, removing them will damage your natural nails.
“The worst mistake is when people get impatient and just yank the acrylic off,” says Alcedo. The “soak and roll” process isn’t a hard one but it does require quite a bit of time. So put on your favorite TV series, take your time, and whatever you do, don’t scrape too hard or yank off the acrylic. These are the top two culprits to weak and flimsy nails post-removal, as it takes off layers of your natural nails.
How Should You Care for Your Nails After Taking Off Your Acrylics?
After removing your acrylics, it’s likely that your nails will feel worn out after. Alcedo says the best way to care for your natural nails post-acrylic removal is by cutting them down to avoid inevitable tearing and breaking, and then applying a nail hardener every day, like the Essie Hard to Resist Nail Strengthener Treatment. Available in shades of translucent pink and purple, it uses nail bonding technology to help build stronger, less brittle nails. Other tips Alcedo recommends are eating calcium-rich foods and moisturizing, moisturizing, moisturizing with cuticle oil.
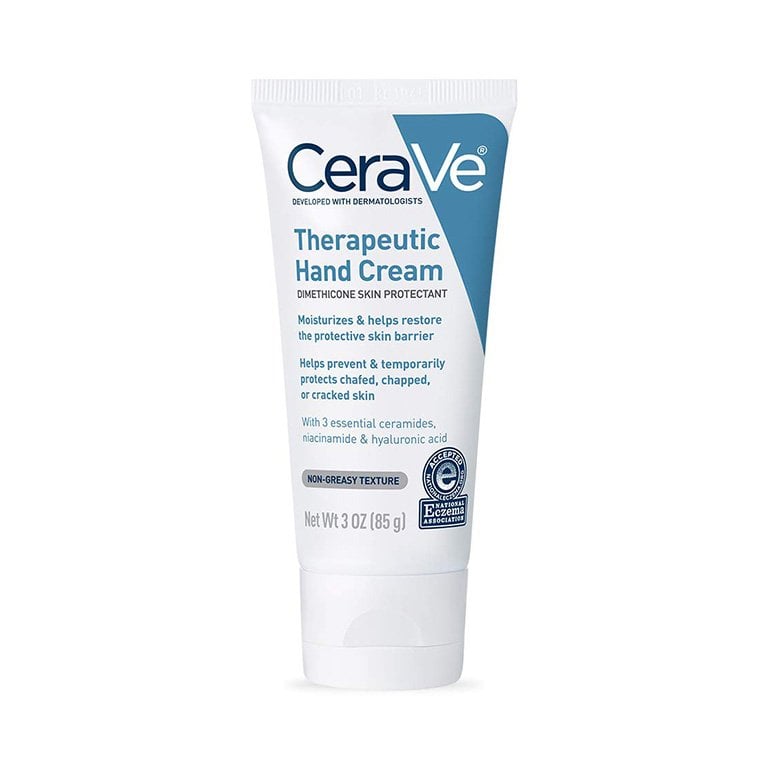
For an extra dose of moisture, try applying a hand cream, such as the CeraVe Therapeutic Hand Cream, a non-greasy, fast-absorbing formula that includes three essential ceramides to help restore the skin’s moisture barrier. It’s only three ounces, so it’s small enough to toss in your bag to reapply on the go, especially after you wash or sanitize your hands.
Additional reporting by Ariel Wodarcyk