


.jpg?cx=0.5&cy=0.5&cw=150&ch=120&blr=False&hash=13DE8EDEE0E1AF98CC5D704B05EC64EE)


This Rainbow Eyeshadow Tutorial Is Giving Us Major Feels
February 24, 2020
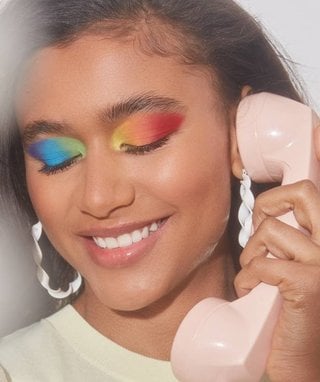
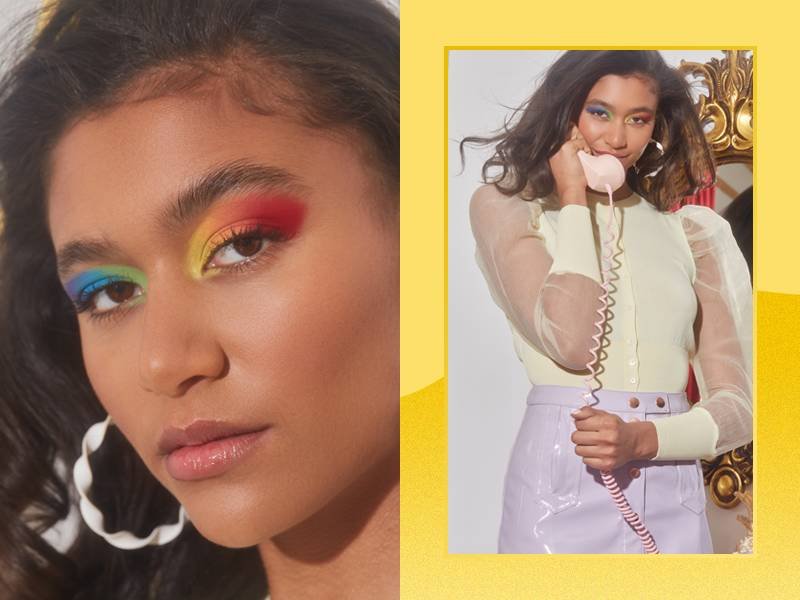
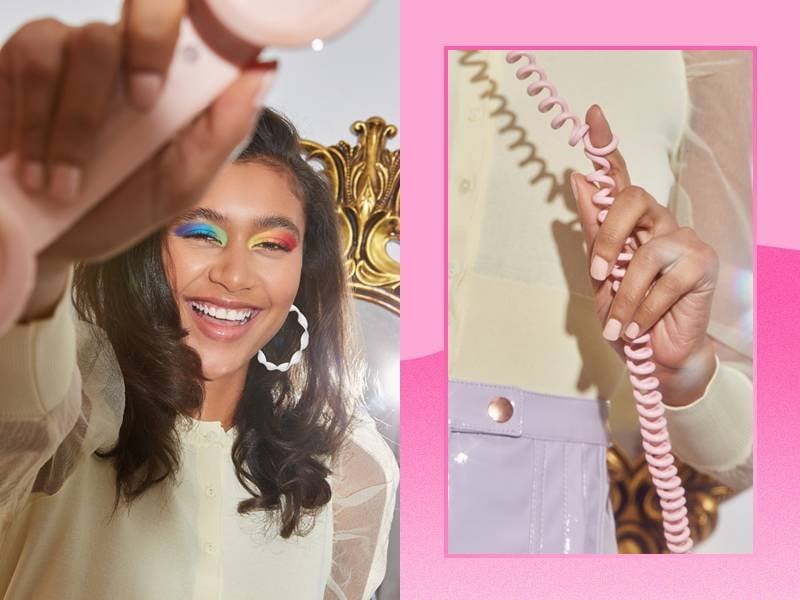
Bold, bright and rainbow are the keys to our hearts here at Makeup.com. And as luck would have it, makeup artist Jonet Williamson was able to combine all three to create an enchanting, magical and jaw-dropping rainbow eye makeup look that TBH, we can’t stop staring at. Even if we don’t find a pot of gold when all is said and done, pulling off this colorful ROYGBIV beat and crazy sharp cut-crease at-home will be considered a win in our book. To get the deets on how to recreate this ~ dreamy ~ eyeshadow vibe (just in time for St. Patrick’s Day!), read on, because we’re telling all.
STEP #1: Pick Your Products
To get this look as pigmented as possible, it’s important to select products that pack in a colorful punch. The secret? Using cream eyeshadow. “Cream eyeshadows are easier for this because they’re more opaque and you’ll get a really even wash of color,” says Williamson. “If you want to intensify the look even more, you can put powder shadows over top of the cream shadow.” We recommend stocking up on the NYX Professional Makeup Vivid Brights Créme Colour. Their velvety formulas are super blendable and the pigment is eye-catching.
STEP #2: Start With the Outer and Inner Corners
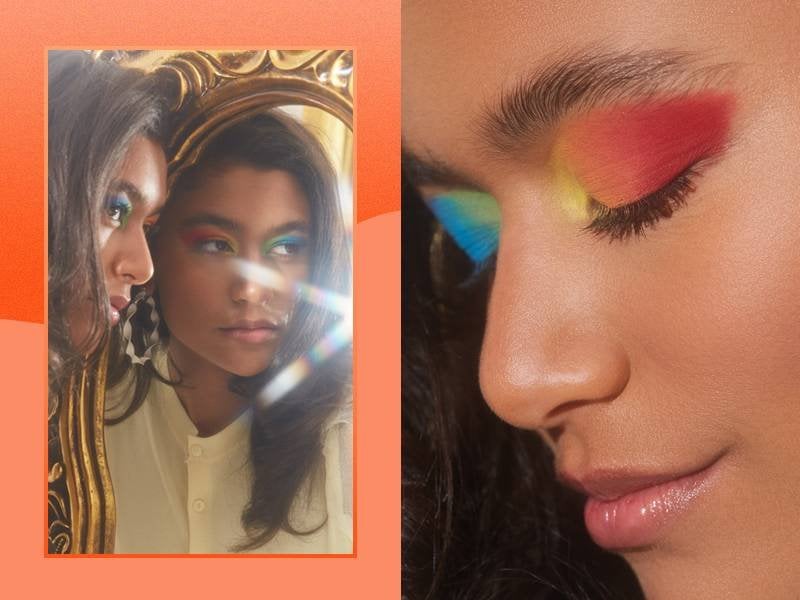
For the left eye, you’re going to use red, orange and yellow, in the order of the rainbow. Take a rounded shader brush and a yellow pigment, like NYX Vivid Bright Créme Colour in Light Show, and pack the color from the inner corner of your eye to the start of your pupil and up to your crease. You can also bring the yellow down to your inner, lower lash line and tear duct. Now, grab a red shade, like Cyberpop. “Place the red on the outer corner and almost make a wing shape,” says Williamson. “If you want a more diffused look, you can also buff it out.” Then, blend the colors across the top of your crease so the red and yellow connect.
STEP #3: Blend Into the Center and Connect at the Crease
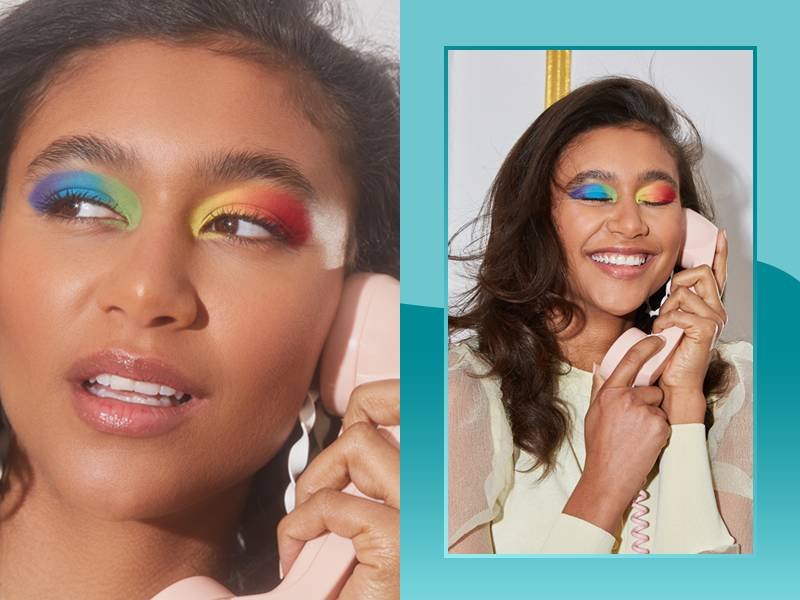
“Mix your red and yellow together for an orange shadow and place it in the center of the lid,” says Williamson. “Then, use a clean brush to blend the in-between sections.” For a more natural and diffused finish, blend red pigment on top of the area where red and orange meet and yellow pigment on top of the area where yellow and orange meet.
STEP #4: Repeat on the Other Eye
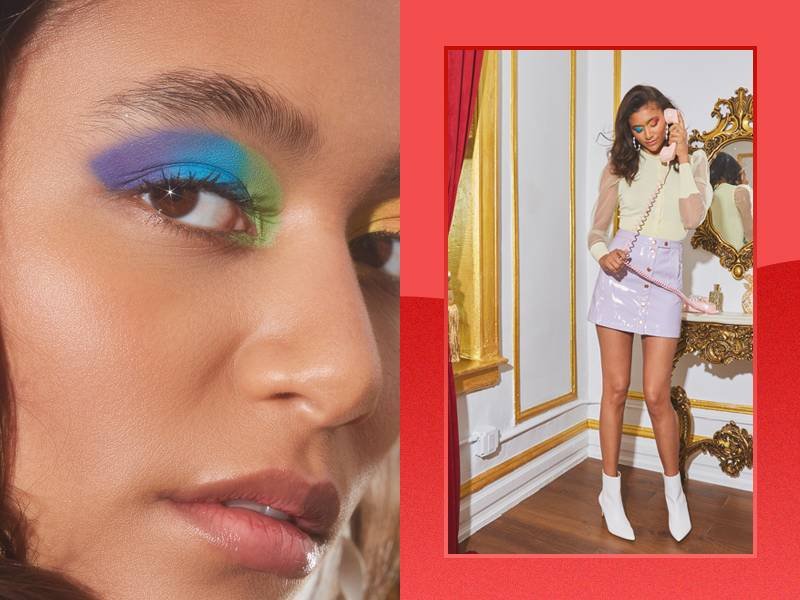
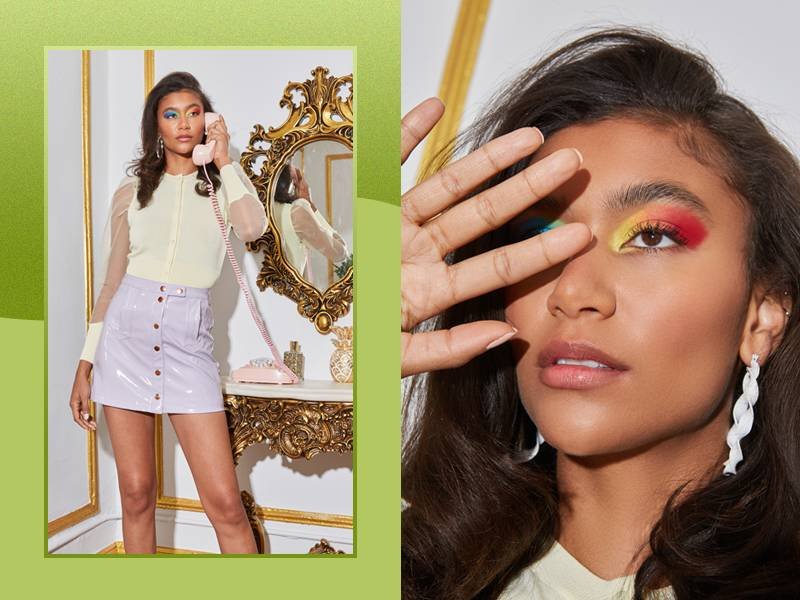
For the right eye, you’ll want to grab a green, blue and purple shade to complete your gradient rainbow eyeshadow. To achieve a more muted green, try mixing the yellow shade you used on your left eye with Get Money, the green NYX Colour Créme. Apply that shade in your inner corner, tear duct and the start of your lower lash line. Then, use the purple shade, Rebellious Edge, on the outer corner for a stark contrast. Pop the sky blue shade, Blueprint, into the center of your lid. Follow the same blending technique you did on the other eye and be sure to use clean brushes.
STEP #5: Finish With Mascara
Eyeliner isn’t necessary with this look, but a length-boosting mascara most definitely is. Williamson used the L’Oréal Paris Bambi Eye Washable Lengthening Mascara. It’s clump-free, super volumizing and lengthening. Plus, it’s the perfect, dramatic complement to the gradient rainbow eyeshadow.
Read More:
This Emerald Green Eyeshadow Look Is Everything
Beauty Q&A: What Is Brow Lamination?
Your Guide to Removing Every Type of Makeup Stain
Photographer: Chaunte Vaughn, Art Director: Melissa San Vicente-Landestoy, Makeup Artist: Jonet Williamson, Makeup Assistant: Crisdanil, Wardrobe Stylist: Monet Luhrsen, Hair Stylist: Kiri Yoshiki, Visual Designer: Hannah Packer, Producer: Jessica Thiel, Production Assistant: Kaela Francesca, Digital Tech: Paul Yem, Model: Jess Epps