Makeup Artist Tips for Filling in Your Brows
September 14, 2023
What Products Do You Need to Fill in Your Brows?
To create a full, fluffy and natural-looking brow that stays in place throughout the day, you’ll need a few products in your lineup. Biggers-Stewart suggests grabbing a spoolie, a brow pencil or pen, as well as a brow pomade or gel.
For pencils, we love the Maybelline New York Express Brow Ultra Slim Defining Eyebrow Pencil. Available in seven different shades and with a built-in spoolie, the pencil makes drawing on hair-like strokes easy, thanks to its precise tip and smooth formula.
If you have very sparse brows or no brows at all, we suggest the NYX Professional Makeup Zero to Brow Longwear Brow Gel. The highly pigmented, dual-ended gel helps you craft your ideal brow shape regardless of what your natural brows might look like. Plus, it’s available in seven shades to help you find your most natural-looking match.
How to Fill in Your Brows
Grab your favorite brow products and follow Biggers-Stewart’s step-by-step instructions below for creating a natural brow look.
Step 1: Comb Your Brows
According to Biggers-Stewart, the first step in the brow-filling process is to use your spoolie to comb your brows. Biggers-Stewart starts by brushing her brows down and then away toward her temple for a lifted effect. “Thoroughly brushing your brows is important for a few reasons — it removes product build-up, it preps the brow hairs to be ‘styled,’ and it stimulates the hair follicles.”
Step 2: Trim — If Necessary
“Trim any rogue hairs if necessary with a pair of nail scissors,” says Biggers-Stewart. “This step is critical to the finished look.” You definitely don’t want to overdo this process, so if you’re uneasy about trimming your own brows, we recommend visiting a brow specialist.
Step 3: Fill in Sparse Spots
Next, use your brow pencil or pen to draw on hair-like strokes in sparse areas of the brow. “Avoid drawing in long strokes, unless you have really thick brows where you can’t tell,” she says. “It’s best to do short strokes that mimic your natural hairs.”
Biggers-Stewart also recommends using a brow product that matches your hair color or going one shade darker.
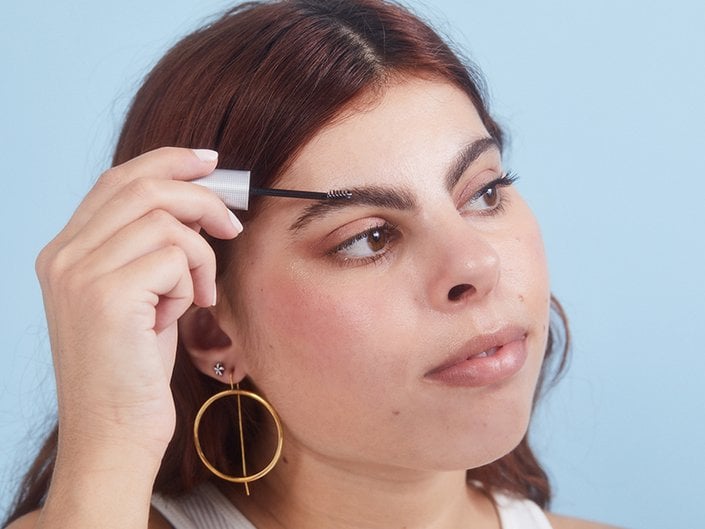
Step 4: Brush Hairs Into Place With Brow Gel or Pomade
The final step in the process is to use a brow gel or a brow pomade (Biggers-Stewart recommends the CLOVE + HALLOW’s Boost-A-Brow) to your brows. This step thickens the brows and blends pigment from your pencil or pen, giving you a full and fluffy look. It also helps to lock the look in place. “If someone needs extra staying power, a tiny amount of hair spray or hair gel on a spoolie layered on top of the pomade only where needed will help,” she adds.
One of our favorite transparent brow gels for keeping our brows in place is the Brow Code Alias Brow Lamination Gel. It can be used over tinted brow products or on its own for a soap brow-like look.

