This site is for Canada only. Cookies and related technology are used for advertising. To learn about your choices see our privacy policy.
Close
Skip to content
-
-
-
-
-
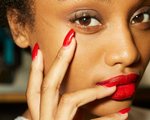
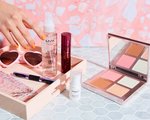
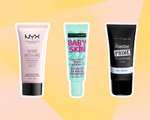
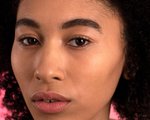
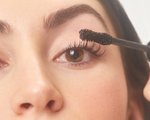
We Sent a Beauty Editor to Makeup School With NYX — Here’s What She Learned
Read more
![Loading]()
Back to top

.png?cx=0.490000009536743&cy=0.540000021457672&cw=150&ch=120&blr=False&hash=D43FAB504FB280471AA49712C0861D78)