


.jpg?cx=0.5&cy=0.5&cw=150&ch=120&blr=False&hash=13DE8EDEE0E1AF98CC5D704B05EC64EE)


Why Your Blush Looks Splotchy — and How to Fix It
September 22, 2022

Patchy, streaky and blotchy blush is certainly not ideal. It happens to the best of us: One minute, you have rosy cheeks, and the next, you have hot pink product clumps. While a botched blush job can leave much to be desired, the correct blush application and products can help give you a naturally flushed, rosy and fresh complexion. To help you say goodbye to blush mishaps once and for all, we’ve listed our top tips for avoiding too-pink, streaky cheeks, ahead.
How to Prevent Blotchy Blush
TIP #1: Exfoliate Your Skin
One of the best ways to ensure smooth makeup application is by creating a smooth base. If your skin is dry and flaky, your blush — or anything else for that matter — will look streaky and uneven. Lightly exfoliate once or twice a week with a gentle scrub like the L’Oréal Paris Bright Reveal Facial Cleanser with Glycolic Acid. This will help remove dead skin cells and flakes that could be messing with your makeup.
TIP #2: Prime Your Complexion
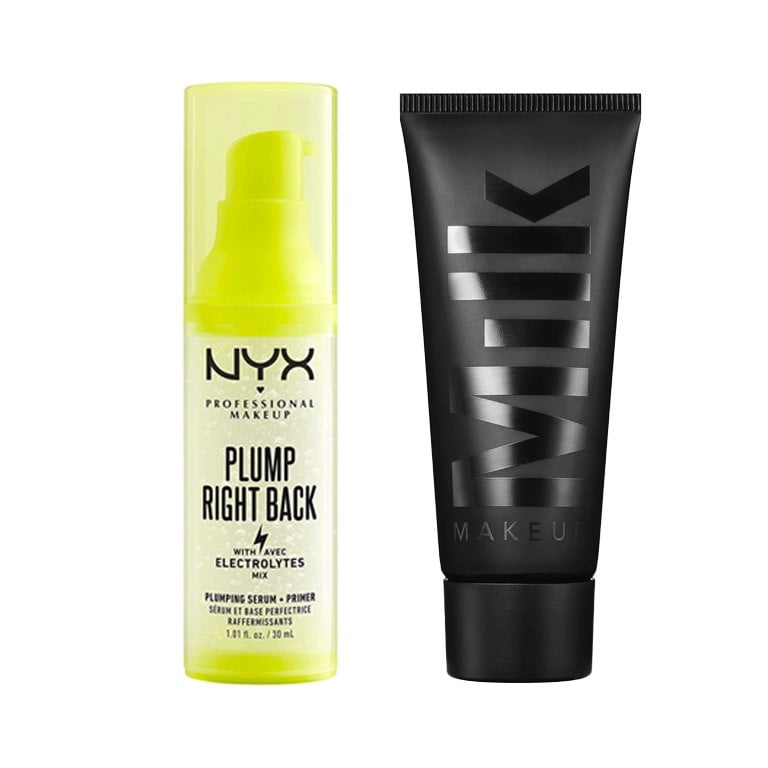
After moisturizing, use a pea-size amount of primer to help blur imperfections and give you a more flawless foundation application that will stay on and look fresh throughout the day. If you want to opt for a primer that’s plumping and dewy, try the NYX Professional Makeup Plump Right Back Primer + Serum with electrolytes.If matte makeup is your preference, try the Milk Makeup Pore Eclipse Mattifying + Blurring Primer.
TIP #3: Use the Right Tools for Application
In the same vein of keeping things smooth, it’s important to have an even base of foundation before applying your blush on top. We like to use a beauty sponge or foundation brush, like the IT Cosmetics Heavenly Luxe Complexion Perfection Brush #7, so that the product is distributed evenly across the face. (Pro tip: If you have naturally oily skin, opt for a matte foundation so that your skin’s natural oils don’t interfere with cream or powder blush.)
TIP #4: Select the Right Cheek Product
Selecting the right formula can have a big impact on how your product applies and wears throughout the day. If you have dry skin,look for formulas that are cream or liquid and easily blendable to help your complexion stay hydrated throughout the day. We love the YSL Beauty Nu Lip & Cheek Balmy Tint with hyaluronic acid for a dewy finish, or the Nudestix Nudies Matte Lux Blush for a matte finish. If you prefer a powder finish, try the Valentino Beauty Eye2Cheek Blush and Eyeshadow, which has a buildable, cream-to-powder formula.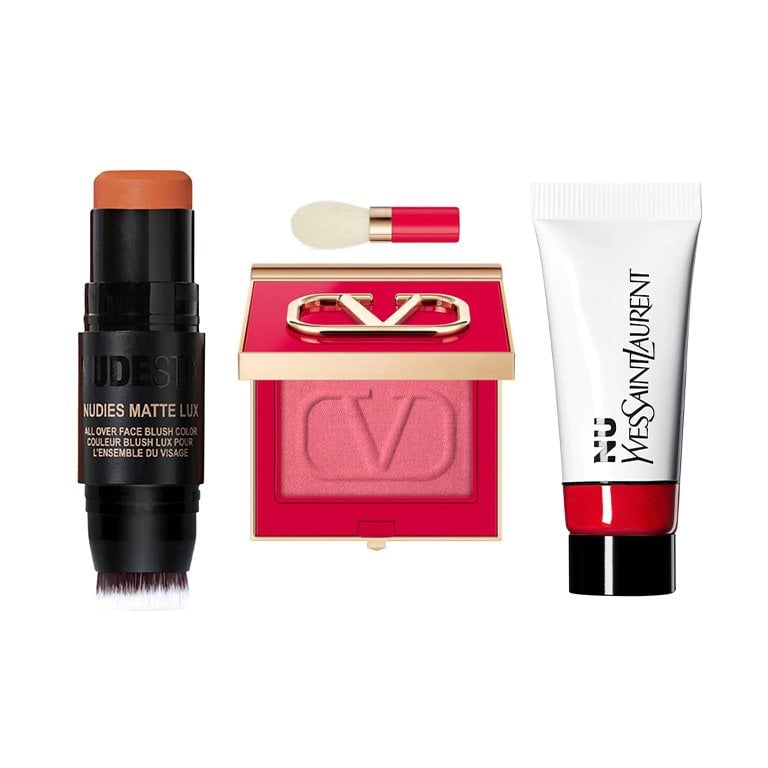
TIP #5: Make Sure Your Applicator is Clean
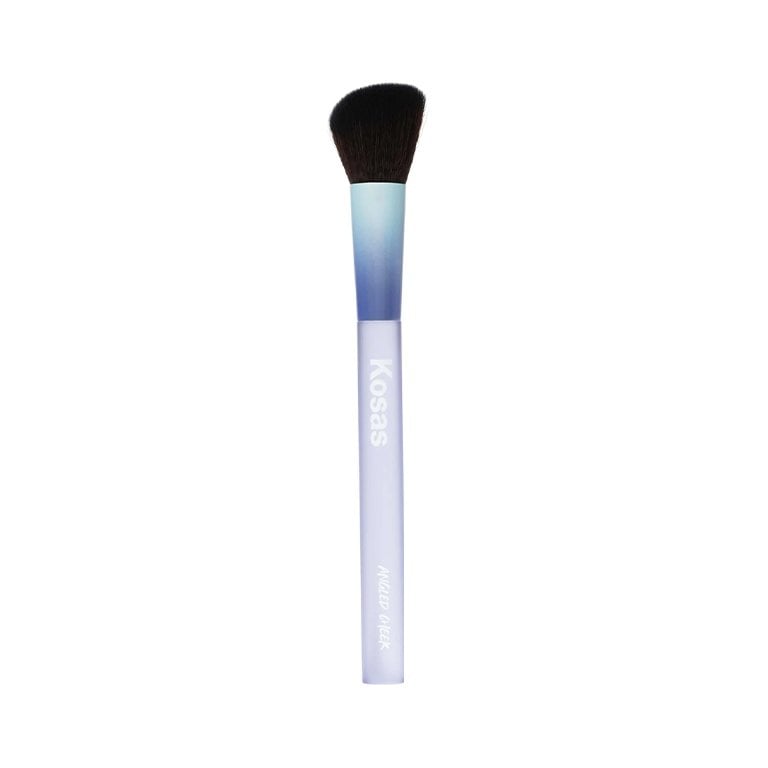
Blush brushes are designed to have tightly packed bristles for splotch-free application. They’re normally tapered or angled for even distribution and a naturally blended look. But, if your blush brush hasn’t been cleaned in a while, all the excess makeup and oil from your skin will build up on the bristles and keep your blush from going on smoothly. With that being said, it’s key that you wash your brushes around every two weeks. If you’ve cleaned your trusted blush brush and are still experiencing splotches, it may be because the density and shape of your brush may have changed. We love the Kosas Angled Cheek Brush for the perfect blush application.
TIP #6: Blend it Out
After applying blush to the apples of your cheek, make sure you blend out the product with your brush or a makeup sponge (ideal for gel or cream products) to create a natural, diffused look. If you’re using a gel-like blush, you can also use your fingers.
TIP #7: Set it!
As the day wears on, your blush tends to wear off. Once the flush fades away, it can start to look blotchy as the pigment breaks down. To avoid this, after blending your makeup, set everything in place. Do a quick spritz of setting spray before walking out the door — the Urban Decay All Nighter Long-Lasting Makeup Setting Spray is our favorite.Photo: Chaunte Vaughn