


.jpg?cx=0.5&cy=0.5&cw=150&ch=120&blr=False&hash=27326E4FE66B0A2BFABAF4995DA29DC5)


An Updated 'Twist' on Baby Buns
August 28, 2019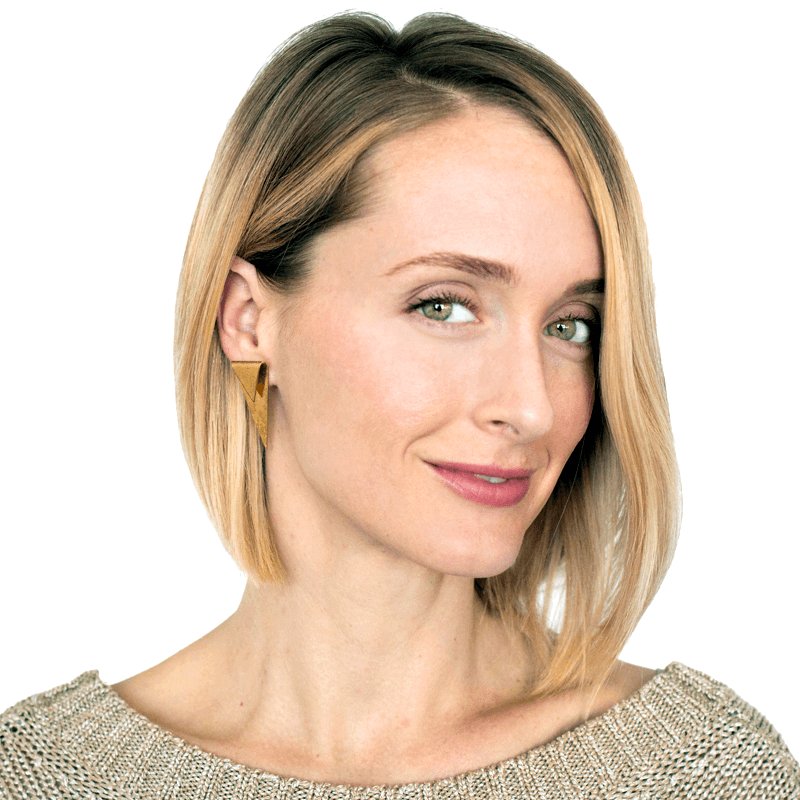

Photos
Makeup Artist:
Diana Alba
Model:
Suzanna Katalana
Photographer:
Jessica Schramm