How To Clean Makeup Brushes And Sponges In 5 Easy Steps
October 06, 2023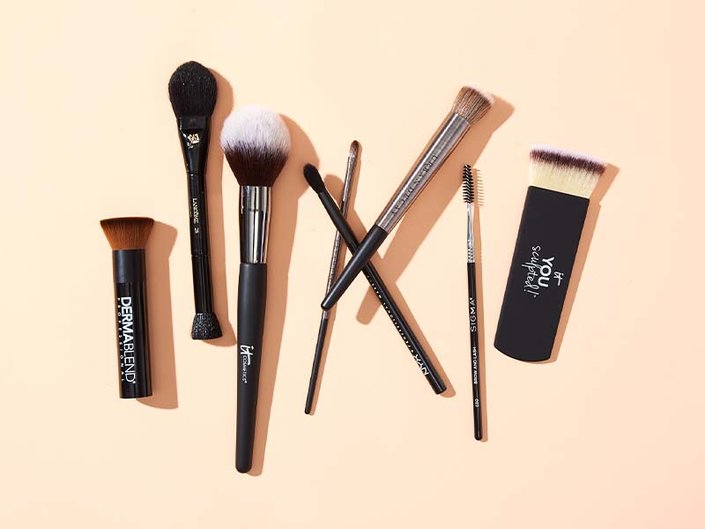
It Cosmetics Brushes for Ulta Brush Bath Purifying Solid Brush Cleanser
For the days your brushes need a deep cleaning — especially after a glitter-filled makeup look — reach for a solid brush cleaner to give your brushes and sponges a more thorough cleanse. Add a few drops of water to the bar and start swirling your brushes into the soap. You’ll be able to see all the color and glitter leave your brushes, leaving behind clean, soft makeup tools.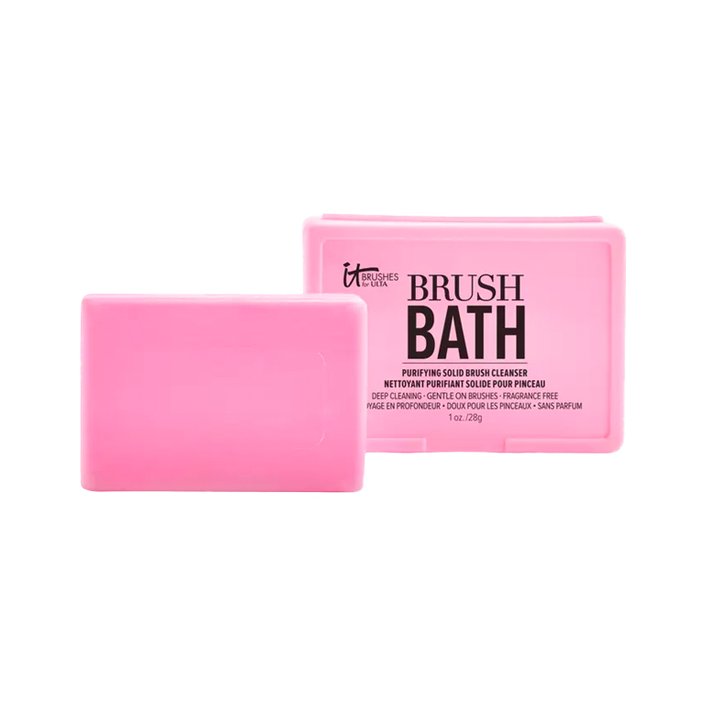
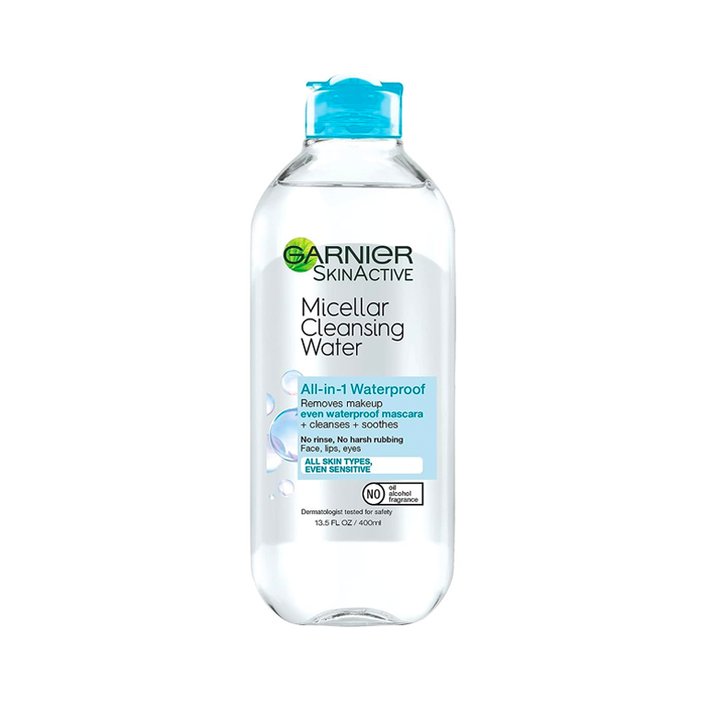
Garnier SkinActive Micellar Cleansing Water All-in-1 Waterproof Makeup Remover
If you don’t have a makeup brush cleaner on hand, a gentle makeup-removing cleanser or micellar water like this one from Garnier will do the trick. The micelles in this water-based cleanser capture and lift away any dirt, makeup and oil from your brushes.
Vera Mona Color Switch Duo Removes Shadow from Your Brush
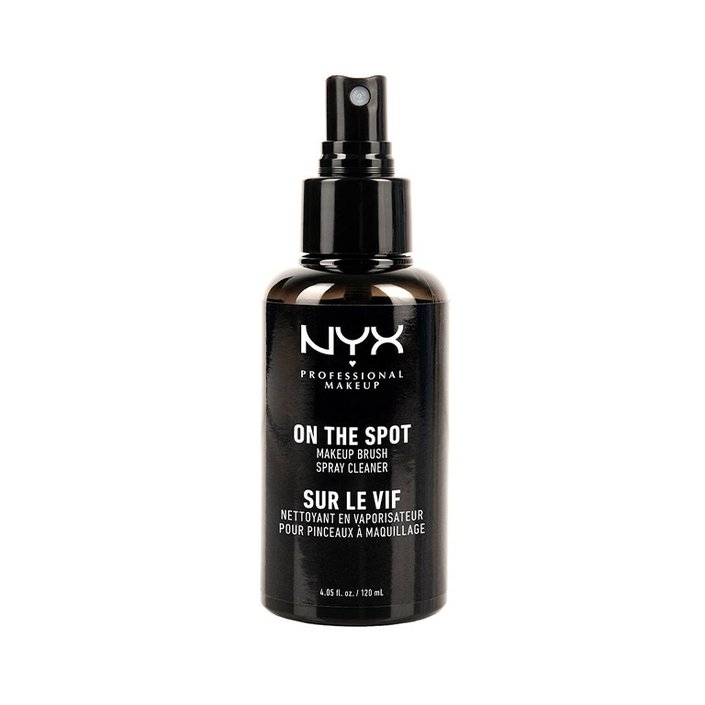
Let’s say you’re halfway through perfecting your latte makeup eyeshadow routine and you need to clean off the dark espresso shade you just used in order to apply a light shimmer. Instead of reaching for another brush (that you may not have), use this innovative brush cleaner that quickly removes color without any water. so you don’t have to deal with any dry time.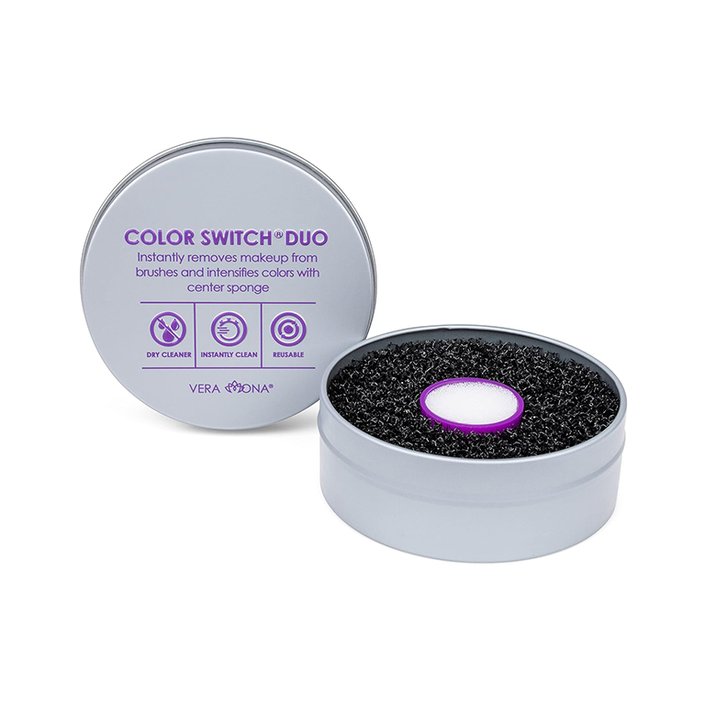
Cinema Secrets Makeup Brush Cleaner
Professional makeup artist Kasey Spickard suggests investing in a makeup brush cleaner like this professional-grade liquid brush cleaner from Cinema Secrets. All you need to do is dip the tip of your brushes into a shallow pool of this quick-drying makeup remover and lightly wipe off the residue on a paper towel. Afterwards, allow your brushes to air-dry and they’ll be as good as new.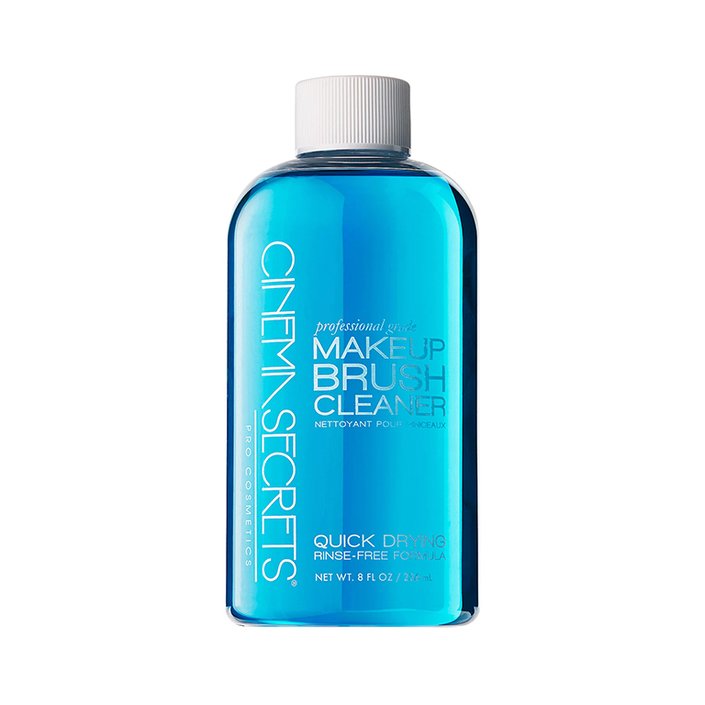
How Often Should You Clean Makeup Brushes?
It’s recommended by the American Academy of Dermatology (AAD) to wash your makeup brushes every seven to 10 days in order to kill the harmful bacteria that linger in your makeup brush fibers. “Makeup brushes are a breeding ground for bacteria, especially brushes used with cream products,” says Spickard. “It's important to clean your brushes to avoid getting breakouts on your skin.”
How to Clean Makeup Brushes
Cleaning your makeup brushes doesn’t have to be difficult, especially if you have the right cleaning product and process. Here, find a step-by-step guide.
Step 1: Rinse Off Residual Makeup
Per the AAD, start by rinsing your brushes under lukewarm running water to remove residual makeup. Avoid submerging the whole brush underwater, as doing so can dissolve the glue that holds the brush together.
No sink? No problem. You can saturate bristles with a few spritzes of a thermal water spray, like the La Roche-Posay Thermal Water Spray. This is a good trick if you’re on-the-go and need a quick water source for cleaning brushes.
Step 2: Swipe, Spin, Swirl Your Brushes
“To clean, lightly dip your brush in the brush cleaner and then swipe back and forth in the direction the bristles are laid on a piece of paper towel,” says Spickard. “For round brushes, you can use a swirling motion; first clockwise, then counterclockwise.” Repeat this process until the brush is clean.
Step 3: Use a Spray for Stubborn Stains
If the paper towel and brush cleaner combo isn’t doing the trick, Spickard suggests using 70% isopropyl alcohol in a spray bottle to remove stubborn stains and to disinfect especially dirty brushes. This is also a great way to clean your brushes any time you share them with friends. Keep in mind that part of the cleaning process for makeup brushes should be about disinfection.
Step 4: Squeeze Out the Residual Makeup
Pyykkonen recommends gently using your (clean!) fingers to squeeze the saturated brush head to get rid of any stubborn excess makeup and dirt. This also helps squeeze out water that’s been absorbed into the brush bristles and helps speed up the drying process.
Step 5: Let Them Dry
After giving your brushes a thorough cleaning, be sure to let them air-dry before you use them again. The quickest way to dry brushes is by standing them upside down in a plastic cup with holes in the bottom to drain the water, but you can also lay them out on a towel. By letting them drip-dry like this, you’re speeding up the process and guaranteeing that excess water doesn’t eat away at the glue holding bristles together.
Why Should You Clean Your Makeup Sponges?
You should clean your makeup sponges for the same reasons you should clean your makeup brushes. If you let your sponge sit in your makeup collection without cleaning it, the sponge will continue to absorb makeup and bacteria. This can lead to blemishes on the skin and a dirty sponge that doesn’t work as well.
How Often Should You Clean Makeup Sponges?
Excessive though it may sound, Spickard cleans his makeup sponges after every use. After all, it’s better to be safe than sorry when it comes to hygiene. Your skin will thank you. He advises completely replacing your sponges every few months.
What Should You Use to Clean Your Makeup Sponges?
“Because sponges are moist with water, they are prone to bacterial growth [and] mold,” explains Spickard. “So you really do want to deep clean and sanitize your sponges.” Since sponges absorb water in a way that brushes do not, you will need different supplies to thoroughly clean them.
“To clean your makeup sponges, you want to use a soap that is good at breaking down the oils from complexion products like foundation and concealer,” advises Spickard. As with makeup brushes, he likes the Beautyblender Blendercleanser Solid, which is a solid bar of soap specifically formulated for cleaning makeup sponges. The solid form of this cleanser makes it more travel-friendly than a liquid soap and it comes in three scent options — lavender, charcoal and unscented.
In addition to the Blendercleanser Solid, Spickard uses dish soap. “Both of these are great at breaking down the makeup that gets absorbed by your makeup sponge.” To kill any bacteria that may be living in your sponge, Spickard also suggests spritzing them with 70% alcohol after cleaning.
How to Clean Makeup Sponges
Similar to makeup brushes, beauty sponges can be easily cleaned with a dedicated sponge cleanser or with bar soap. Below, learn step-by-step how to clean your makeup sponge with ease.






.jpg?cx=0.5&cy=0.5&cw=150&ch=120&blr=False&hash=27326E4FE66B0A2BFABAF4995DA29DC5)


