How to Fake Laminated Brows With Makeup
September 27, 2023
How to Fake Brow Lamination With Makeup
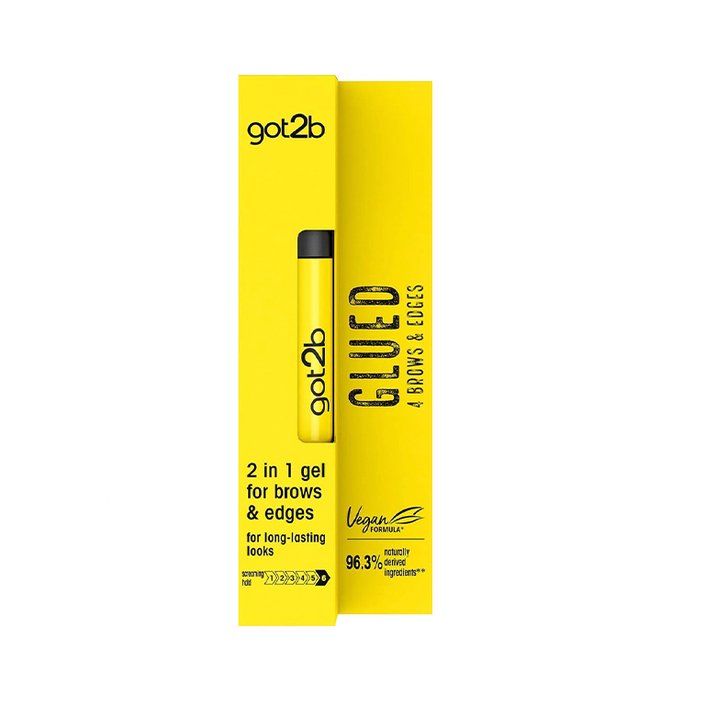
Before you attempt to fake the laminated brow look, you’ll need to make sure you have the right supplies. “You want a product with a very strong hold to achieve the laminated look,” says Spickard. He likes to use brow wax, such as the Baebrow Hold Up! Flexible Brow Wax, or a strong-hold gel like the got2b Schwarzkopf Glued 4 Brows & Edges. You’ll also need to have a spoolie on hand.
Step 1: Shape Your Brows
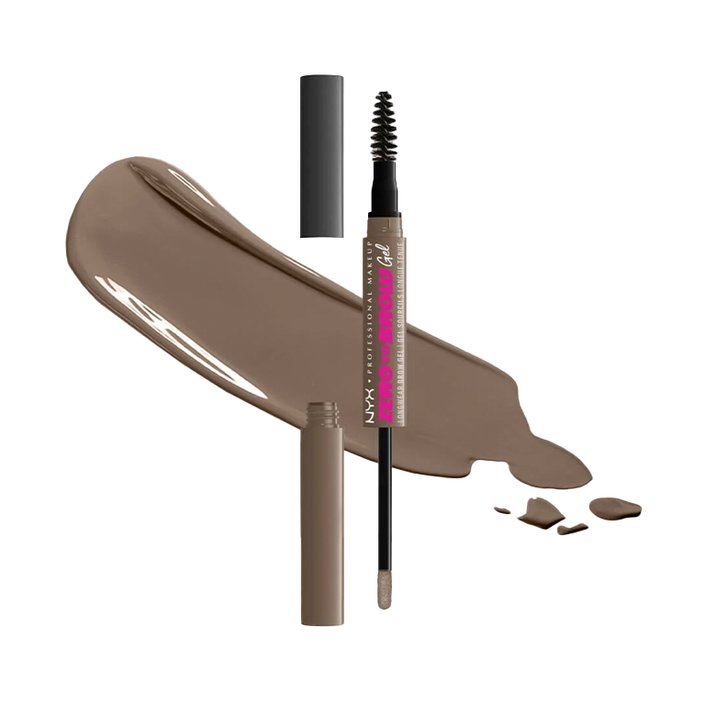
“Start by brushing through your brows with a clean spoolie with no product to get an idea of the shape you want to create,” says Spickard. Need a new spoolie brush? The NYX Professional Makeup Zero to Brow Longwear Brow Gel has a built-in spoolie on one end.
Step 2: Coat Your Brow Hairs With Gel or Wax
To get the signature shine of laminated brows, you should use a clear gel or wax. Once you find one you like, “coat your spoolie with a generous amount of product and brush back and forth through your brows to coat each brow hair on both sides with the product,” says Spickard. Be sure each and every hair is coated to ensure that your brows will stay set in place.
Step 3: Use a Different Spoolie to Shape Your Brows
In this step, you’ll brush your eyebrows upwards to achieve the laminated brow shape. “With a clean spoolie, brush the brow hairs upward and outward while pressing the brow hairs to the skin to achieve the laminated look you desire,” the makeup artist says. “On the outer third of the brows, use your clean spoolie and run it horizontally across the top of the brow hairs for a more groomed, tamed look.” According to Spickard, a common mistake is brushing the hairs in the outer part of your brows up too vertically. “You want an upward and outward shape to the hairs, not just completely vertical.”
Step 4: Fill In Your Brows With a Pen or Pencil
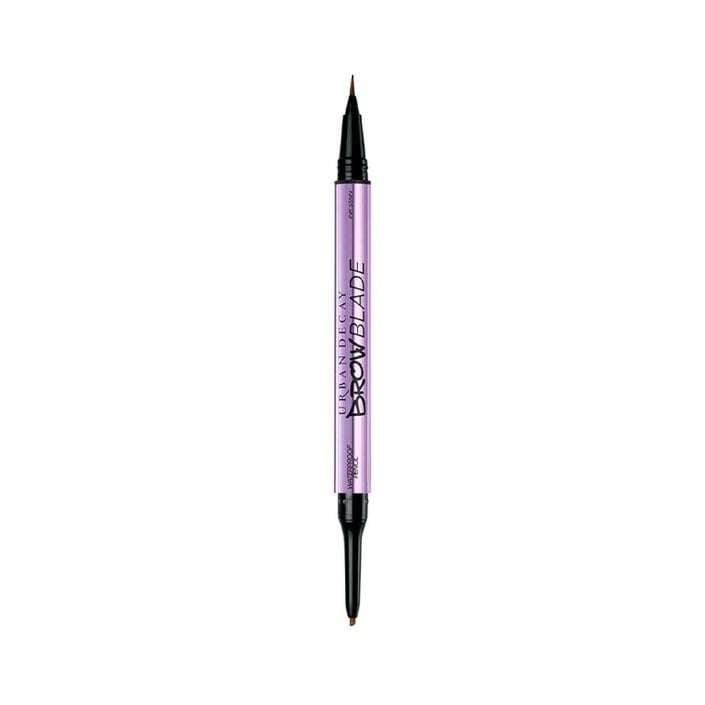
Finally, “fill any gaps you see with a brow flick-style pen to create hair-like strokes wherever you see sparseness or gaps in the brows,” says Spickard. We love the Urban Decay Brow Blade Ink Stain + Waterproof Pencil for this step.




.jpg?cx=0.5&cy=0.5&cw=150&ch=120&blr=False&hash=27326E4FE66B0A2BFABAF4995DA29DC5)

