I’m Not a Makeup Artist but I Recreated This Lemon Eyeshadow Look
July 13, 2020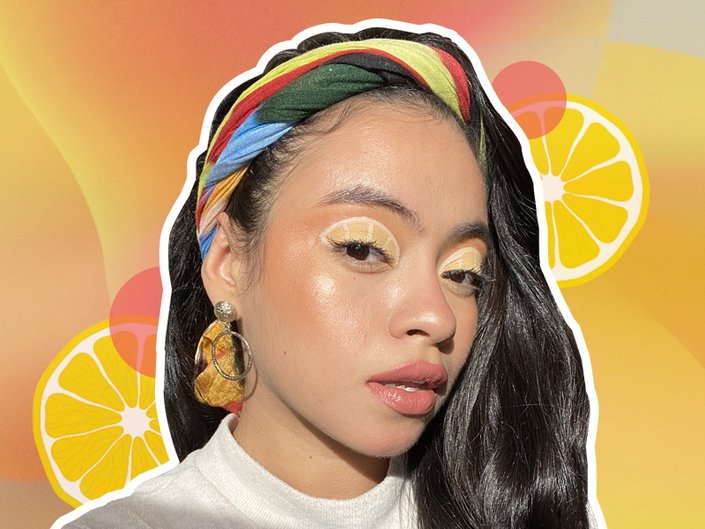
How to Get the Look
STEP #1: Primer
Take it from the girl who had to wipe off her eyes and start over after an hour of trying to get the pigment to stick, this step is essential. In order to get a super bright, citrus-y yellow shade, you need to layer on your eyeshadow, and the only way it’s going to stick is if you have a primer. Trust me. I used Urban Decay Eyeshadow Primer Potion for this.
STEP #2: Apply Your Crease Eyeshadow Shade
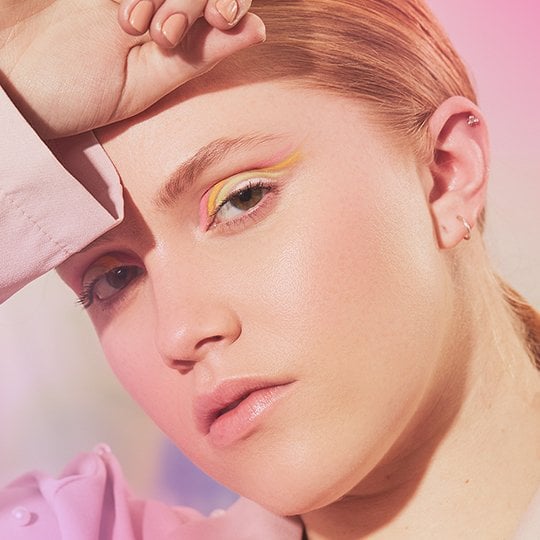
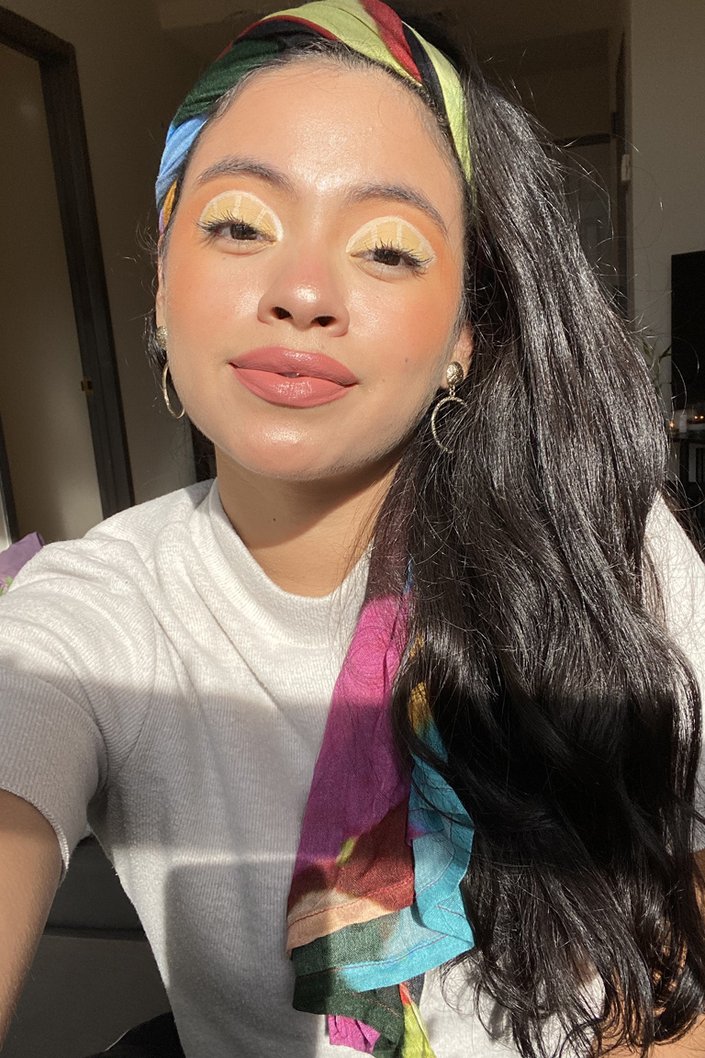
For this look, I used the Maybelline New York Lemonade Craze Eyeshadow Palette. Using a big fluffy eyeshadow brush, I applied the dark yellow shade Lemonade Craze all over my crease. I also dragged it out to the sides of my temples, hugging the tops of my cheekbones to give my complexion an orange-blushed look.
STEP #3: Make Your Cut Crease
Before applying your lid color, it’s important to sculpt your cut crease using a concealer or eyeshadow primer and a flat eyeshadow brush. To do that, outline your crease with the primer from the inner to outer corner of your eye. Then, fill in your entire eyelid with the primer. If you have hooded eyelids, be sure to outline slightly above your crease so that you can see the eyelid color.
STEP #4: Layer Your Lid Color
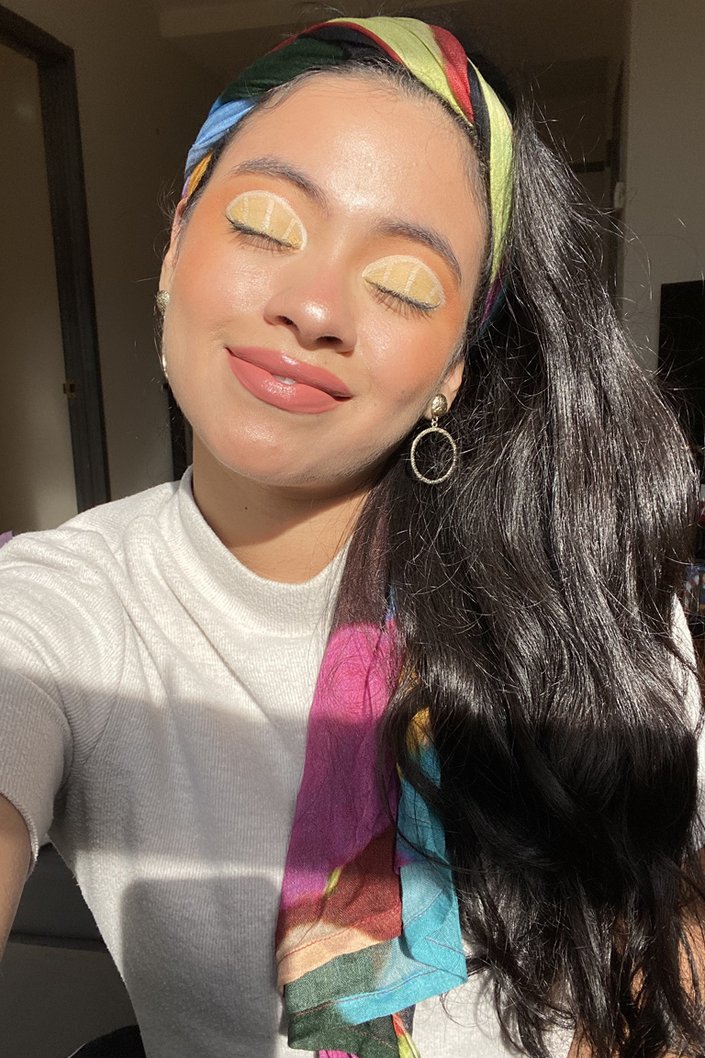
Take the ecru shade Sunnies and pack it all over your eyelid until you reach your desired yellow. This part takes the longest, but it’s totally worth it to get a pigmented look. I layered this shade too many times to count.
STEP #5: Make Your Lemon Details
Using a liquid eyeliner, like NYX Professional Makeup White Liquid Eyeliner, you’re going to draw the details of the lemon wedge. I recommend scooping product onto the back of your hand and going in with a fine detail brush. First, draw a half-moon shape on your crease. Then, create the center line connecting your half moon to your eyelid. Finally, create two more lines on each side of that center line.
STEP #6: Finish the Rest of Your Face
For this look, Singh created very blushy cheeks and a beautiful nude lip. For my cheeks, I applied a mix of all the colors in the Catrice x Eman Blush Palette. On my lips, I went with the Giorgio Armani Lip Maestro Liquid Matte Lipstick in Sandstone, a pink-y, brown nude shade.
Final Thoughts:
I’ll be honest, if I had to rate this look on difficulty level, I’d give it a 7 out of 10. Between the blending, the precision it takes to draw the lemon and getting the bright pigmentation, I bow down to Singh for her patience, talent and artistic abilities. Personally, I’m not sure if I would wear this out for a regular day. Like I said, my vibe is more natural and less vibrant. But is it fun to know that I can kinda-sort-of recreate it? Heck, yeah. Also, I’m surprisingly really into the yellow and feel like it’s a more wearable color than I originally thought. Ultimately, whether you’re a makeup artist, makeup novice, no-makeup makeup type or love a full glam, try this look. You might surprise yourself! I mean, I sure did.







.jpg?cx=0.5&cy=0.5&cw=150&ch=120&blr=False&hash=27326E4FE66B0A2BFABAF4995DA29DC5)

