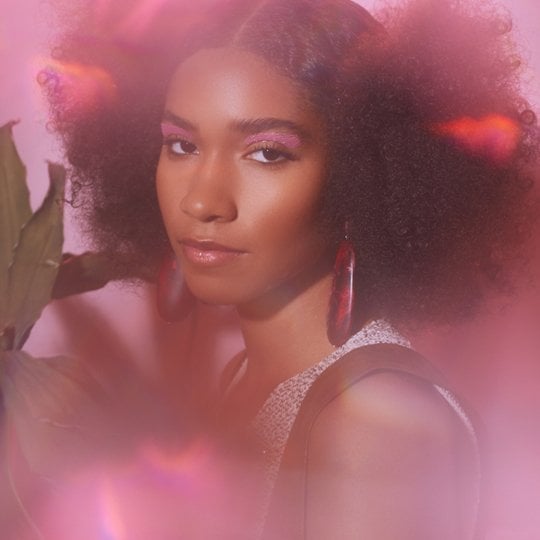
This Pixelated Eyeshadow Look Will Give You Major Modern Art Vibes
July 20, 2020-
STEP 1: Prime the Eye
Before grabbing your colorful eyeshadow and pencils, it’s important to prep the eye with a gripping primer, like the Urban Decay Eyeshadow Primer Potion, to ensure long-wear. Once your primer is placed, grab a fun, bright palette, like the Urban Decay Wired Palette. Using the shades Jolt (a neon lime), Switch (a matte tangerine) and Fluorescent (a pale turquoise), create a gradient from the inner corner of the eye to the outer corner of the top lid. “Apply a light wash of color that kind of looks like a watercolor,” says Williamson. “This will serve as a base for the dots.” Once the top lid has been shaded, turn your focus to the lower lash line. “Apply the shade Shock (a matte lilac) from your tear duct to the middle of the lower lash line.”
![]()
-
STEP 2: Apply a Two-Toned Winged Liner
No eye makeup look is complete without a wing. To stay with the colorful and punchy theme, Williamson opted to do a two-toned pink and purple wing using the NYX Professional Makeup Epic Wear Liner Sticks. “I started with the shade Fierce Purple at the tear duct and brought it into the middle of the eye,” she explains. “Then, from the outer corner I used the shade Pink Spirit to finish out the wing.” Want your look to pop even more? Try layering on a bit of the shade Savage, a neon pink from the Wired Palette, on top of the pink liner.
![]()
-
STEP 3: Draw Your Bigger Dots
Now that the base is complete, it’s time to start drawing your large dots. “For some of the dots, I drew them on with wet (simply spritz your brush with a setting spray) eyeshadow from the Wired Palette using a pencil or shader brush, and for others I used the NYX Epic Wear Eyeliner Sticks with eyeshadow packed on top,” says Williamson. This not only creates dimension, but it also lets you experiment more with your colors. “Placement doesn’t matter at all either — it can be super random, and the two eyes don’t have to be the same.” (Pro tip: Make sure you have Q-tips and micellar water on-hand so you can easily clean up any mistakes.)
![]()
-
STEP 4: Add Smaller Dots
While the larger dots will be the most noticeable, the smaller circles are really going to be what pulls this look together. “Place smaller dots either over the bigger dots or around them,” says Williamson. “They should melt into each other.” She suggests densely packing the circles along the lower lash line as well. “You want it to look like your lower liner is made up fully of dots.” For the smaller pink, white and blue dots, it’s easiest to use the NYX Epic Wear Eyeliner Sticks in Pink Spirit, Pure White and Intense Teal. For the rest of the dots, feel free to experiment with wet eyeshadow shades.
![]()
-
STEP 5: Add Mascara
Once you're happy with the placement of your dots, make sure to finish off the look with a great mascara and filled-in eyebrow. We’ve been loving the L’Oréal Paris Bambi Washable Mascara and the Maybelline New York Brow Extensions Fiber Pomade Crayon.
![]()
-











.jpg?cx=0.5&cy=0.5&cw=150&ch=120&blr=False&hash=27326E4FE66B0A2BFABAF4995DA29DC5)

