Makeup Artists Are Obsessed with the Reverse Cut Crease — Learn How to Create It
April 28, 2022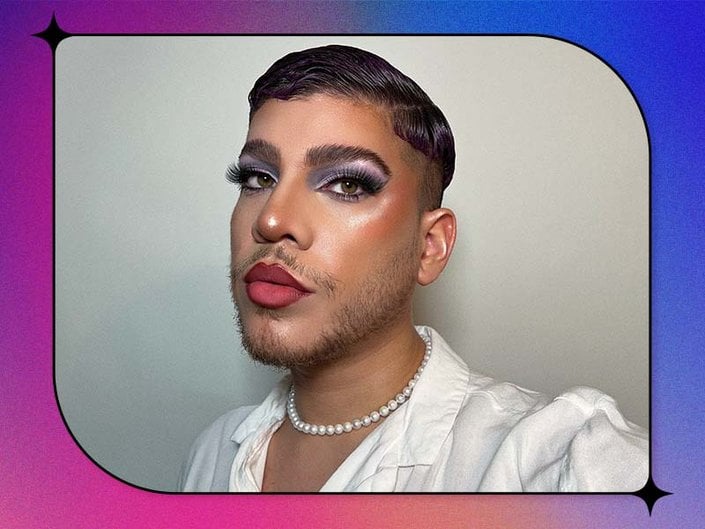
-
STEP 1:
Start at Your Brow Bone
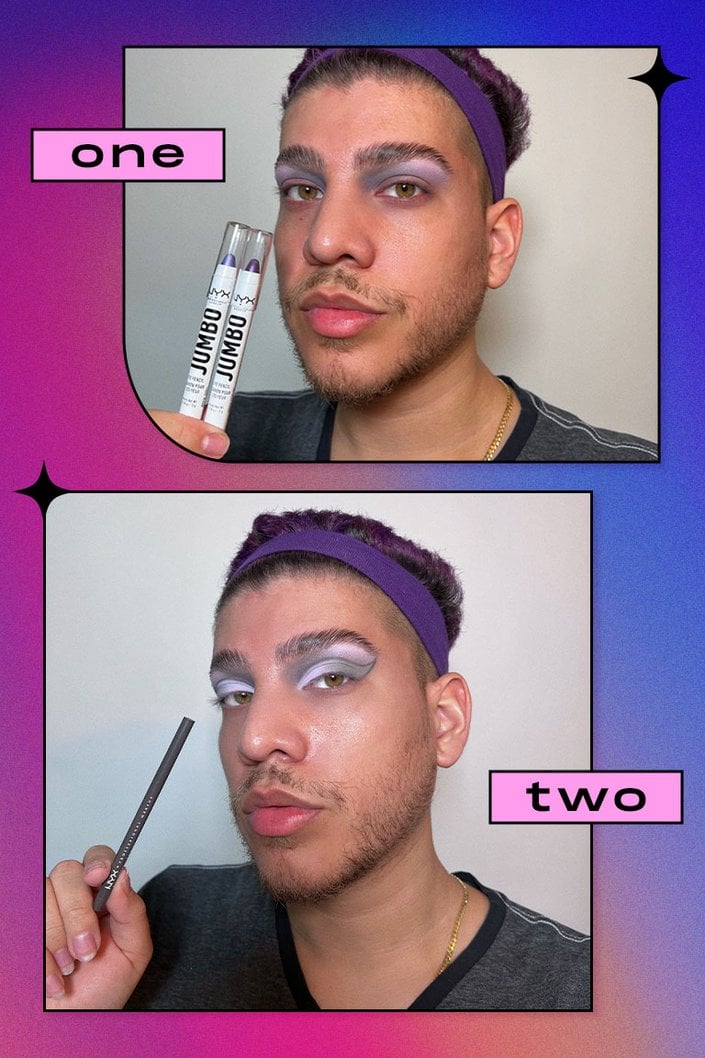
To start, apply an eyeshadow primer, like the Urban Decay Primer Potion, along your brow bone. Once it dries down, use a medium-sized fluffy brush to blend a gray powder eyeshadow from the middle of your brow stopping at the bridge of your nose. Then, using another medium fluffy brush, blend a light purple powder eyeshadow from the middle of your brow towards the tail end of your brow. Repeat on the other eye.
Once the base is laid out, grab the NYX Professional Makeup Jumbo Eye Pencils. Using the shade Eggplant, draw a line underneath the gray eyeshadow. Do the same with the shade Donut underneath the purple eyeshadow. “This is going to look a bit crazy and messy but that’s OK,” says Rodriguez. “Trust the process!” Then, using a clean fluffy brush, blend the lines up towards your brows to diffuse and smoke out the color. -
STEP 2:
Create the Cut Crease
To clean up and create the cut crease, dip a cotton swab in micellar water (our favorite is the Garnier SkinActive Micellar Cleansing Water With Hyaluronic Acid + Aloe) and run it along your lid. Once the eye is clean and dry, take the NYX Professional Makeup Retractable Eye Liner in Gray and draw a line to carve out your crease. “It’s okay if the line isn’t perfect or a little thick because it will get covered with concealer,” says Rodriguez. Next, prime the lid with concealer, making sure to extend it up to the gray line.
Using the same gray and purple eyeshadows from earlier, you are going to reverse them — blending the lilac shadow from the middle of your lid to your inner corner, and blending the gray from the middle of your lid to the outer corner. After you’ve laid out the color, go back and redefine the eyeliner. This time, though, flick it out towards your temple then bring it back in and connect the line to your lash line.
-
STEP 3:
Complete Your Face Makeup
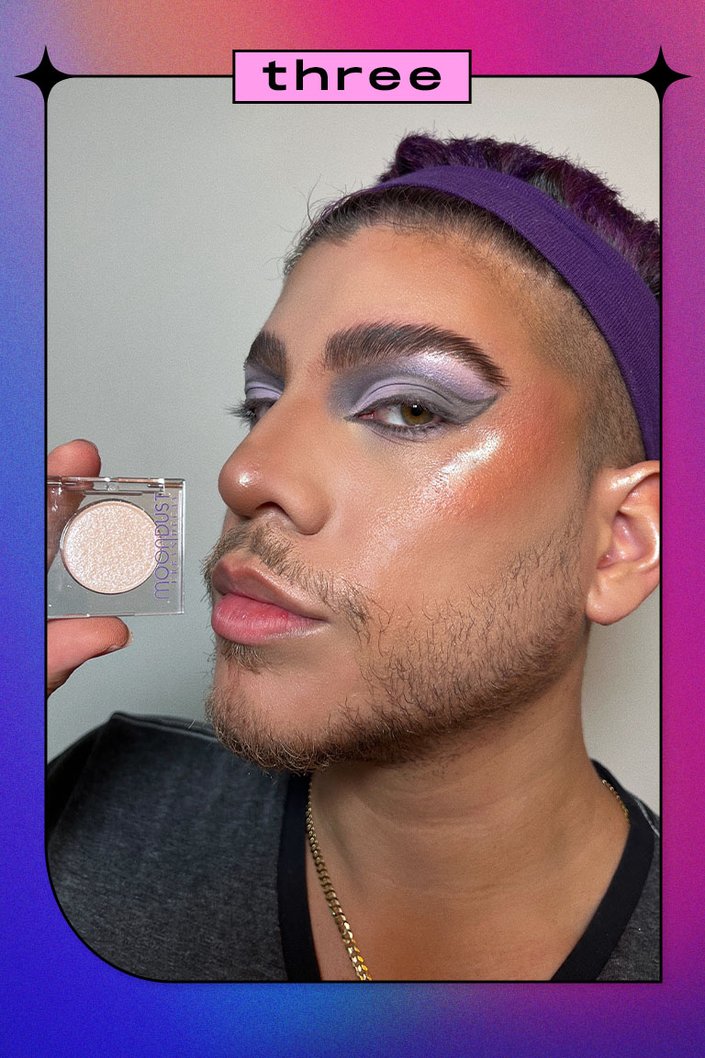
Now that the majority of the eye look is done, you can apply your face makeup as you like. To amplify the final look, sculpt out your cheekbones with the Maybelline New York Cheek Heat Blush and use the Urban Decay Moondust Eyeshadow in the shade Cosmic as highlighter. Pro tip: If your hair is short or you’re wearing it up, place a bit of highlighter on your ears for extra shine. Finish your complexion makeup with a few spritzes of setting spray.
![]()
-
STEP 4:
Add Finishing Touches
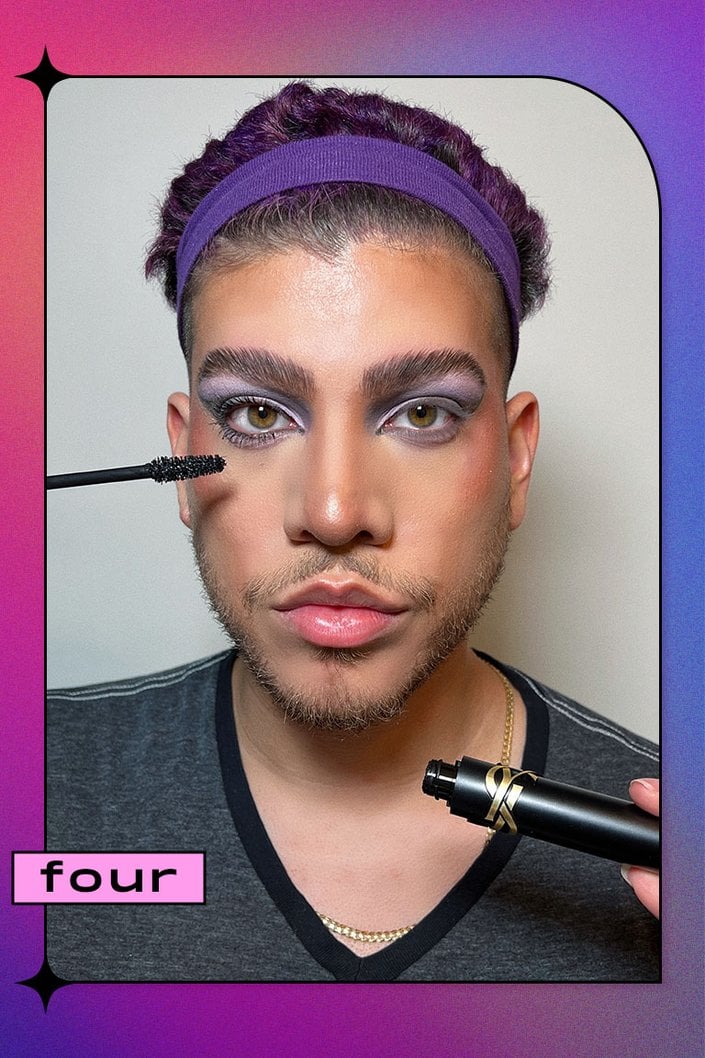
Add some more dimension to your eyes. Place the lilac shadow along your lower lash line then go back in with the NYX eyeliner to line your waterline and upper lash line. Complete the look with a few coats of the YSL Beauty Lash Clash Extreme Volume Mascara and add false eyelashes.






.jpg?cx=0.5&cy=0.5&cw=150&ch=120&blr=False&hash=27326E4FE66B0A2BFABAF4995DA29DC5)

