.jpg?cx=0.5&cy=0.5&cw=150&ch=120&blr=False&hash=27326E4FE66B0A2BFABAF4995DA29DC5)


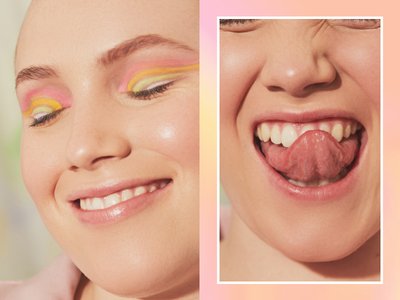
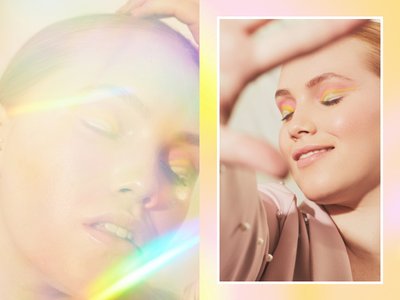
Brighten Your Mood by Recreating These Rainbow Eyes
April 15, 2020
-
STEP 1: Prep the Eyes
First, Williamson preps the eyes by applying a cream eyeshadow base to act as a primer. We recommend the NYX Professional Makeup Eyeshadow Base to give yourself a clean canvas. Instead of prepping the entire eyelid, though, Williamson applies the eyeshadow base in a thin curved line starting at the inner corner of the eye and taking it all the way across the crease to the end of the brow bone. This acts as a guideline to follow for where to apply the first shade of eyeshadow.
![striped-rainbow-eyeshadow-tutorial]()
-
STEP 2: Apply the Eyeshadow
Next, using a bright eyeshadow palette, like the NYX Professional Makeup Ultimate Multi-Finish Eyeshadow Palette in Electric, use a dense eyeshadow shader brush to pack the pink shadow on top of where you placed your eyeshadow base. The end result should be one thin pink, curved line that begins from your inner corner and ends at the end of the brow bone.
![striped-rainbow-eyeshadow-tutorial]()
-
STEP 3: Clean Up the Edges
To get a clean finish, Williamson says to use a pointed Q-tip and a little bit of micellar water to get rid of any eyeshadow fallout and sharpen the edges, so it has the crisp, winged effect at the end.
![striped-rainbow-eyeshadow-tutorial]()
-
STEP 4: Repeat Steps 1-3 for the Rest of the Eye
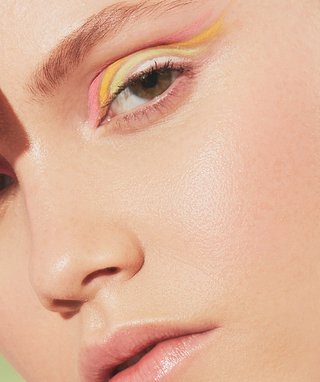
After the first line is done, you’re going to repeat steps 1-3 to create the remaining three lines in the rainbow. Starting with the pink line, place each line evenly beneath the previous one using your eyeshadow primer. Then, use your eyeshadow brush to apply the color on top. Do this until you’ve created four curved lines that resemble a rainbow. Feel free to use any bright colors for your look. Here, Williamson used pink, orange, green and white.
![striped-rainbow-eyeshadow-tutorial]()

-
STEP 5: Finish With Mascara
Finally, top off the look by using your favorite volumizing mascara. If you ask us, the Maybelline New York Falsies Lash Lift Mascara is a no-brainer for its ability to deliver dramatic, long and lifted lashes in a couple of swipes.
![striped-rainbow-eyeshadow-tutorial]()
-