Rhinestone Makeup Ideas That Will Shine in the New Year
December 14, 2023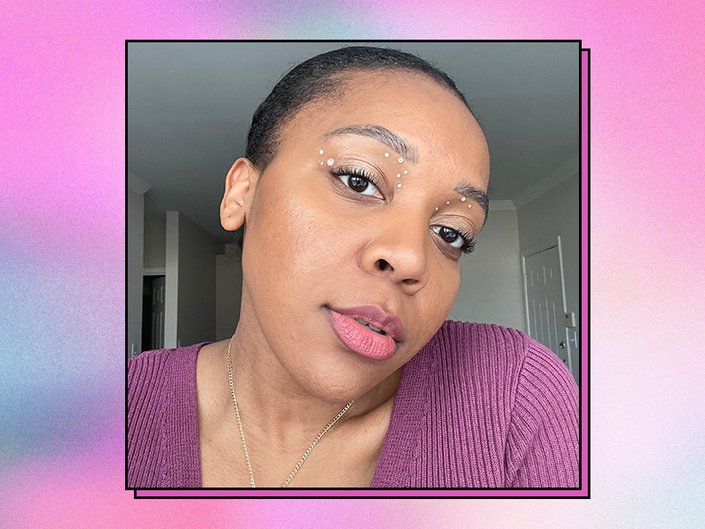
Have you ever finished your makeup, only to feel like there’s something missing? For some, the finishing touch might be a strip of false eyelashes, a swipe of a bold lip color or even just an inner corner highlight. For others, the final step might be to adorn your look with rhinestones, especially if you’re on your way to a holiday party or an NYE night out. If you're looking for rhinestone makeup ideas, you’ve come to the right place — below, we’ve gathered some of our favorite looks for you to try.
Rhinestone Makeup Ideas
Minimalist Sparkle
A scattering of rhinestones is a simple yet elegant way to dress up a neutral eye look. Here, our social editor Kat Pierre applied a light wash of champagne shadow from the limited-edition Lancôme Richelieu Wing Face & Eyeshadow Palette. For a similar look, you could also coat your lids with the Maybelline New York Color Tattoo Longwear Multi-Use Eyeshadow Stix in I Am Inspired.
Olive Green Shimmer
Multicolored rhinestones glisten against an olive green smoky eye and a thick, dramatic wing. To make your cat-eye as crisp as possible, we recommend tracing your lash line with a fine-tip liquid liner, like the NYX Professional Makeup Vivid Matte Liquid Liner, then cleaning up the edges with a cotton swab dipped in micellar water.Sparkling Rosé
Here, creator @sabinadlacruz takes inspiration from K-pop stars, incorporating multiple shades of pink on her lids, lips and cheeks. Rhinestones along the lower lash line add a subtle hint of sparkle that will catch the light with every glance.
’90s Smoky Eye
Take a ’90s grunge-inspired smoky eye up a notch by adding two rhinestones in the placement of an eyebrow piercing. For a pop of shimmer in the center of the lid, creator @itsbeautybybrit applied the Half Magic Chromaddiction Shimmer in Fairies Are Real.
Star-Studded
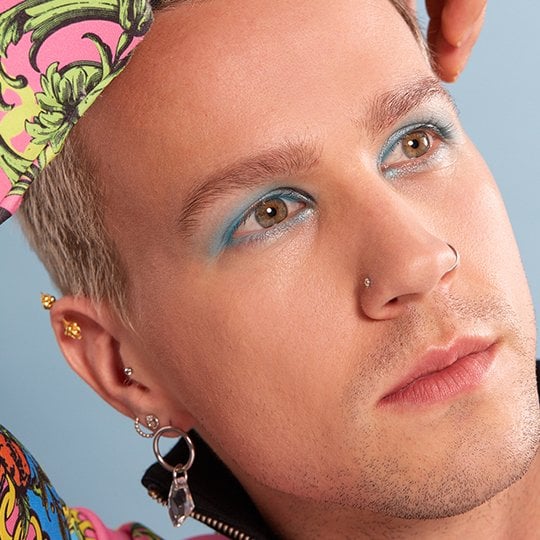
Get this unexpected yet festive eye look by painting on blue liquid eyeshadows and adding silver sparkles and star-shaped rhinestones. This little multipack from Amazon contains a variety of differently shaped gems, from stars to hearts and butterflies.


.jpg?cx=0.5&cy=0.5&cw=150&ch=120&blr=False&hash=13DE8EDEE0E1AF98CC5D704B05EC64EE)


