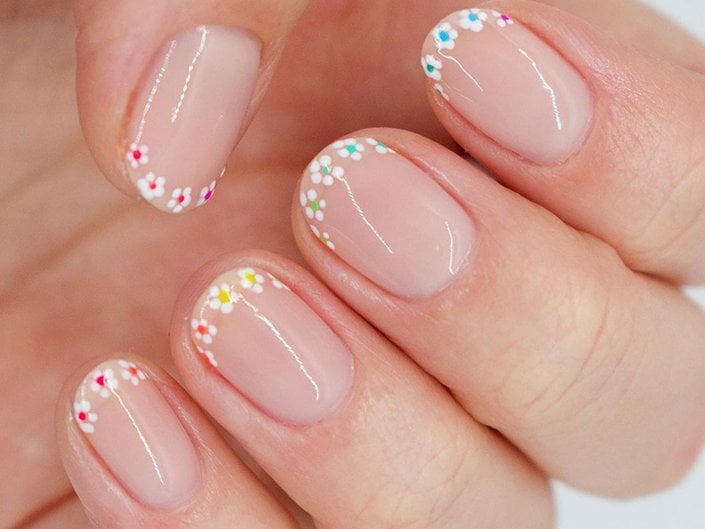
Create Floral Nail Art at Home With This Simple Trick
January 19, 2022
How to DIY a Simple Floral Nail Art Look
-
STEP 1:
Prep Your Nails
Start by applying a base coat like Essie First Base Base Coat.
-
STEP 2:
Choose Your Base Color
Apply two coats of a nail polish color of your choice — right now we’re loving Essie Swoon In The Lagoon.
-
STEP 3:
Create the Flowers
Once your nail polish dries, grab another color and use a dotting tool to create five dots in a circle shape and then fill in the center area.
-
STEP 4:
Add Details
After painting on three to five flowers, add a smaller dot within the original center dot for extra detailing.
-
STEP 5:
Wait and Seal
Wait at least 15 minutes for your floral nail art to dry and then seal with a top coat.


.jpg?cx=0.5&cy=0.5&cw=150&ch=120&blr=False&hash=27326E4FE66B0A2BFABAF4995DA29DC5)


