How to Do a Gel Manicure at Home — Plus, Tips and Nail Art Ideas
May 26, 2023
What Are Gel Nails?
According to Eunice Park, research and development manager at Aprés Nail, a gel mani is “a manicure that uses LED or UV lamps to cure the product onto the nail.” Gel nails may look like nails painted with regular polish, but they dry quicker (read: almost instantly) and last longer without chipping. If you have short nails but want to try a longer look, curable gel nail extensions called Gel-X can be used.
“Gel manicures provide more durability and strength to the natural nail,” says Park. But as with any type of manicure, it is important to follow the proper steps. “The downside can be the risk of improper prep, application or removal,” she adds. “Any one of those steps done improperly can damage or weaken the natural nail.”
How Long Do Gel Nails Last?
One of the major perks of gel nail polish is how long it lasts compared to regular nail polish. But the actual duration that your manicure will last varies based on a few different factors. “It depends on the product, the prep, and application process,” says Park. “For example, when using proper prep and application with Aprés Nail products, gel manicures can last four to six weeks.”
However, it’s more typical that your mani will last anywhere between two and four weeks. Except in special cases, it’s usually a good idea to soak off your gel nails after two weeks or so to preserve the health and strength of your nails — you should never pick off peeling or grown-out gel polish! Be sure to chat with your nail tech if you have any questions, or follow the instructions on your at-home gel kit if you’re DIY-ing your mani.
Can I Give Myself a Gel Manicure at Home?
Yes! As long as you have the correct tools, you can give yourself a gel manicure without having to set foot into a salon. According to Kao, DIY gel manicures are great options for those who want glossy nails, chip-free results and long-lasting durability.
What Supplies Do I Need to Do My Own Gel Nails?
For the perfect at-home gel manicure, Kao says there are five tools you’ll need: an LED lamp, gel polish, a cuticle stick, a nail file and remover wraps for when you want to remove the polish.
“The cuticle stick will push your cuticles back beforehand, and the nail file is needed to file the surface of your nails before applying the first coat of polish,” says Kao. “This helps the polish adhere better to your nails and makes your manicure last even longer.”
Instead of buying each element separately, we recommend one of the starter kits from Le Mini Macaron, like the Le Maxi La Vie En Bloom Deluxe Gel Manicure Set, which includes everything you’ll need for a seamless DIY gel manicure.
If you’re feeling a little more ambitious or want to try a longer nail look, Park says you can give yourself a gel extension service at home, too. “Our Gel-X Starter Kit has all the products necessary to create a beautiful and easy gel extension set,” she says. “But the basic supplies you should have are a nail file, cuticle pusher or an orangewood stick, nail clippers and a buffer. Alcohol and acetone are also handy to have.”
Can You Do Gel Nails at Home Without UV Light?
What differentiates gel polish from traditional lacquer is the curing process, which requires an LED light. “It’s not possible to complete a gel manicure without an LED light,” says Koa. “Without this step, the polish won’t dry at all.”
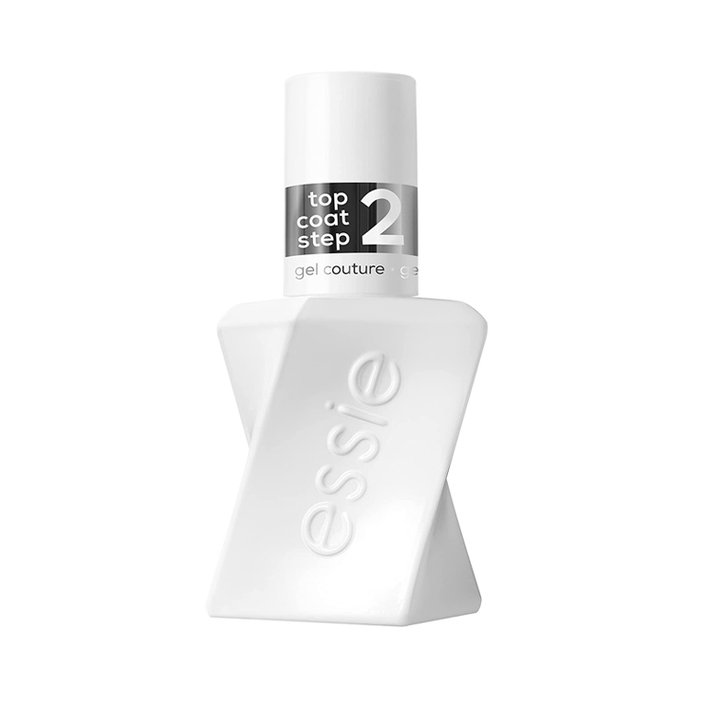
However, there are gel-inspired polishes that offer longer wear than traditional nail polishes and don’t require the use of an LED light, like the Essie Gel Couture Polish. The two-step system is chip- and fade-resistant and gives nails the glossy finish of traditional gel manicures. Be sure to use the designated Essie Gel Couture Top Coat to seal your polish in place. If you reapply the top coat after one week, your Gel Couture manicure may even last up to two weeks like regular gel.
How to Give Yourself a Gel Manicure at Home
Just like painting your nails with regular polish, perfecting a DIY gel manicure takes practice. There are a few things you can do to make the process as seamless as possible, though.
Step 1: Prep Your Nails
This step varies based on personal preferences, but there are a few steps you may want to take to prep your nails for polish application. For example, Park recommends starting with a pH bonder to dehydrate your nails and a primer to help create a tackier surface for your nail polish to adhere to. These steps are optional, but at the very least, be sure to apply a base coat before going in with your color.
Step 2: Start Applying Your Polish
When it comes to applying your nail polish, Kao recommends starting slow. Instead of starting with a thick layer of gel, apply a very thin layer initially. You’ll add more layers of color as you go.
Step 3: Cure Your Polish
Cure the initial thin layer for at least 30 seconds, then follow with a thicker layer before curing it again for a professional-looking finish. It’s important to cure the gel immediately after painting it onto your nail, too. “This minimizes the amount of time the gel is exposed to air — long exposure will negatively affect the result,” says Kao. She recommends using a paint and cure process (i.e. curing one nail at a time rather than your whole hand) for the best results.
Mistakes are inevitable, but luckily gel mishaps are a lot easier to fix than regular lacquer mishaps. Once the polish is cured, a swipe of remover won’t be able to affect it. So if you just mess up the top layer, you won’t have to go back to square one and redo all of the layers. “If you smear the polish before curing, simply wipe it off with a remover soaked cotton pad and re-paint it,” says Kao.
The process is similar if you get gel polish on your skin. Kao recommends using a cuticle stick or your thumbnail to remove the excess before curing. If you cure the gel polish onto your skin, it will be extremely difficult to remove.
Step 4: Apply and Cure Your Top Coat
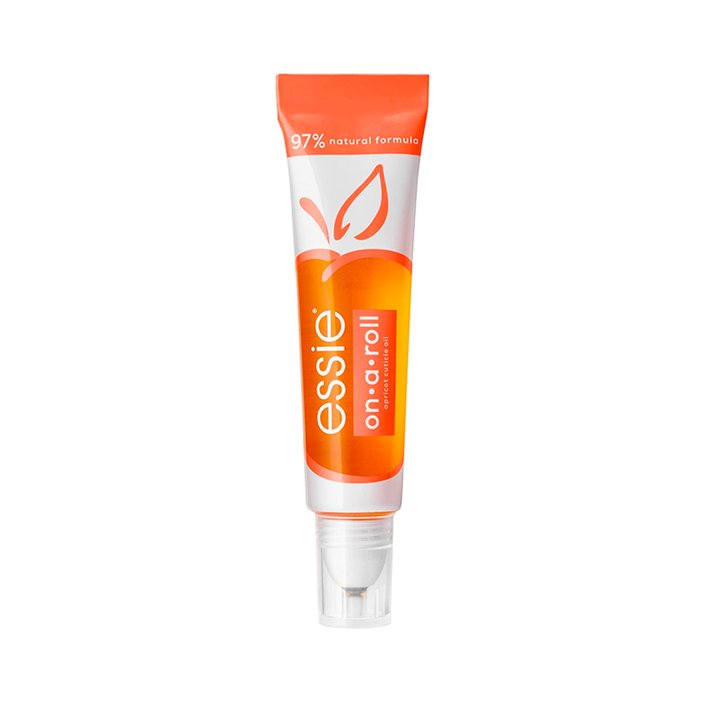
Just like with a regular manicure, finish with a top coat for shine and longevity. If you want to really replicate the salon experience at home, you can also add a cuticle oil to condition your nails and cuticles. We love the Essie On a Roll Apricot Cuticle Oil.
With practice, your DIY gel mani will be indistinguishable from salon manicures.
Gel Nail Design Ideas to Try At Home
Pink Swirls
Pretty pink swirls make for a dreamy monochromatic manicure. Don’t forget to add a streak of glitter like in this photo for a little extra flair and sparkle.
Realistic Flowers
If you’re an aspiring nail artist, try your hand at these stunningly intricate, realistic-looking flowers. We love the pastel color palette and the neutral base.
Paint Every Nail a Different Color
Not much of an artist? Painting every nail a different color of the rainbow is an easy way to elevate an otherwise simple manicure.
Daisies and French Tips
You can always mix and match different designs like this creator. Daisies and colorful French tips are two cute and classic nail designs that look great together. We’re obsessed with the orange and white color combo — so summery!
Rainbow Smiley Faces
If you haven’t decided on your Pride mani yet, we’ve got you covered. These rainbow tie-dye smiley faces are everything.








.jpg?cx=0.5&cy=0.5&cw=150&ch=120&blr=False&hash=27326E4FE66B0A2BFABAF4995DA29DC5)

