The Right Way to Apply Cream Highlighter and Blush — Without Lifting Your Foundation
January 07, 2020Our relationship with cream complexion products is pretty damn complicated; it’s a love-hate situation, if you will. Yes, we have good days where our blush is the epitome of perfection in its natural, flushed and dewy glory. But other times — and much to our disappointment — you can catch us sporting clown cheeks, blotchy cream highlighter and uneven foundation. Not a great look, you guys. Our makeup mishaps necessitated some complexion counseling, so we turned to celebrity makeup artist Ashlee Glazer for help. Ahead, she’s sharing the right way to apply cream blush and highlighter and how to stop it from lifting your foundation.
Tip #1: Give Your Foundation Time to Dry
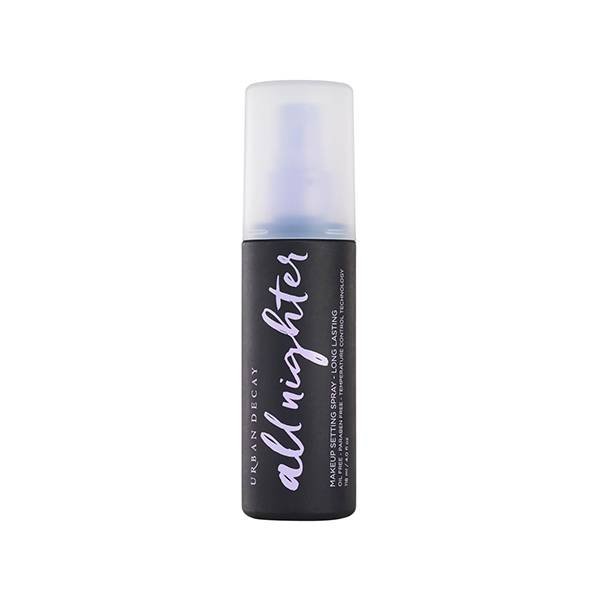
Tell us if this sounds familiar: You have a perfect base of foundation, use your fingers to dab on cream blush and highlighter, and — bam, your foundation lifts up with your fingers. “The same texture products can lift if you don’t give the first layer time to set or dry,” says Glazer. “Give your foundation a few moments before dabbing with a heavier texture on top. The time frame of your steps can’t be too rushed. Wave a little fan, stick your face out the window, in front of the AC … give the foundation a beat to settle into the skin.” Once you’ve let your foundation sink in, you can spray a light, fine spritz of setting spray. Glazer recommends the Urban Decay All Nighter Setting Spray to lock in your product and prevent lifting.
Tip #2: Pick Your Products and Tools
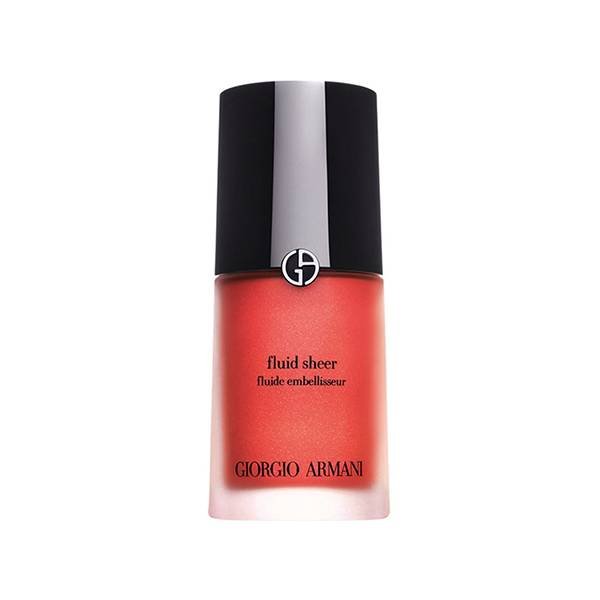
Your application method and the texture of your product go hand-in-hand. “I love to use my foundation brush for applying liquid blush,” says Glazer. “It already has a bit of foundation left over, so it tones down the intensity of the color (if it’s a bright one) and gives a natural flush.” Her go-to? Giorgio Armani Neo Nude A-Line Blush. When it comes to using a creamier consistency, like the Nudestix Nudies Blush, she’ll use her fingers or a damp beauty sponge.
Tip #3: Use the Right Amount of Pressure
Using a heavy hand can lift previous layers, especially when they have the same creamy consistency or texture. “Everyone’s touch is different, but my best advice is to always start light and soft because you can work up to heavier,” says Glazer.
Tip #4: Put Product in the Right Position
Avoiding the dreaded clown face has a lot to do with product placement. As a guideline, Glazer says to start your blush a two-finger distance away from the base of your nose. Work the color upwards to lift and brighten your face. Once you’ve given the blush enough time to settle in and spritzed it with setting spray, you can go in with your liquid or cream highlighter. “It’s most flattering on the high points of the face, where the light hits. The top of the cheekbones, inner corner of the eyes and the bridge of the nose are perfect places for every face shape and skin tone.”
Tip #5: Check Yourself Out
“You want your liquid and creams to have a smooth, blended finish, so make sure you check your angles in the light before you finish,” says Glazer. “Rotate your head around to check for hard lines. I don’t mean in your phone camera; look in the real mirror and the real light!”
Read More:
PSA: Matte Nails Are Back and We’re Loving It
Add Serious Volume to Flat Hair With These 9 Products
5 Beauty Editors Share Their Winter Makeup Routines


.jpg?cx=0.5&cy=0.5&cw=150&ch=120&blr=False&hash=13DE8EDEE0E1AF98CC5D704B05EC64EE)


