How to DIY a Half-Moon Manicure — Plus, 7 Nail Art Ideas to Try
June 27, 2023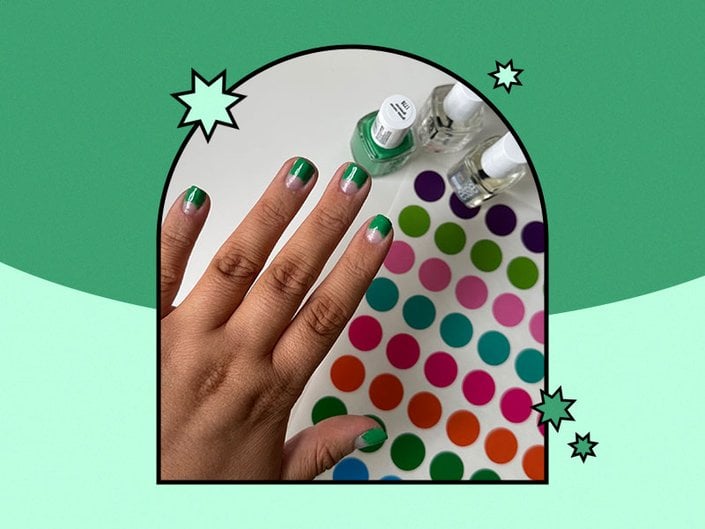
What You Need for a DIY Half-Moon Manicure
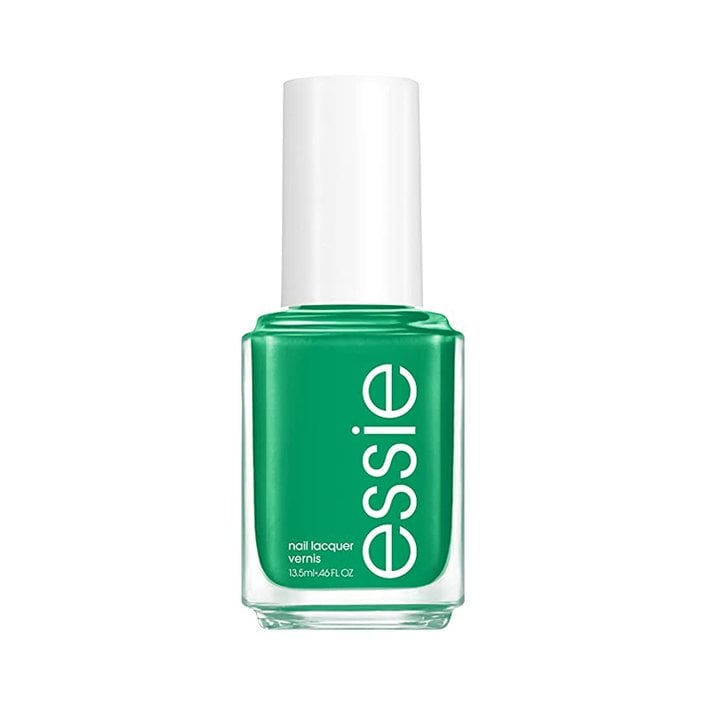
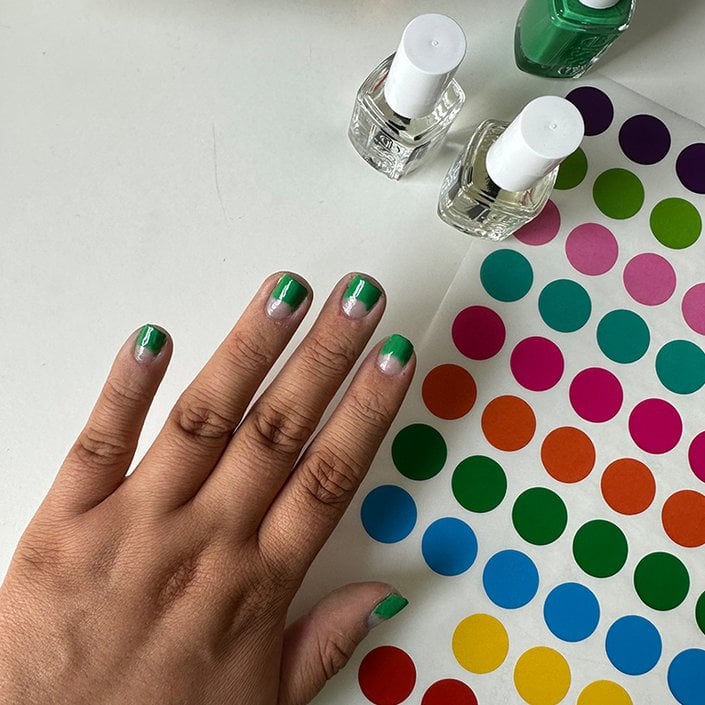
To create half-moon nails at home, you will need your nail polish color of choice, a base coat, a top coat and circle-shaped stickers. I opted for Essie Grass Never Green, a bright kelly green shade, along with the Essie Here to Stay Base Coat and the Essie Stay Longer Top Coat. These circle labeling stickers keep this DIY nail art look relatively easy to execute because they serve as a stencil to create the half-moon shape, as demonstrated in this Instagram reel by creator @avrnailswatches.
How to DIY Half-Moon Nails
Step 1: Prep Your Nails and Apply Base Coat
Prepping is a necessary step to ensure that your manicure lasts. Shape your nails with a file and lightly buff the surface. Then, apply an even layer of base coat to every nail.
Step 2: Place the Nail Stickers
When the base coat is fully dry (about five to 10 minutes), you can apply the nail stickers to the base of your nails. The trick is to press the sticker down with your fingers so it can mold to the shape of your nail.
Step 3: Paint the Visible Part of Your Nails
Paint the visible part of your nail with a thin layer of polish. Proceed to the other hand and repeat this step. Continue with a second layer of polish if you like.
Step 4: Remove the Stickers
Wait about five minutes for the polish to begin drying. Then, you can use a pair of tweezers to remove the circle stickers. Be gentle to avoid smudging the wet nail polish. This step is optional, but if you want a perfect half-moon shape, you can dip a thin makeup brush in acetone and carve out the half-moon design even more at the base of your nail.
Step 5: Apply Top Coat
To ensure that your manicure lasts as long as it can without chipping, apply a layer of top coat. We like the Essie Stay Longer Top Coat because it provides a salon-quality, high-shine finish and protects against chips for up to seven days.
Half-Moon Nail Art Ideas to Try
Barely There Arches
If you’re partial to minimal nail art and milky nail polish, consider this barely-there half-moon design for your next manicure.
Two-Tone French Moons
Give your half-moon manicure a French-inspired twist by pairing the two timeless designs — check out this manicure by creator @bhambnails as an example.
Techni-Color Half-Moons
If you can’t pick a color, try a different shade on each nail of your half-moon manicure. @Overglowedit’s colorful rendition is perfect for summer.
Candy-Colored Crescents
Go for a two-tone color story with bubblegum pink nail polish and red half-moons like creator @palooozanails.Matte Moons
Trade in your glossy top coat and reach for a matte finisher like the Essie Matte About You Top Coat to give your half-moons an unexpected twist.
Geometric Slivers
Switch up the half-moon shape on your manicure like creator @nailartbymami for a fresh, modern twist. For a similar look, use Essie Start Signs Only.
Mermaidcore Moons
Mermaidcore nails celebrate all things shimmery, iridescent and pearlized. This half-moon variation is no different and features iridescent chrome outlined in silver glitter for an eye-catching mani that packs shine and sparkle.


.jpg?cx=0.5&cy=0.5&cw=150&ch=120&blr=False&hash=27326E4FE66B0A2BFABAF4995DA29DC5)


