How Do You Stop Nail Polish From Bubbling?
April 20, 2023
Why Does Nail Polish Bubble?
The little bumps that can pop up when painting your nails are essentially air that got trapped between the layers of polish during the polishing process. And while your nail polish application technique can play a role in bubbling, it’s certainly not the only factor. “The temperature of the room, how old the polish is and whether the bottle was shaken or rolled can all affect polish clarity,” says Remark.
Meesh adds that other factors that can cause nail polish to bubble include “layering your lacquer on too thick,” shaking the bottle of nail polish too close to the time that you apply it and using a nail polish that’s too old or expired.
How to Prevent Nail Polish Bubbles
Tip 1: Check the Temperature of Your Polish
If you keep your nail polishes in a bin by the window or somewhere where they are frequently exposed to light, it’s probably a good idea to rethink your storage because the temperature can affect the likelihood of your polish bubbling. “Store your polishes in a cool, dry room,” says Remark. “Heat increases moisture, which in turn can interfere with the polish and cause bubbles.”
You can also store your nail polishes in the fridge (either the one that’s in your kitchen or a dedicated, mini beauty fridge. Celebrity manicurist and brand founder Jin Soon Choi swears by this tip. “I have been refrigerating original samples of all my JINsoon polish since 2013 and can say firsthand that they still look true to their original color and viscosity,” Choi previously told Makeup.com. If you do store your polishes in the fridge, make sure to let them warm up to room temperature before you start applying them.
Tip 2: Use Fresh Polish
If you haven’t been storing your polishes in a cool, dry place, It’s time to part with bottles that you’ve had for more than a year and a half — they’re the most likely to bubble. “The polish gets thicker and air bubbles get trapped in the formula from overuse,” says Remark. Plus, every time you open a bottle of nail polish, the solvents start to evaporate, which can contribute to a thick, gooey consistency. Keep your collection small and check each bottle regularly to ensure freshness — keep reading to find the new nail polishes we recommend updating your stash with.
Tip 3: Prep the Nail
Preventing bubbling starts with prep, so make sure to cleanse the nail with a cotton pad and alcohol so you're polishing on a clean, dry canvas. “Oils in our nails or cuticle area can cause pitting and bubbles in your mani,” says Remark. This set from Amazon comes with a refillable pump bottle that you can fill up with acetone, in addition to over 500 lint-free wipes to help cleanse the surface of your nail.
Once your nails are clean and dry, you can apply a base coat, such as the Essie Smooth-e Base Coat. This formula is one of our favorites because it instantly primes and fills in uneven areas of the nail for a smooth, salon-quality finish.
Tip 4: Don’t Shake, Stir
Shaking your nail polish bottle back and forth may be a hard habit to break, but Remark strongly advises against it. “Shaking polish traps air in the lacquer and causes bubbles,” she says. “Instead, stir the polish by gently rolling it between your palms.”
Tip 5: Stir the Polish Before Prep
Shaking or stirring your nail polish too close to the time you apply it can cause bubbles and lumps to form on your manicure, says Meesh. Instead, stir your nail polish before you begin your nail prep, then let the bottle rest until you’re ready to apply the polish.
Tip 6: Apply Polish in Thin Layers
Gunky, thick layers are the most likely to trap air, so do your best not to be a heavy-handed painter. Remark suggests swirling the brush around the top of the bottle and using a light touch on the nail. In a previous Makeup.com story on how to achieve a streak-free manicure, Remark recommended using fewer strokes on the nail, with more polish on the brush. “I use this technique to ‘float’ the polish down the nail rather than press,” she explained. In addition to preventing streaks, the “float” technique will keep each nail polish layer thin and help prevent bubbling.
How to Fix Nail Polish Bubbles
Unfortunately, there’s no easy fix for once your nail polish starts to bubble on your nail. “Your best action is prevention,” says Meesh. “Personally, I would start over.” Keep a cotton pad and acetone nail polish remover nearby to quickly clean up nails with mistakes or bubbles on the surface, and try not to get discouraged. Painting nails takes a lot of practice, and with time, you’ll be turning out on-trend nail art and gel manicures at home, too.
Our Favorite Nail Products for an At-Home Manicure
From cuticle oil to nail polish, these are the products you need to prep your nails for a smooth, bubble-free manicure.
Essie Smooth-e Base Coat
This ceramide-infused formula helps fill in uneven spots on the nail bed for a smoother, sleeker manicure. It instantly primes nails for polish and is a great pick if you deal with ridges on your fingernails.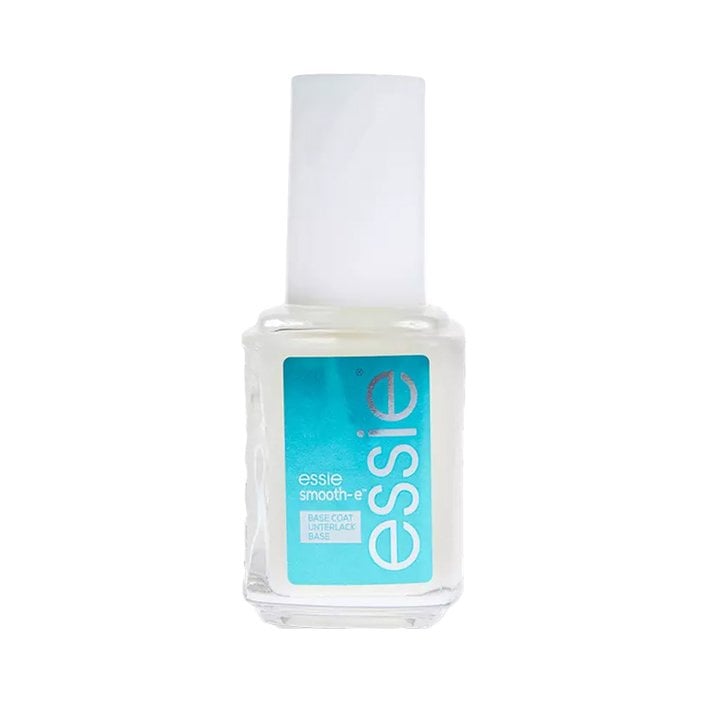
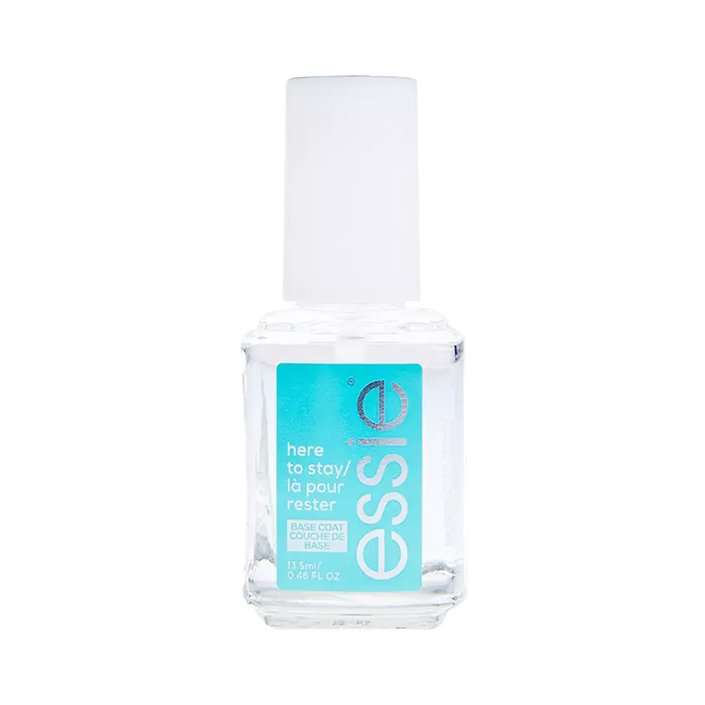
Essie Here to Stay Base Coat
Looking for another base coat recommendation? We also love this option from Essie, which helps extend the life of your manicure and provides a barrier to prevent your polish from staining your natural nails (which is especially key if you’re painting your nails a dark color). This base coat dries in less than one minute, so you can get to painting almost immediately after prep.
Essie Gel Couture Bodice Goddess
If natural-looking, sheer nail polishes are more your speed, you’ll love this dreamy lilac hue. Its subtle hints of purple and long-lasting, high-shine finish will make this a go-to in your collection, plus it’s the perfect polish to help you replicate the “lip gloss nails” trend.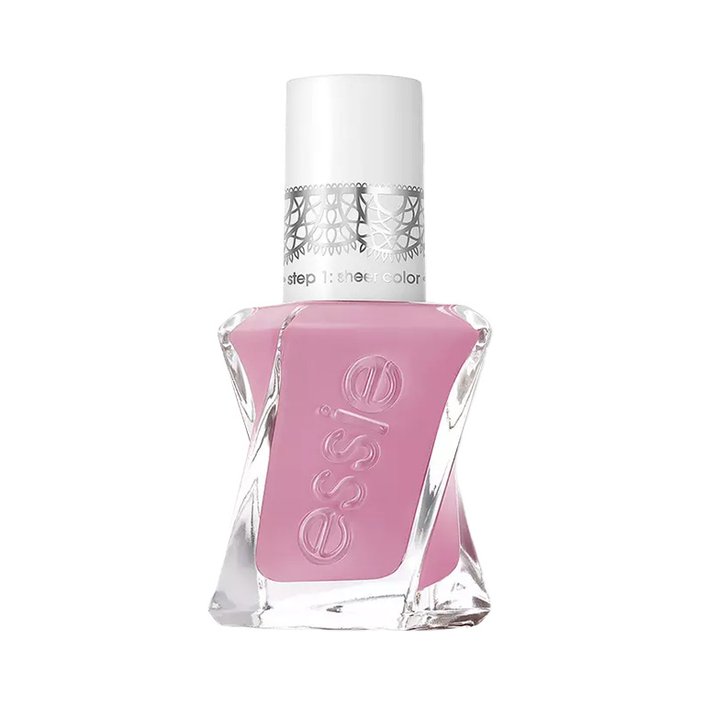
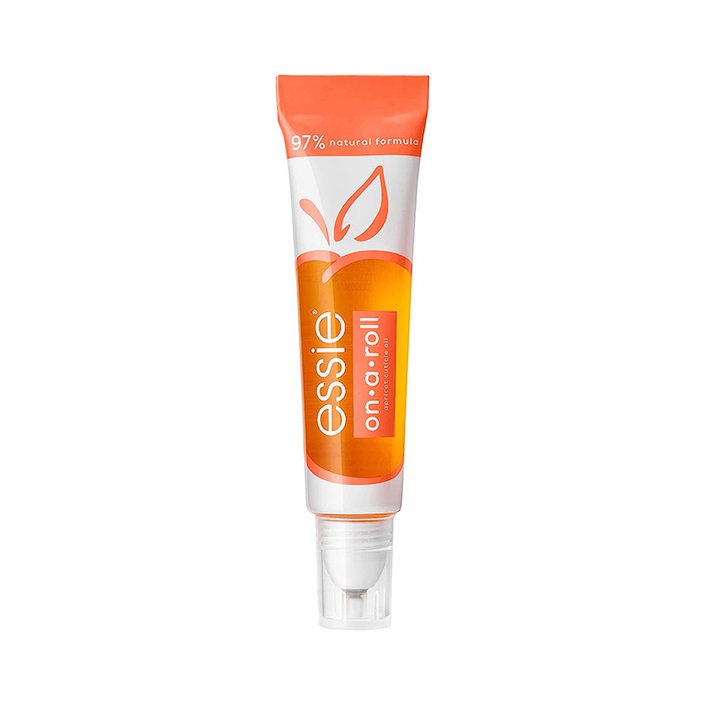
Essie On a Roll Apricot Cuticle Oil
Cuticle oil is key to having nourished nails and a manicure that lasts. We love the user-friendly, mess-free format of this one, which comes in a lip gloss-like tube and swipes on easily with the included rollerball. Massage the oil into your nails before you apply your favorite polish, then swipe it on daily to keep your mani chip-free and shiny.
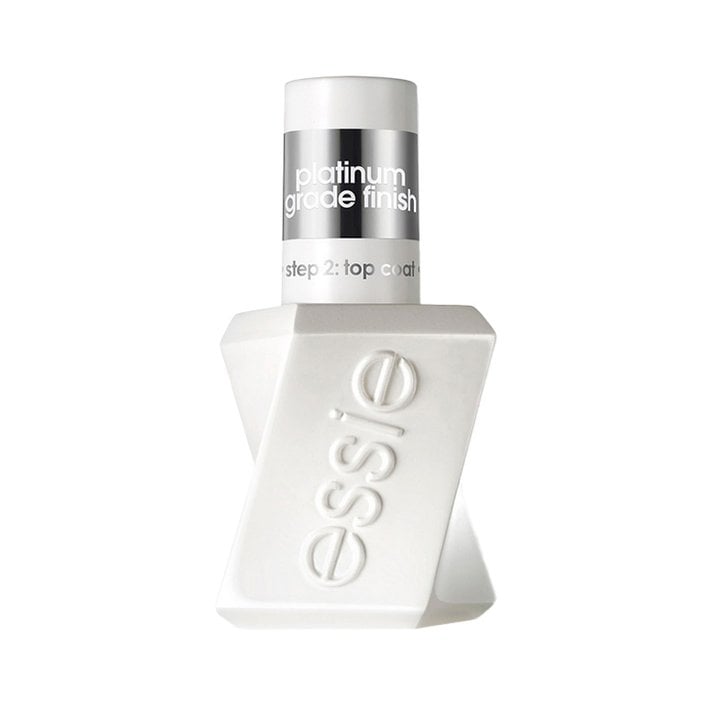
Essie Gel Couture Top Coat
A good top coat is another essential for a manicure that lasts, and this gel-inspired formula fits the bill perfectly. It keeps your manicure looking glossy and fresh for up to 14 days without the need for a UV lamp.






.jpg?cx=0.5&cy=0.5&cw=150&ch=120&blr=False&hash=27326E4FE66B0A2BFABAF4995DA29DC5)

